Introduction
One of my longer-running goals for Period Sites in Period Browsers was to include a good number of non-Windows hosted web browsers and the first stage in that is the creation of a functioning instance of the operating system hosted within an easily managed virtual machine. Unfortunately, whenever I’ve tried to install premillennial versions of linux within QEMU, I have categorically failed.
And, given the lack of guides on the internet, I’m not the only one.
In this guide we’re going to install and configure a working (albeit non-perfect) version of 1998’s Red Hat Linux 5.2. By the end of this guide we will produce a Red Hat Linux 5.2 install with a working network connection and functioning XWindows/Desktop environment.
Requirements
This installation required two core elements:
- An emulator.
86Box can be found at the 86Box Github repository. 86Box also requires a romset for the hardware it will attempt to emulate. Whilst I will be using the MacOS version of 86Box, the Windows and Linux versions will be fundamentally similar in-spite of superficial UI changes. During the creation of this guide I was using 86Box release 4.0.1.
- Red Hat Linux 5.2


Historically, Red Hat provided free access to disk images of their operating systems however this is no-long the case. Fortunately, the Archive.org software collection also has iso images of Red Hat Linux 5.2.
Our Virtual Hardware
86Box is highly configurable. Open the application and select the settings button on the toolbar. This will bring up the virtual machine configuration dialogue.
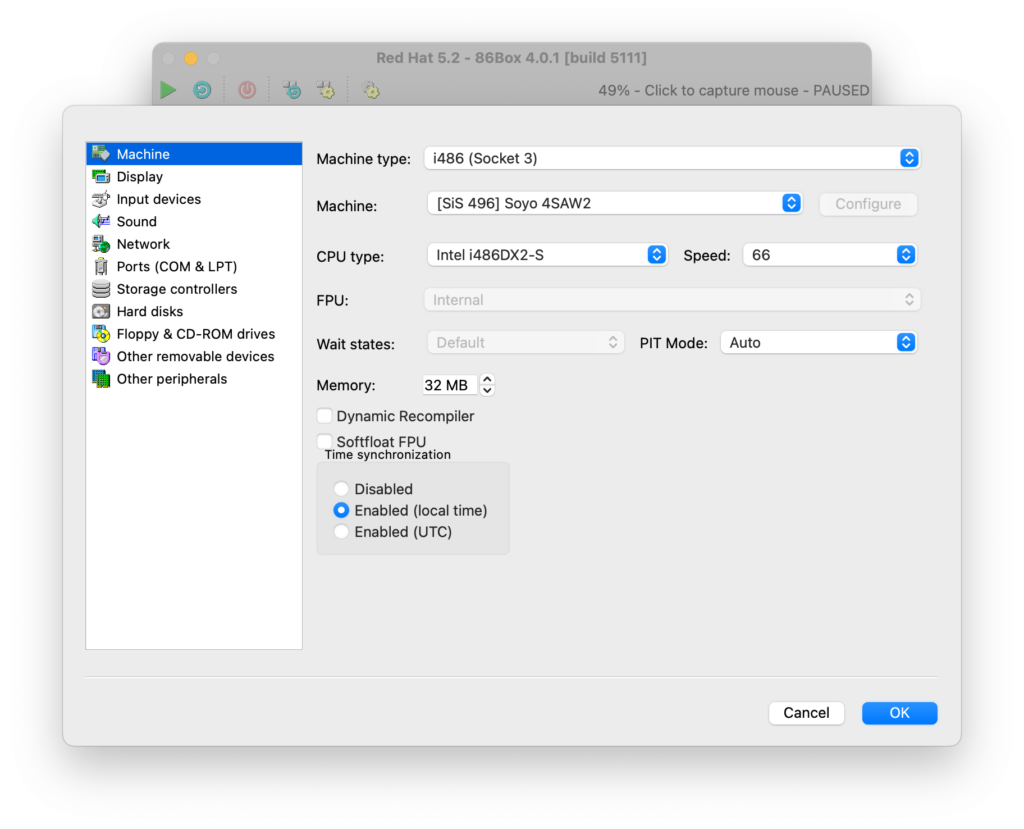
On the ‘Machine‘ page set the following:
| Setting | Value |
| Machine Type | i486 (Socket 3) |
| Machine | (SIS 496) Soyo 4SAW2 |
| CPU Type | Intel i486DX2-S |
| Speed | 66 |
| Memory | 32 |
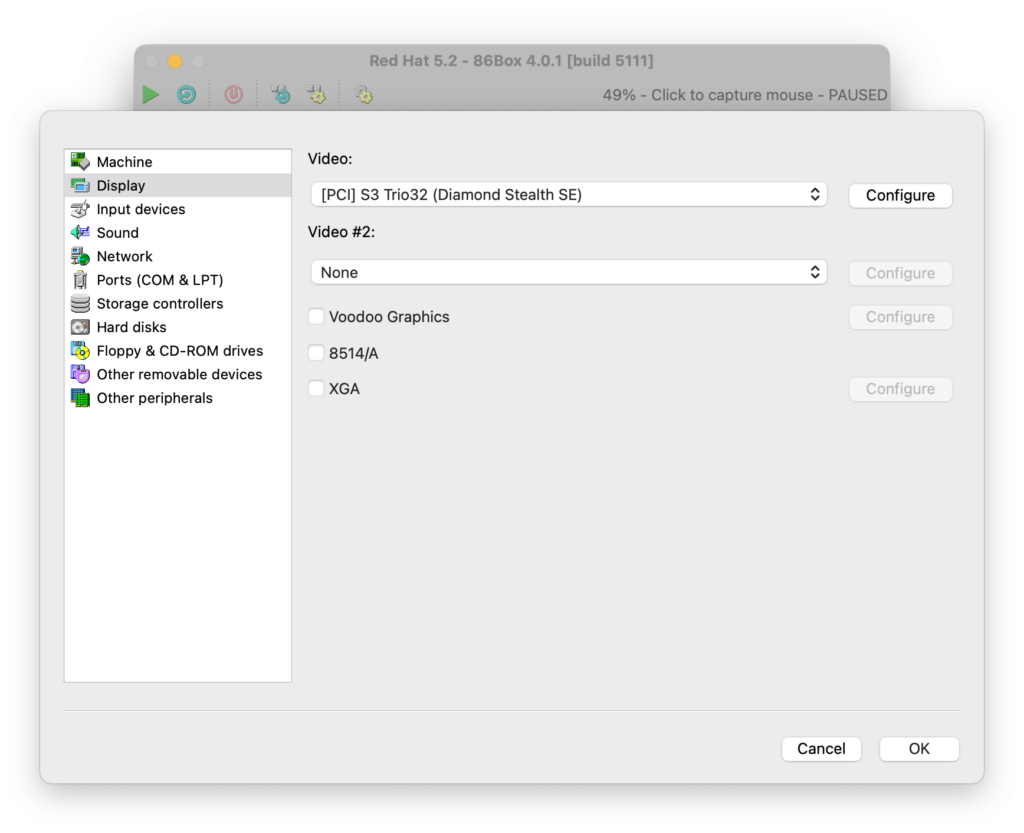
On the ‘Display‘ page set ‘Video‘ to ‘[PCI] S3 Trio32 (Diamond Stealth SE)‘.
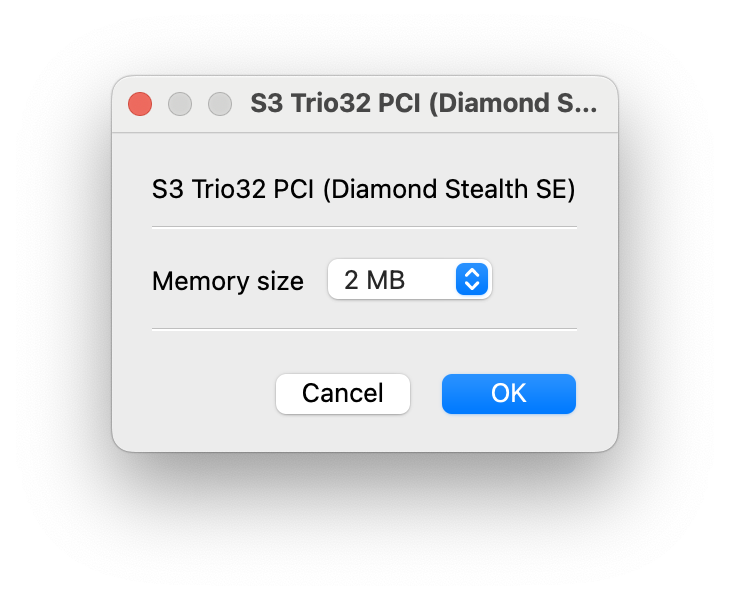
On the ‘Display‘ page open the ‘Config‘ setting for ‘Video‘ and ensure the ‘Memory size‘ is set to ‘2 MB‘.
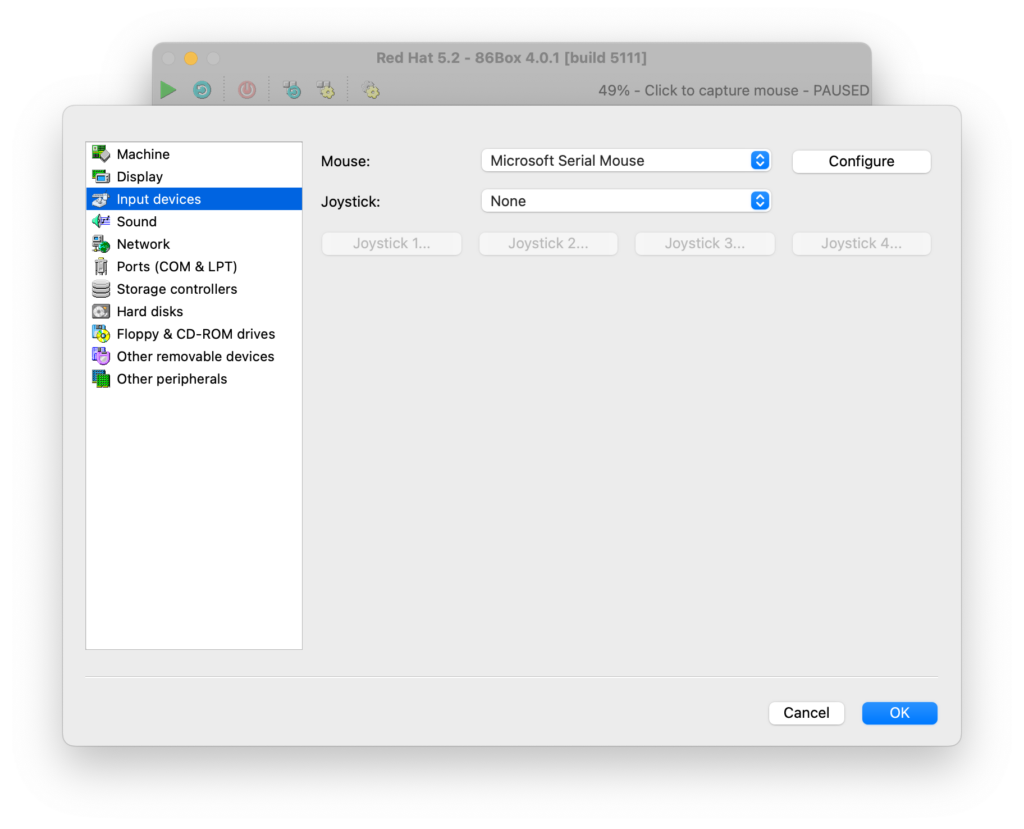
On the ‘Input devices‘ page set ‘Mouse‘ to ‘Microsoft Serial Mouse‘.
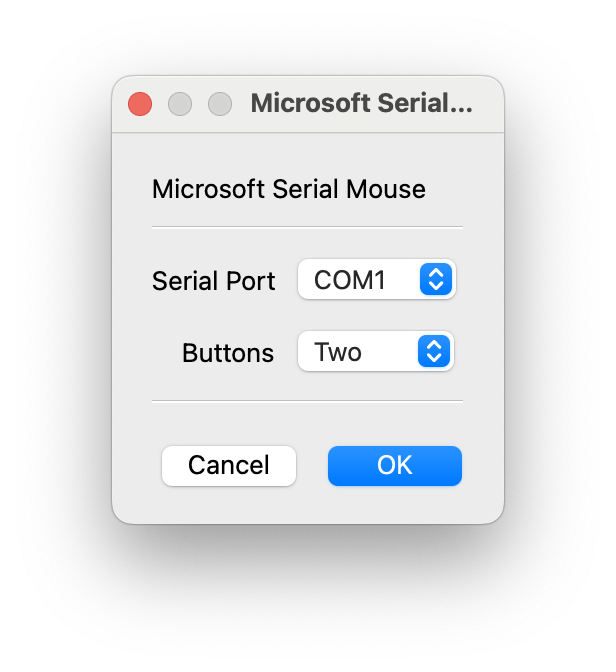
On the ‘Input devices‘ page open the ‘Configure‘ settings for ‘Mouse‘ and ensure ‘Serial Port‘ is set to ‘COM1‘ and ‘Buttons‘ is set to ‘Two‘.
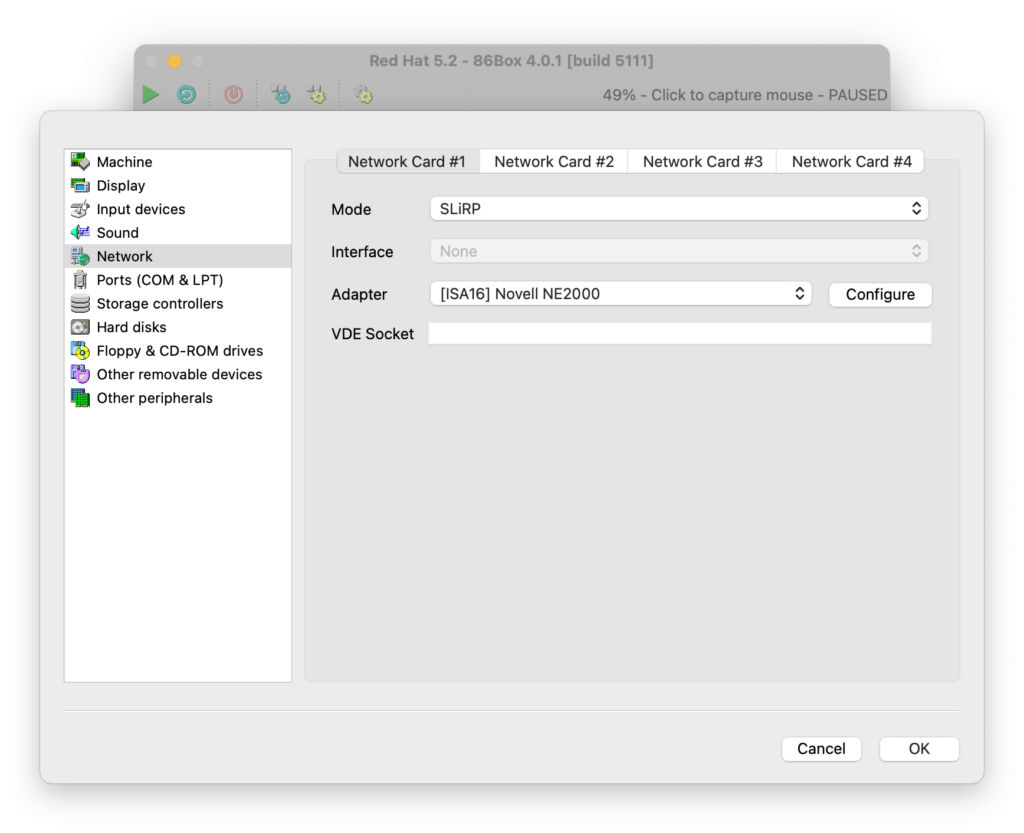
On the ‘Network‘ page set ‘Mode‘ to ‘SLiRP‘ and ‘Adapter‘ to ‘[ISA16] Novell NE2000‘.
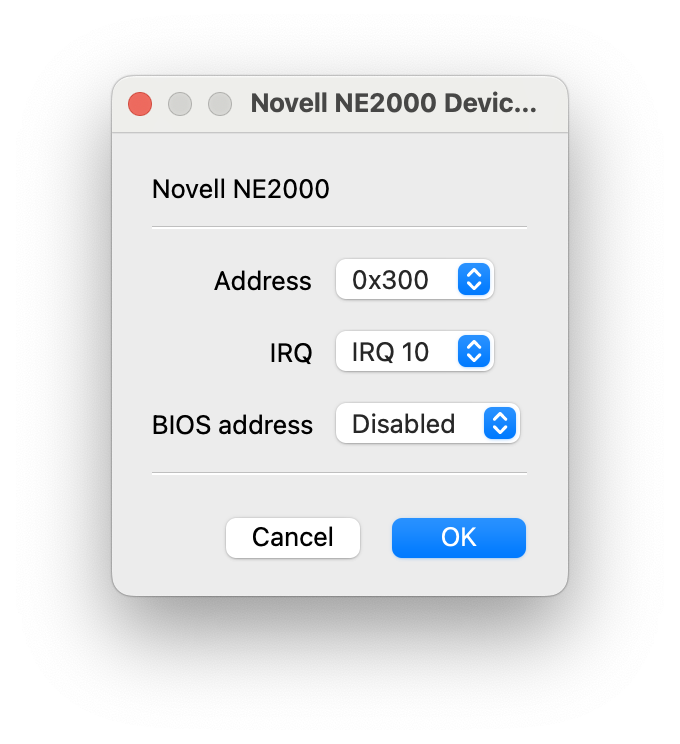
On the ‘Network‘ page open the ‘Configure‘ settings for ‘Adapter‘ and ensure ‘Address‘ is set to ‘0x300‘, ‘IRQ” is set to ‘IRQ 10‘ and ‘BIOS address‘ is set to ‘Disabled‘.
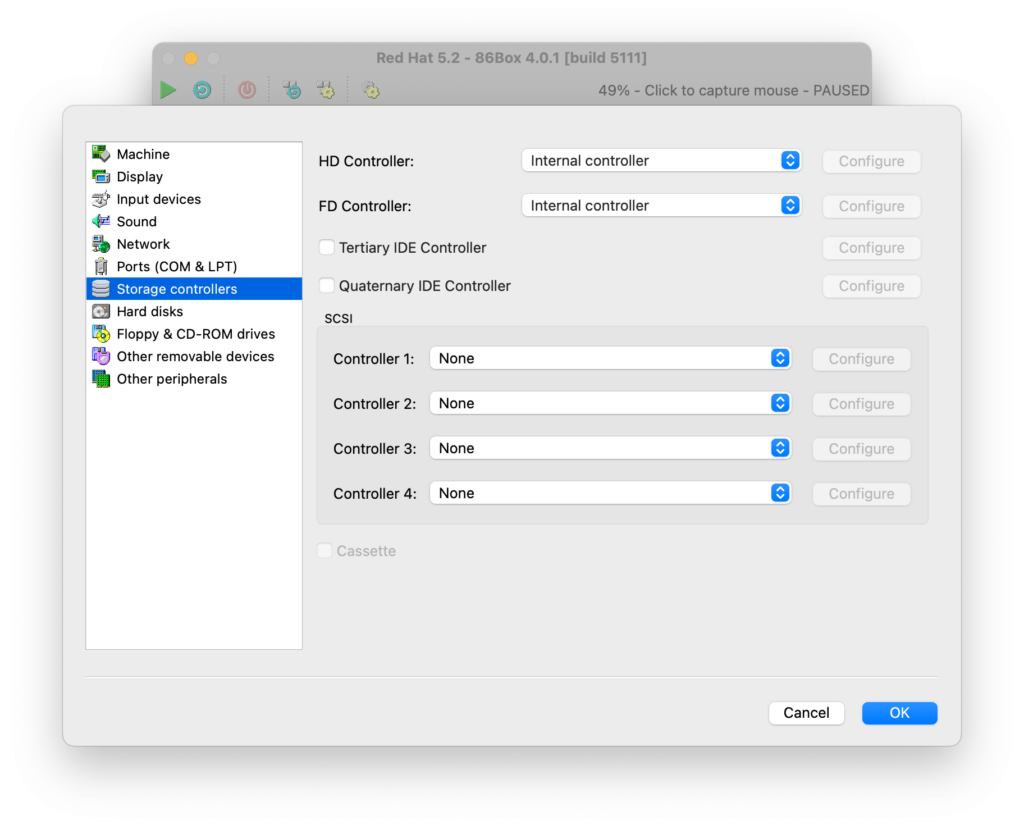
On the ‘Storage controllers‘ page set ‘HD‘ to ‘Internal controller‘ and ‘FD‘ to ‘Internal controller‘.
On the ‘Hard disks‘ page select ‘New‘.
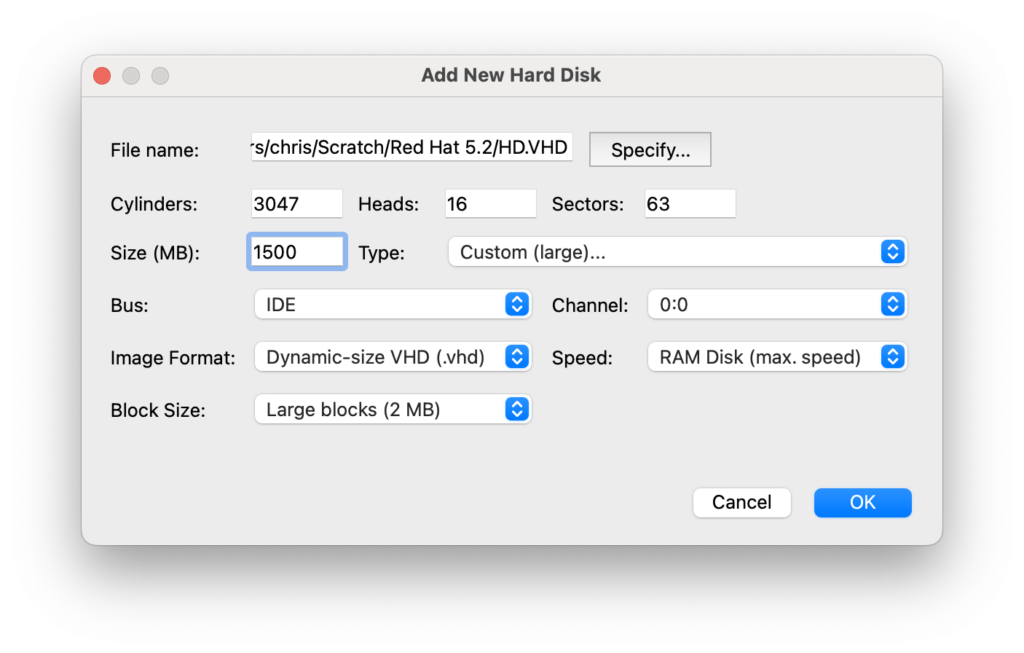
In the ‘Add New Hard Disk‘ dialogue set the following values.
| Setting | Value |
| File name | The location you wish to store the VM hard drive |
| Cylinders | 3047 |
| Heads | 16 |
| Sectors | 63 |
| Size | 1500 |
| Type | Custom (large)… |
| Bus | IDE |
| Channel | 0:0 |
| Image Format | Dynamic-size VHD (.vhd) |
| Speed | RAM Disk (max. speed) |
| Block Size | Large blocks (2 MB) |
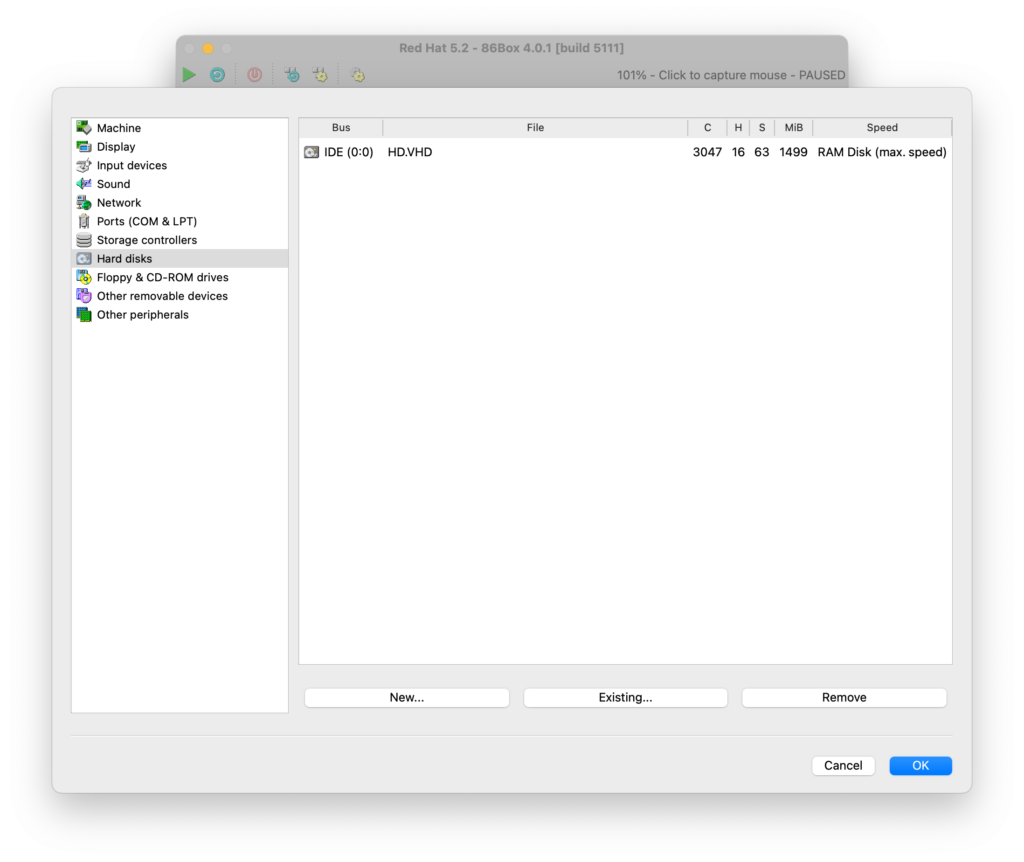
Close the dialogue and ensure the ‘Hard disks‘ page table has updated to reflect the new virtual disk.
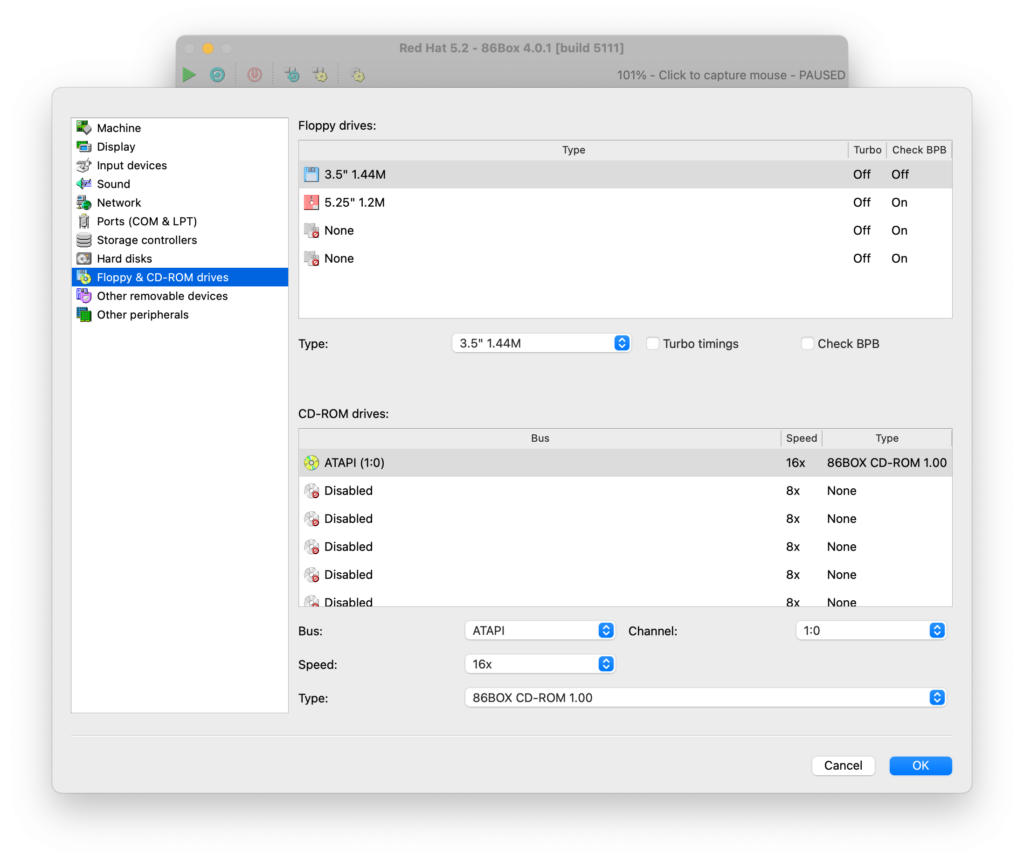
On the ‘Floppy & CD-ROM drives‘ page set the first floppy drive to ‘3.5″ 1.44M‘ and set the second floppy drive to ‘5.25″ 1.2M‘.
Set the first CD-Rom drive to…
| Setting | Value |
| Bus | ATAPI |
| Channel | 1:0 |
| Speed | 16x |
| Type | 86BOX CD-ROM 1.00 |
Click ‘OK‘ to close the configuration screen and to boot the virtual machine.
Configuring the BIOS
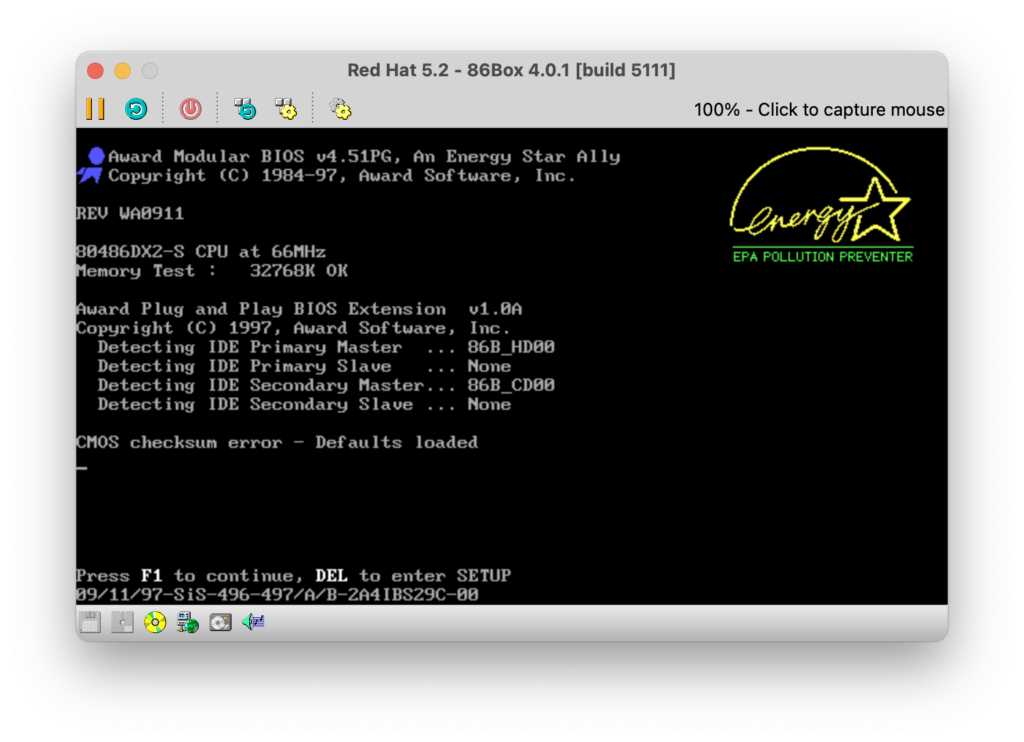
On first boot the virtual machine will report a CMOS checksum error. Press ‘Del‘ to enter SETUP.
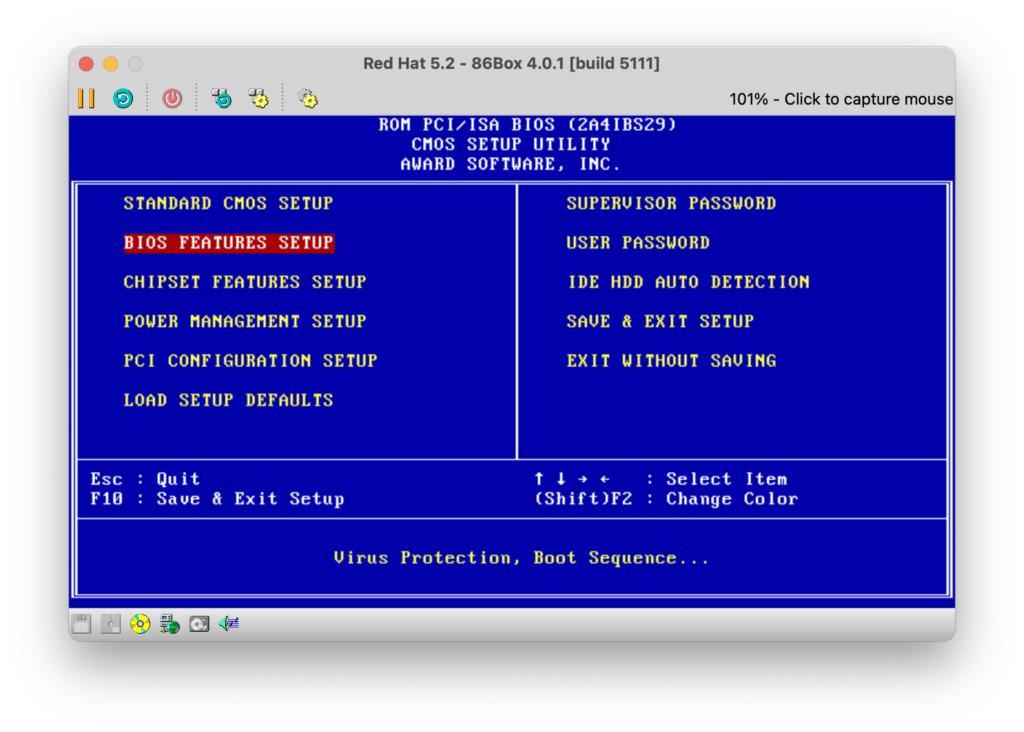
Use the keyboard to navigate to the ‘BIOS FEATURES SETUP‘ option. Press enter to open this option.
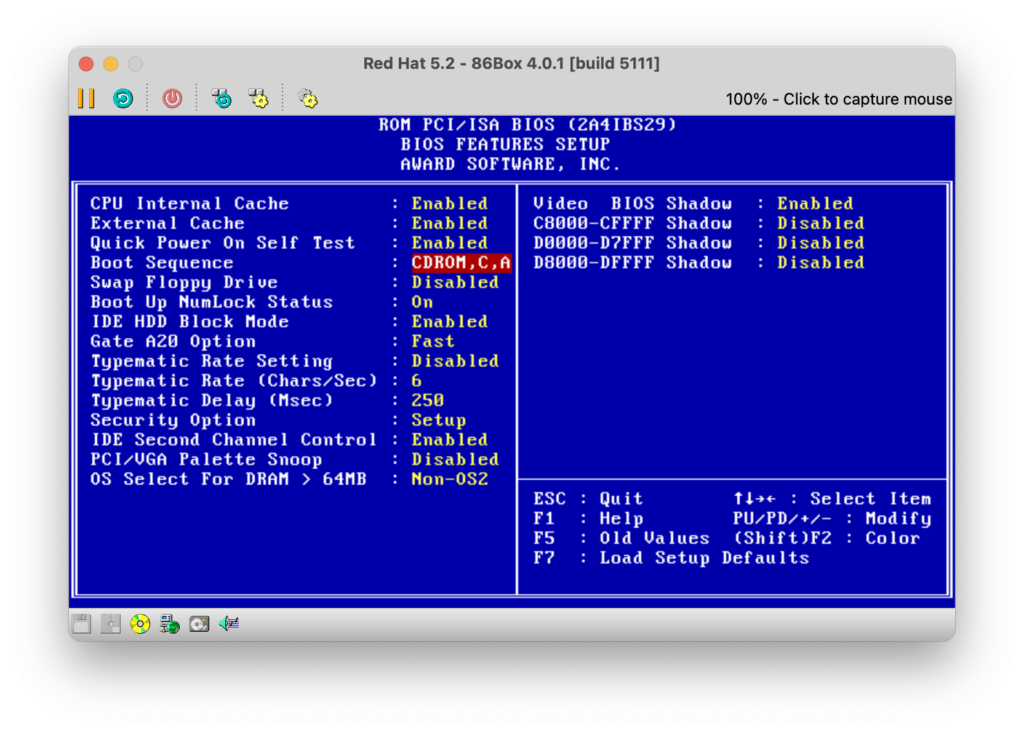
Use the keyboard to navigate to the ‘Boot Sequence‘ options. Cycle through the various options using the ‘+‘ key until they read ‘CDROM,C,A‘. Exit the page with ‘ESC.
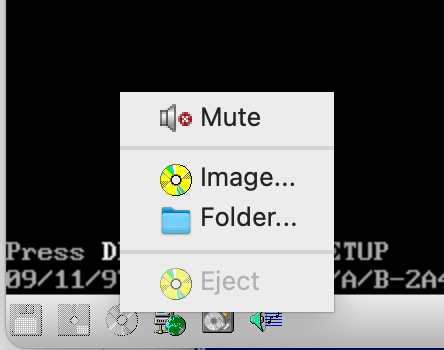
At this point you will need to point 86Box at the first disk image of Red Hat Linux 5.2 This can be done by selecting the ‘CD Rom‘ image in the bottom toolbar, selecting ‘Image…‘, and navigating to the first .iso. In the Archive.org disk set that we downloaded earlier, this will be called ‘red-hat-linux-5.2-cd1.iso‘. Other versions may utilise a different naming convention.
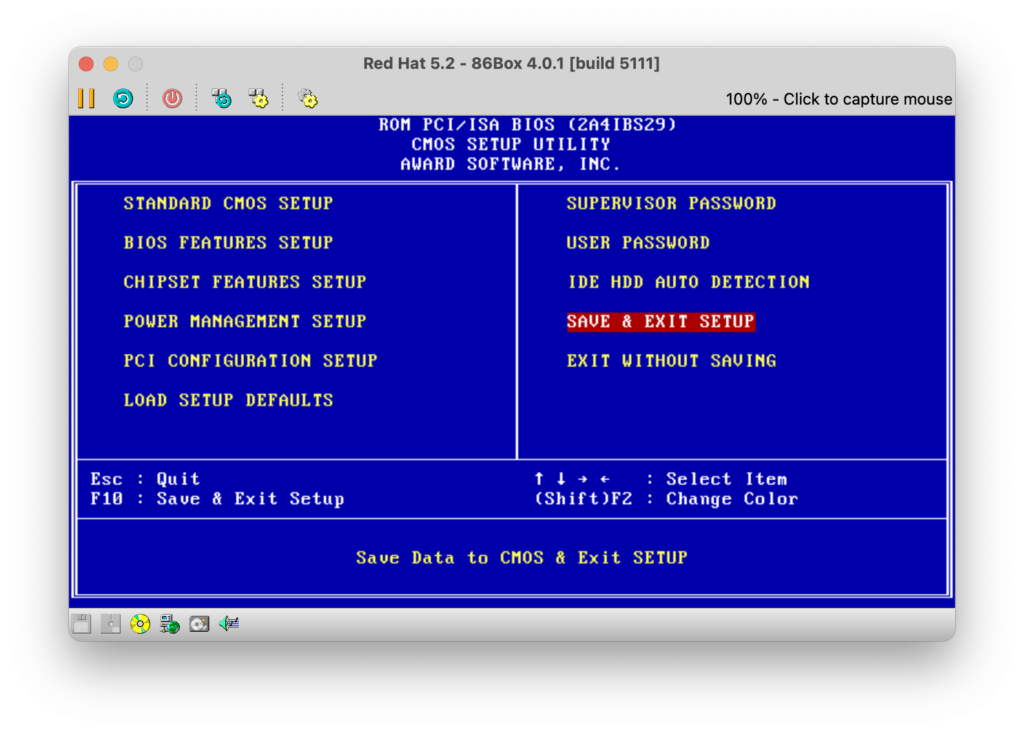
Use the arrow keys to select option ‘SAVE & EXIT SETUP‘. When asked, answer ‘YES‘ to saving changes.
The virtual machine will reboot.
The virtual machine will boot past the previous failure point.
Running the Installer

The Red Hat Linux 5.2 installer will then automatically boot to the initial welcome menu. The virtual machine we have configured does not require any custom parameters and so we can continue by pressing ‘Enter‘.
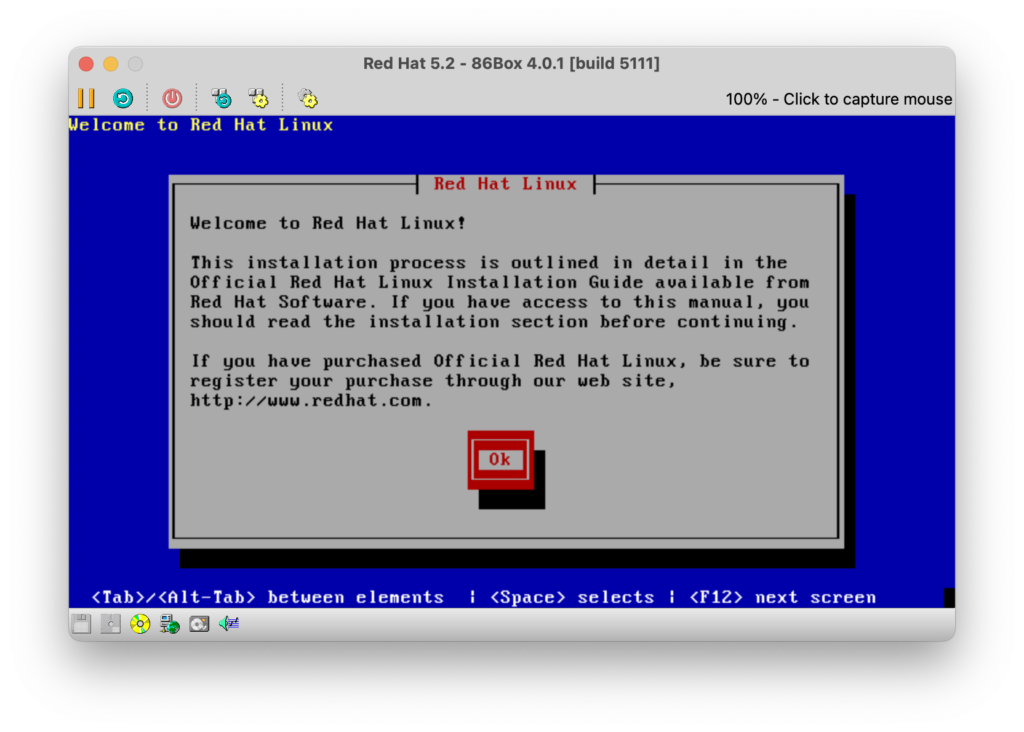
When presented with the ‘Welcome’ screen select ‘Ok‘ and press ‘Enter‘.
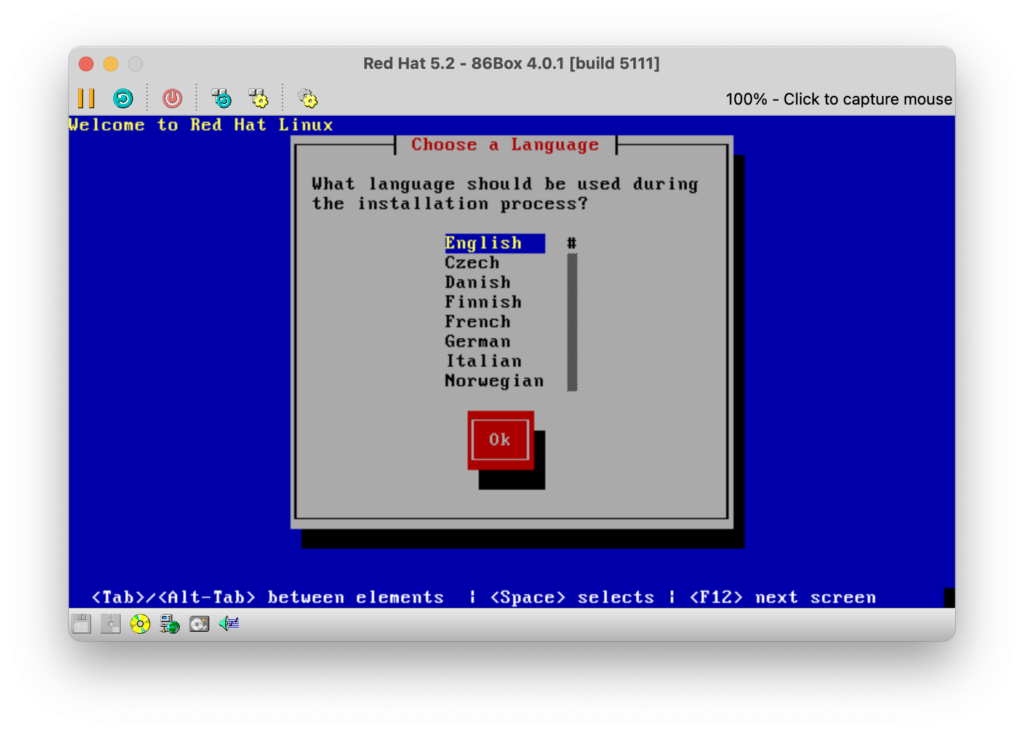
Select your preferred installer language and press ‘Enter‘.
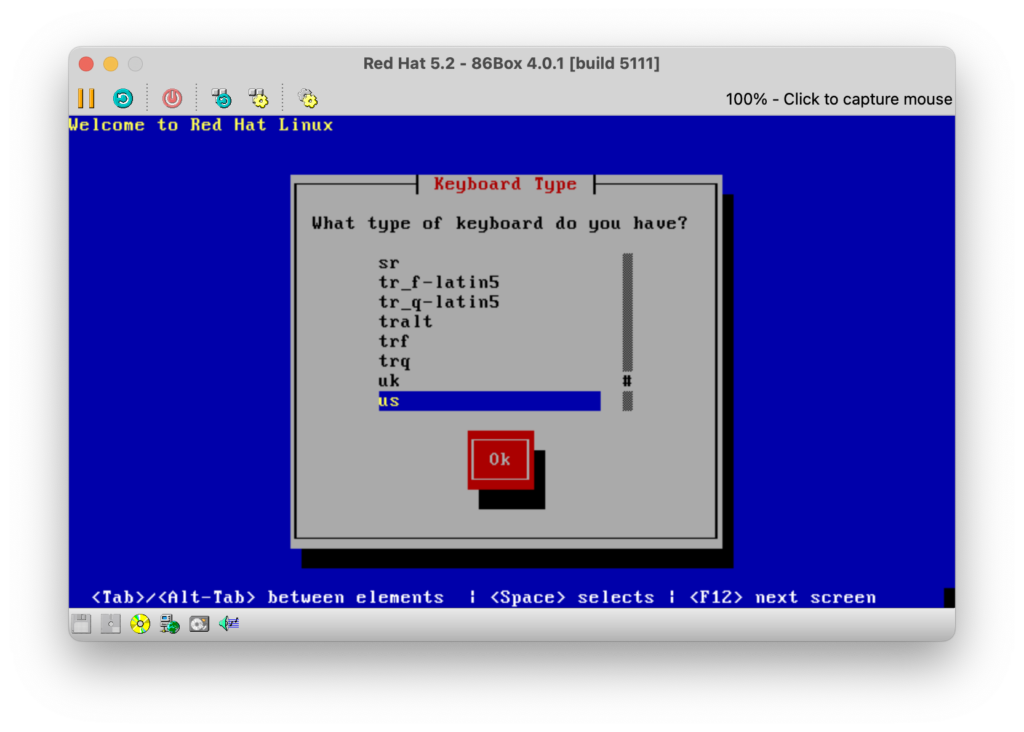
Select your preferred keyboard type and press ‘Enter‘.
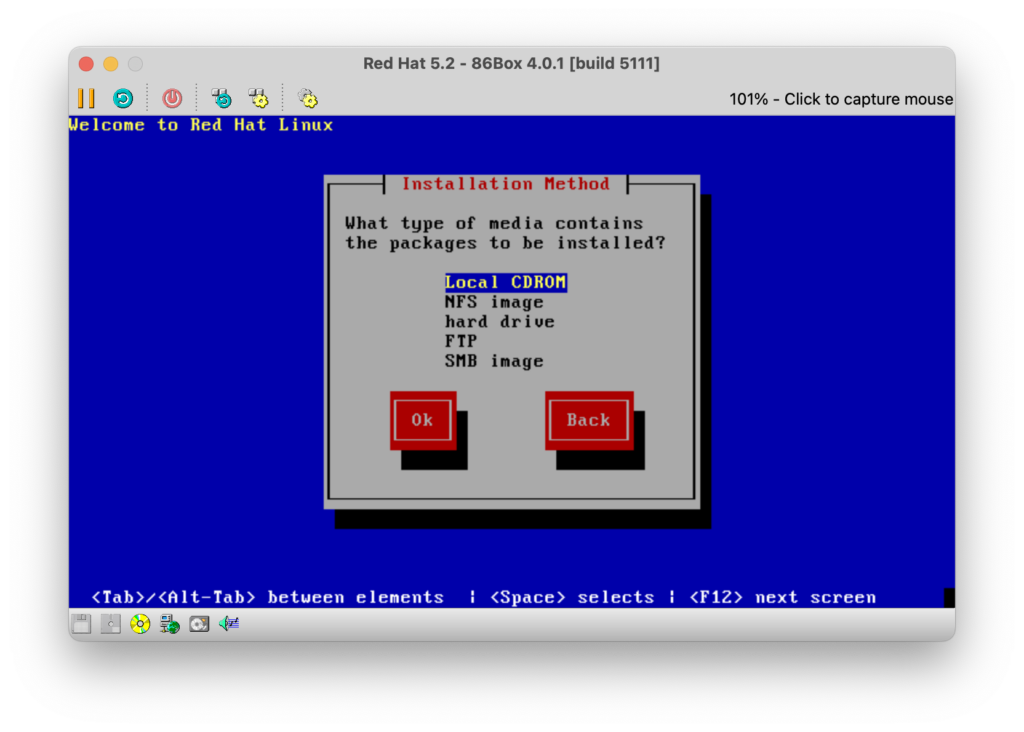
Select ‘Local CDROM‘ as your installation source and press ‘Enter‘.
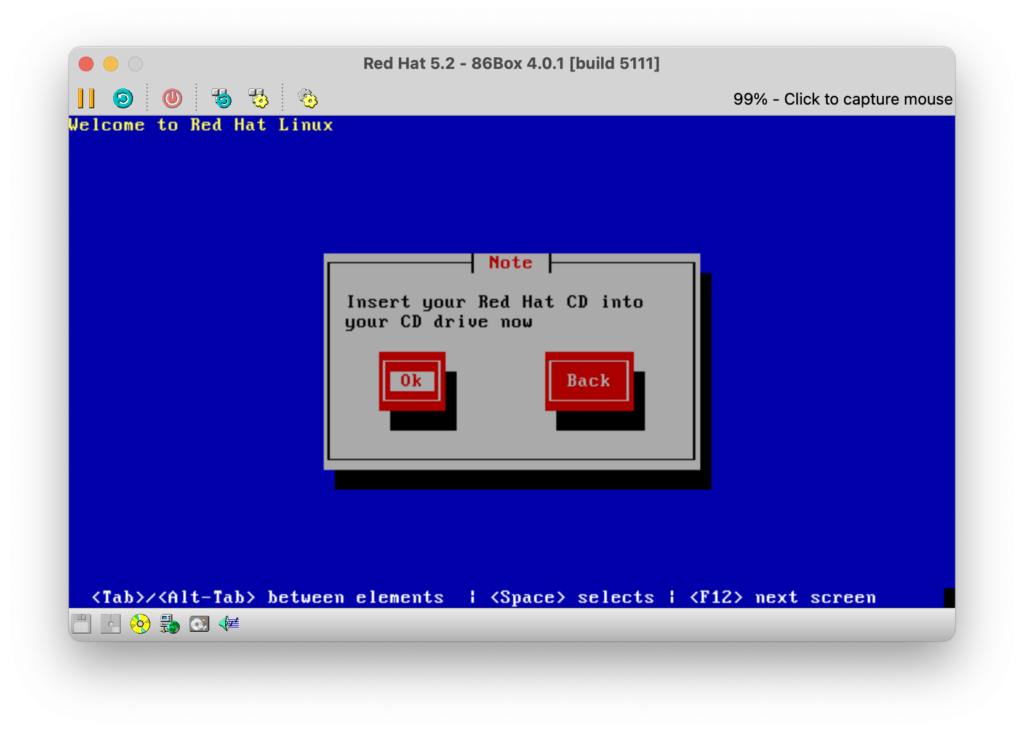
Select ‘OK‘ and press ‘Enter‘.

Select ‘Install‘ and press ‘Enter‘.
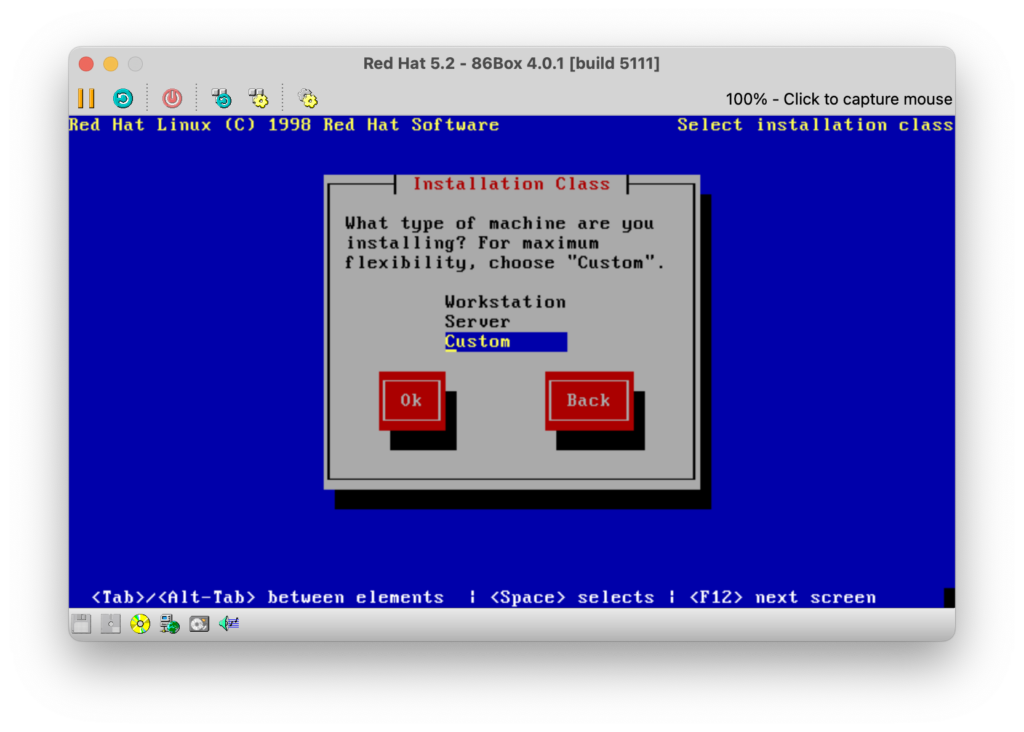
Select ‘Custom‘ and press ‘Enter‘.
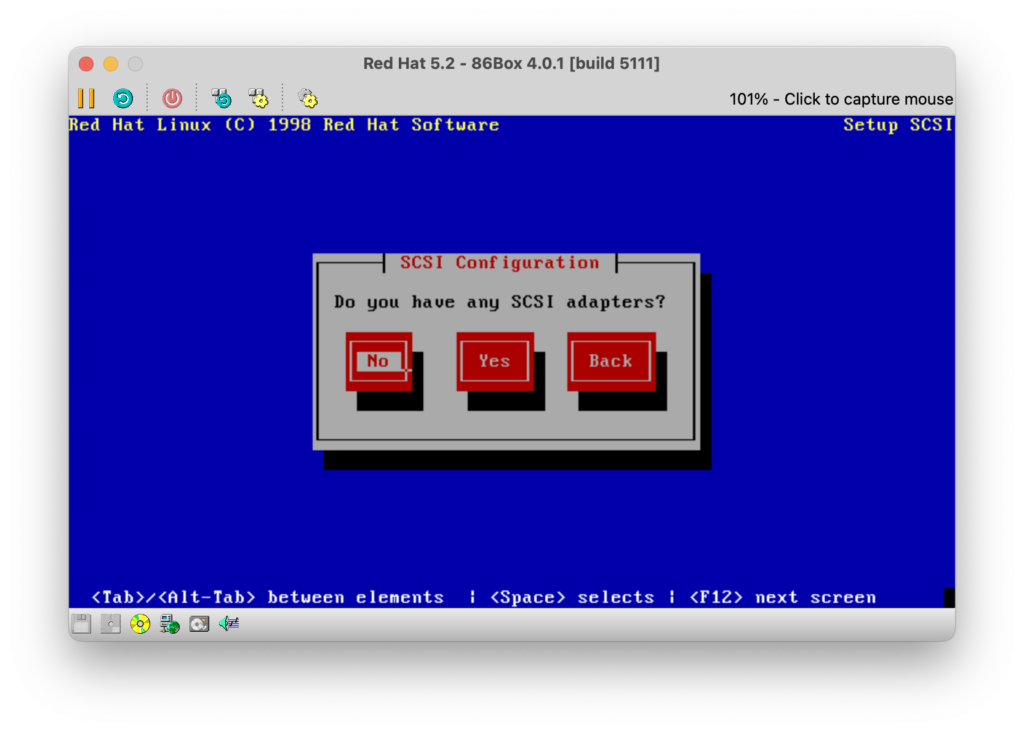
Select ‘No‘ and press ‘Enter‘.
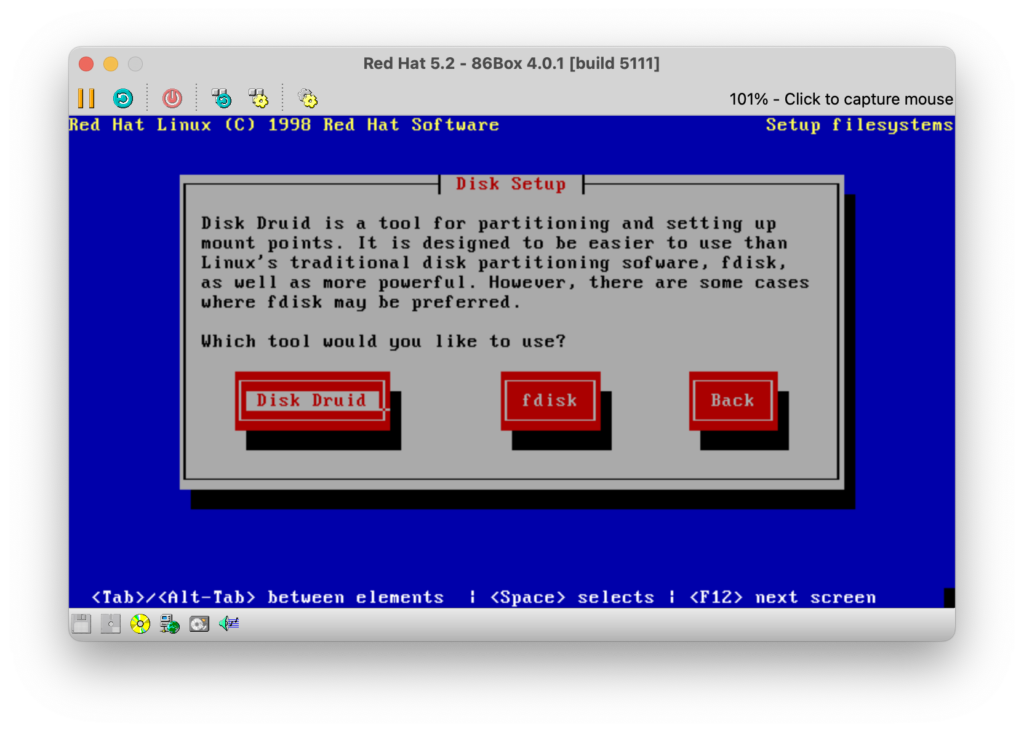
Select ‘Disk Druid‘ and press ‘Enter‘.
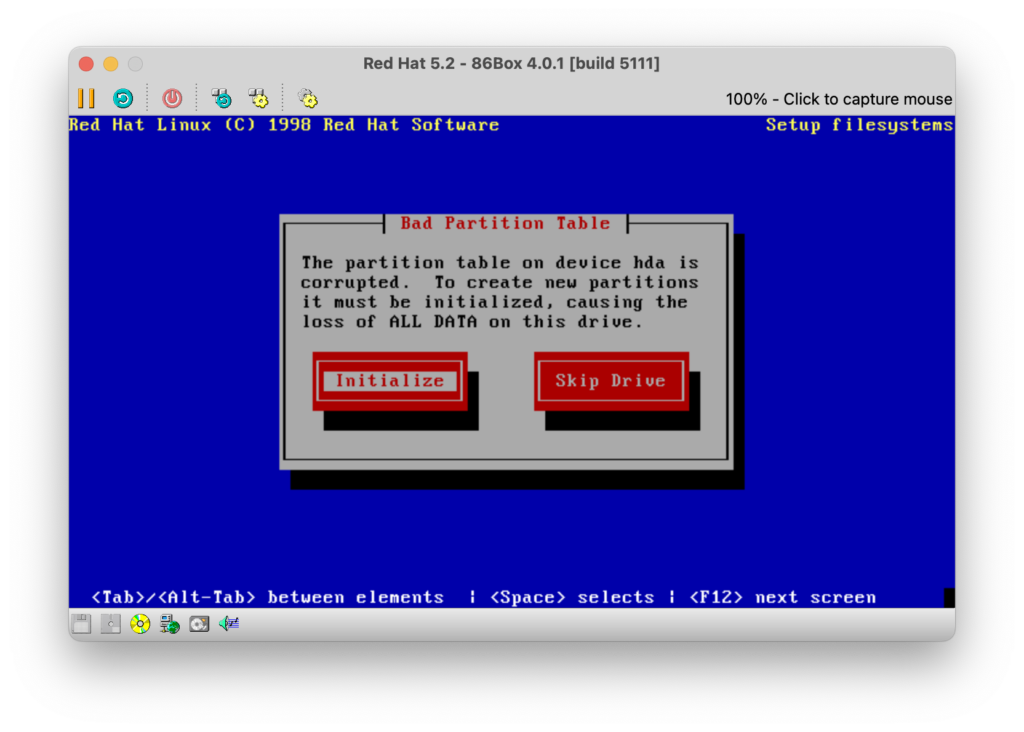
Select ‘Initialize‘ and press ‘Enter‘.
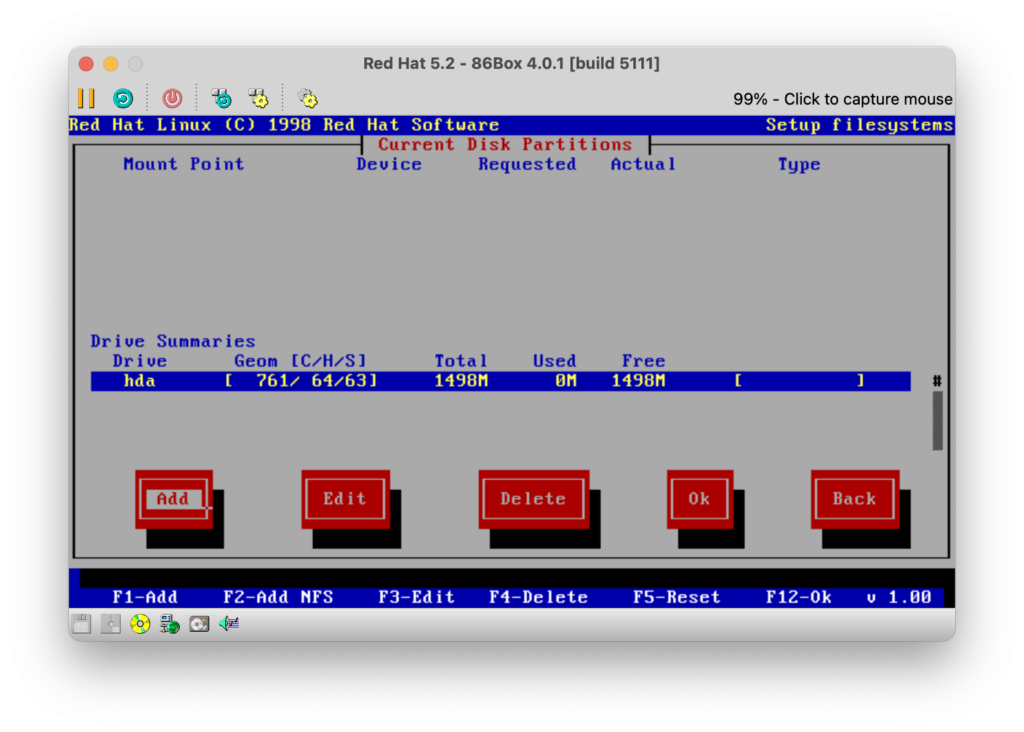
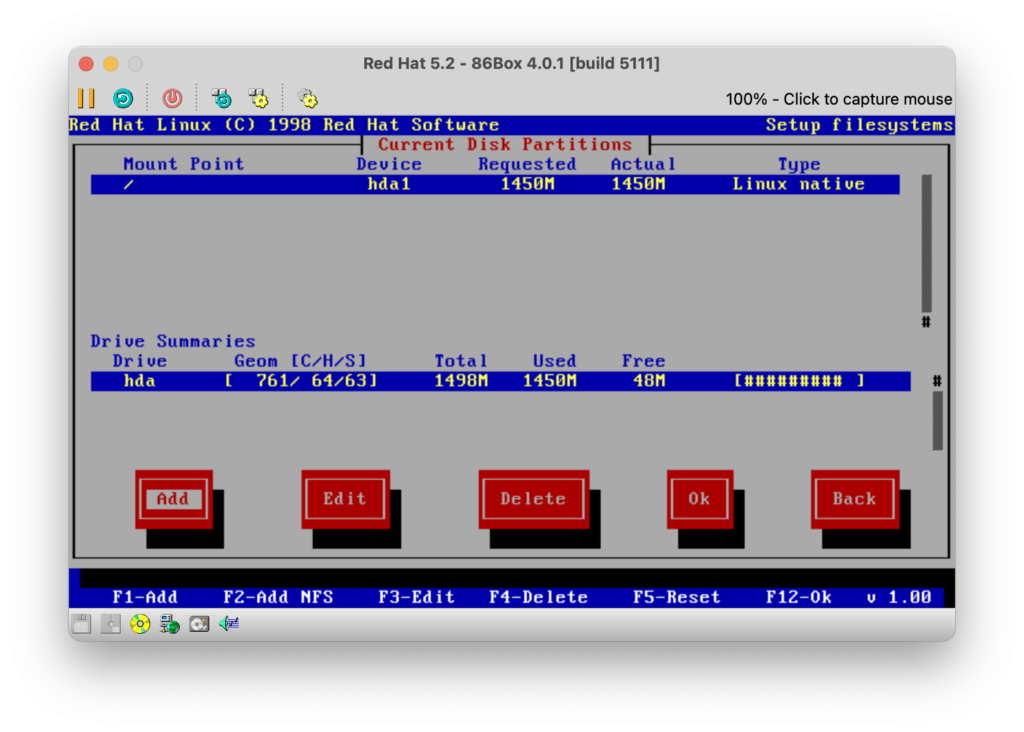
You will now need to partition your hard drive. The first partition we will add is the root partition. This is where we will eventually perform our install. Select ‘Add‘ and press ‘Enter‘.
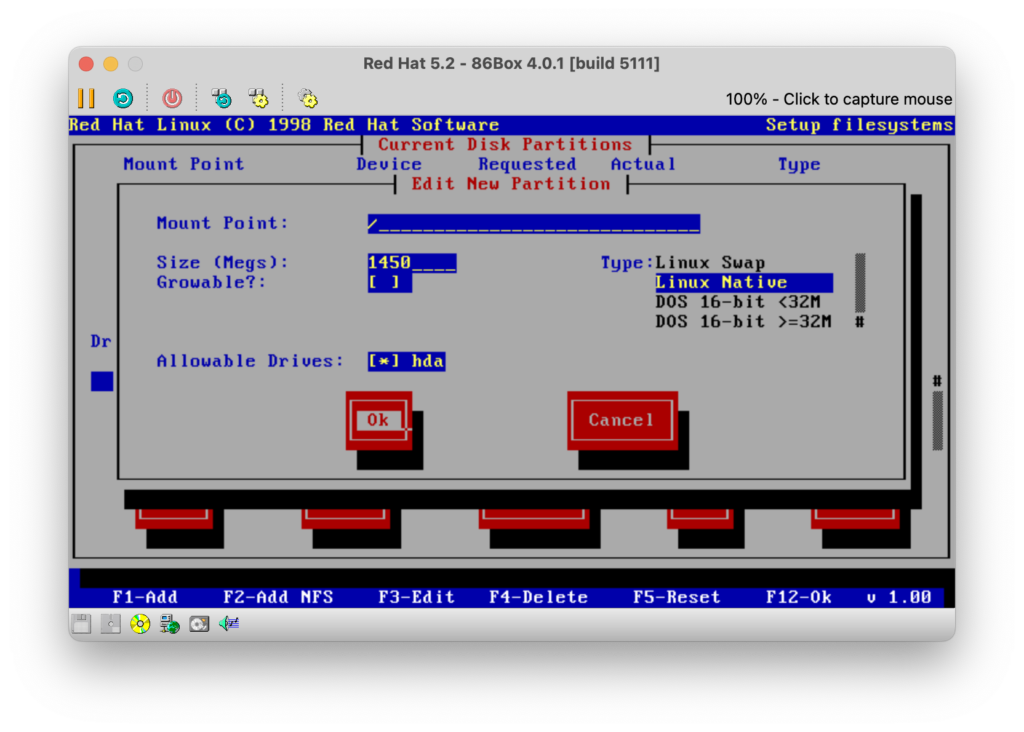
Configure the new partition as follows. The ‘Tab‘ key can be used to navigate between fields and the ‘Spacebar‘ can be used to toggle fields between true and false.
| Setting | Value |
| Mount Point | / |
| Size (Megs) | 1450 |
| Growable? | False |
| Allowable Drives | hda to True |
| Type | Linux Native |
When this has been completed, select ‘OK‘ and press ‘Enter‘.
After adding our root partition it will now be displayed under Current Disk Partitions. We must now add a second partition – a partition our Red Hat Linux 5.2 installation will use for Swap. Select ‘Add‘ and press ‘Enter‘.

Configure the new partition as follows.
| Setting | Value |
| Mount Point | <Leave Blank> |
| Size (Megs) | 47 |
| Growable? | False |
| Allowable Drives | hda to True |
| Type | Linux Swap |
Upon setting the ‘Type’ to ‘Linux Swap’ the ‘Mount Point’ field will become uneditable. This is to be expected. When this has been completed, select ‘OK‘ and press ‘Enter‘.
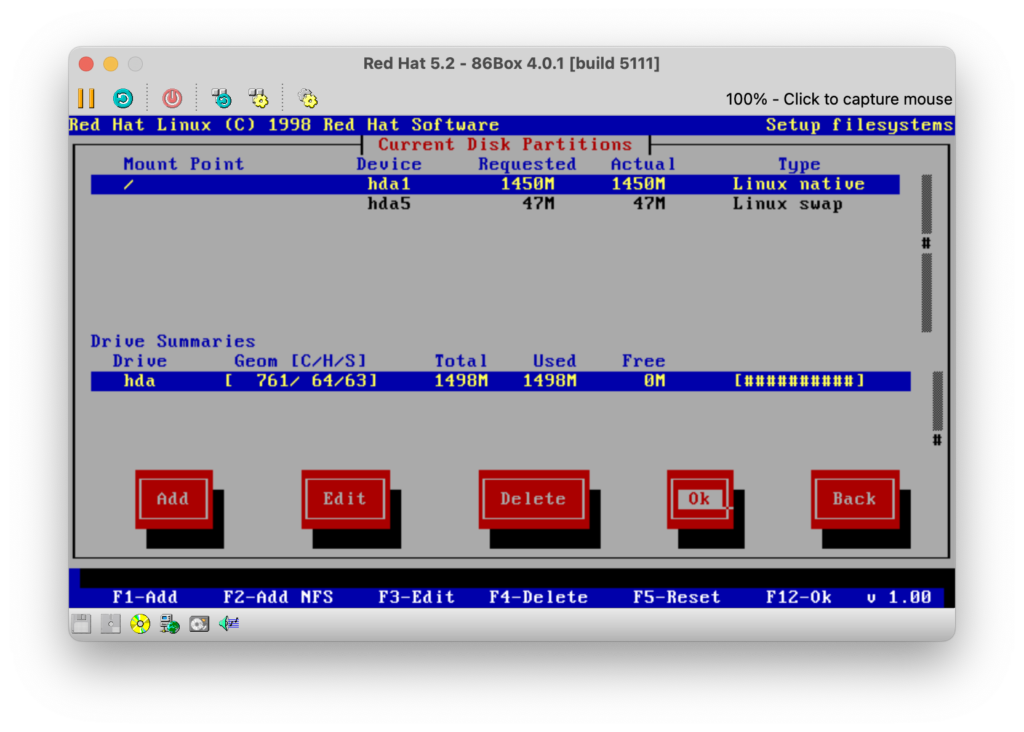
We have now configured our partitions – a single large root partition for data of our installation and a swap partition. Select ‘OK‘ and press ‘Enter‘.
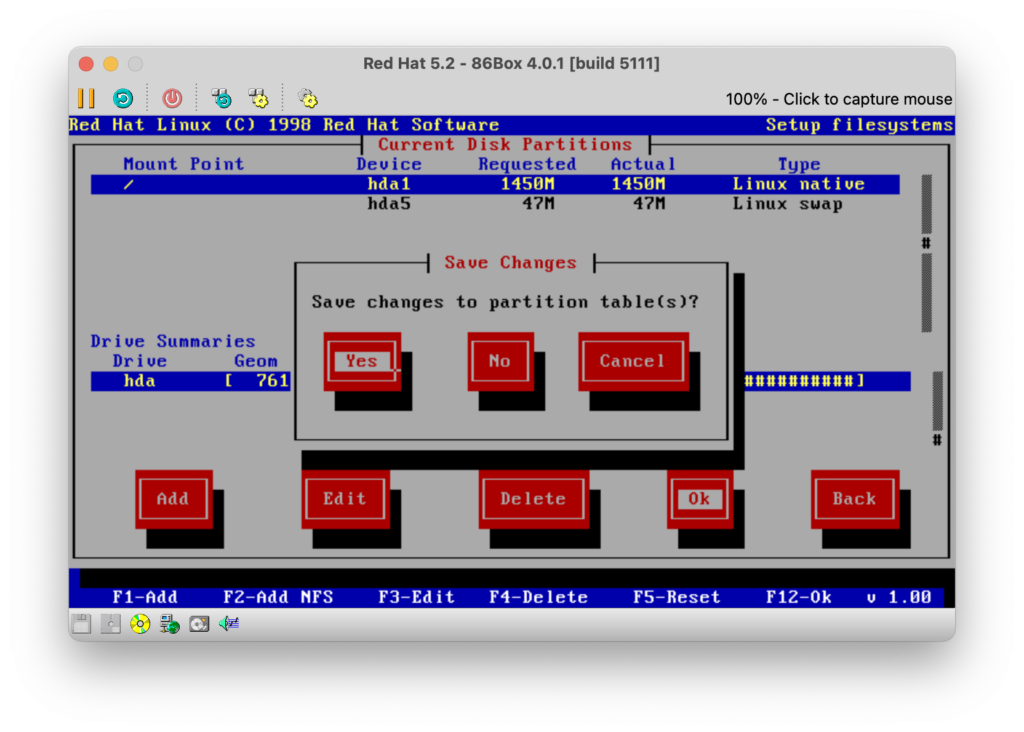
Select ‘Yes‘ and press ‘Enter‘.
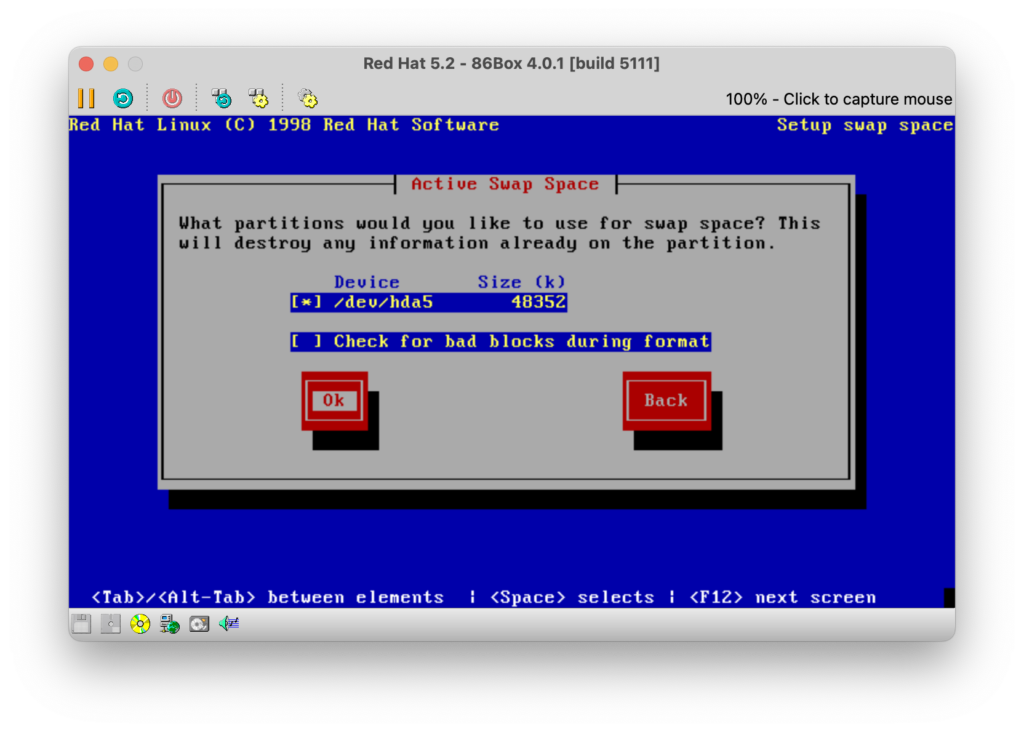
Ensure ‘/dev/hda5‘ is enabled. Select ‘OK‘ and press ‘Enter‘.
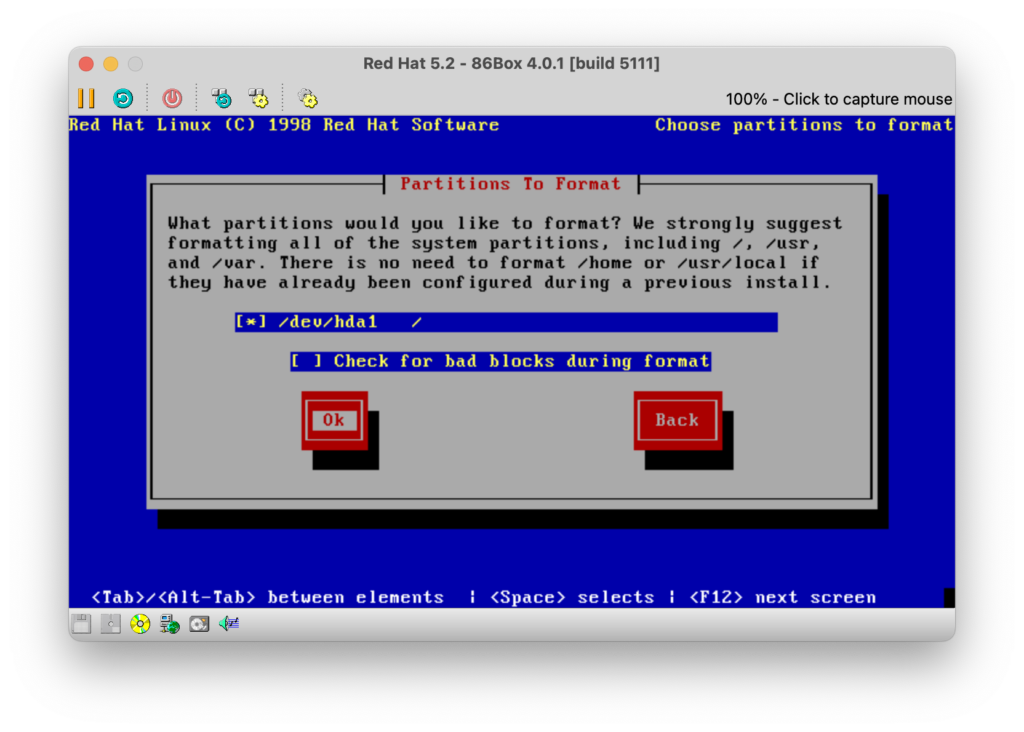
Ensure ‘/dev/hda1‘ is enabled. Select ‘OK‘ and press ‘Enter‘.
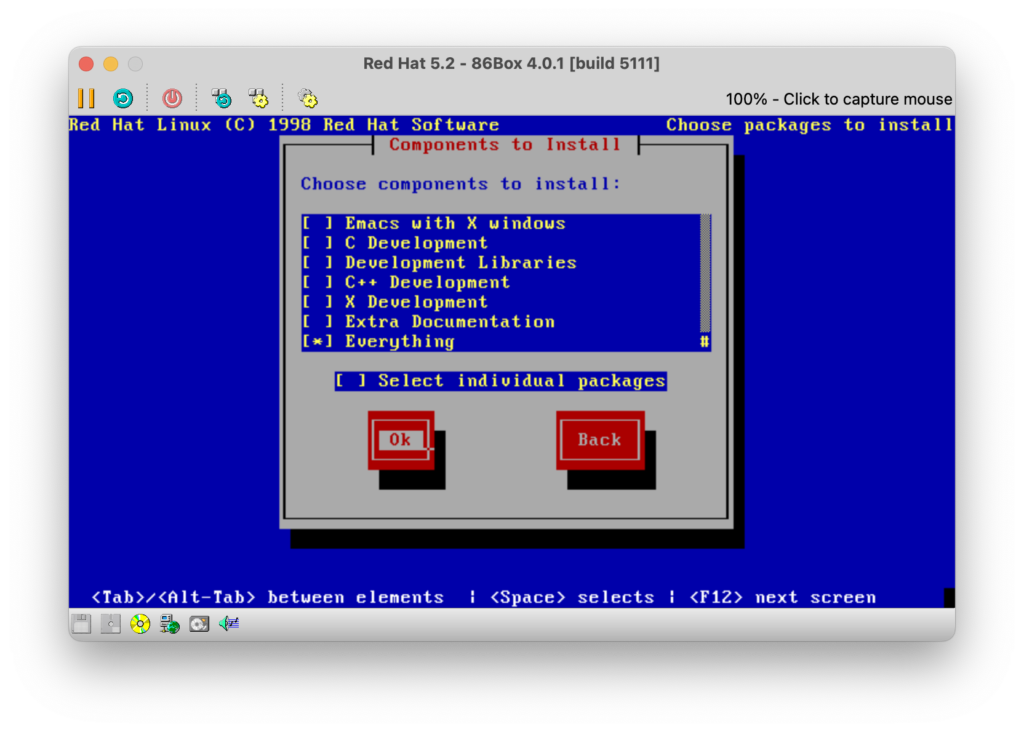
Scroll to the bottom of the ‘Choose components to install‘ box and select ‘Everything‘. Select ‘OK‘ and press ‘Enter‘.
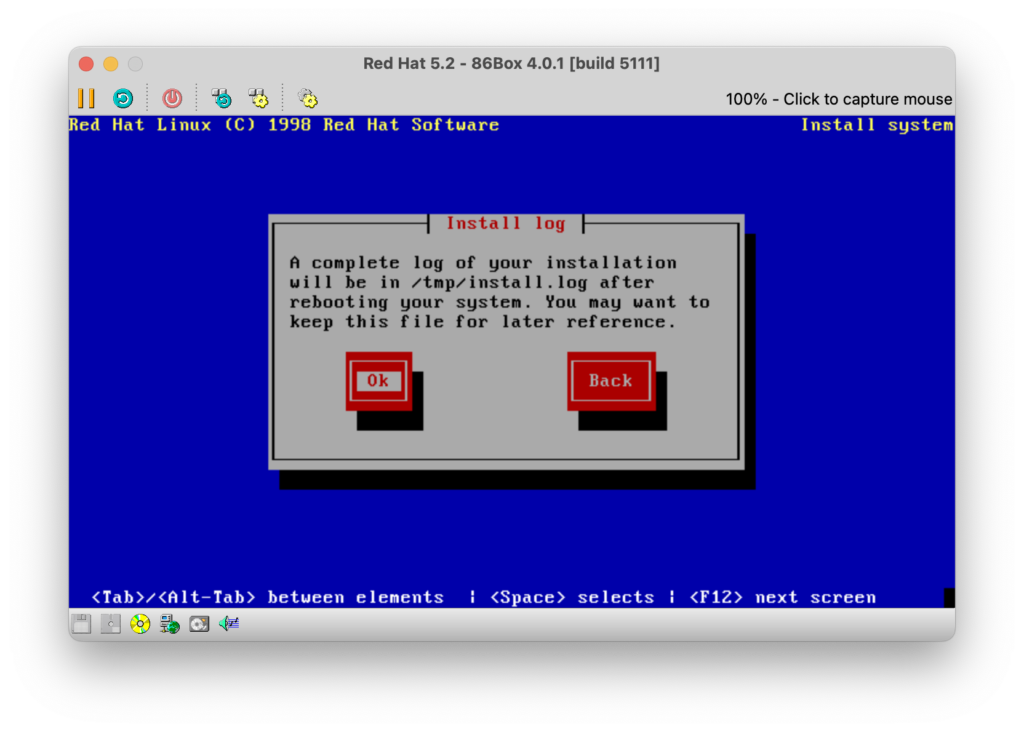
Select ‘OK‘ and press ‘Enter‘.
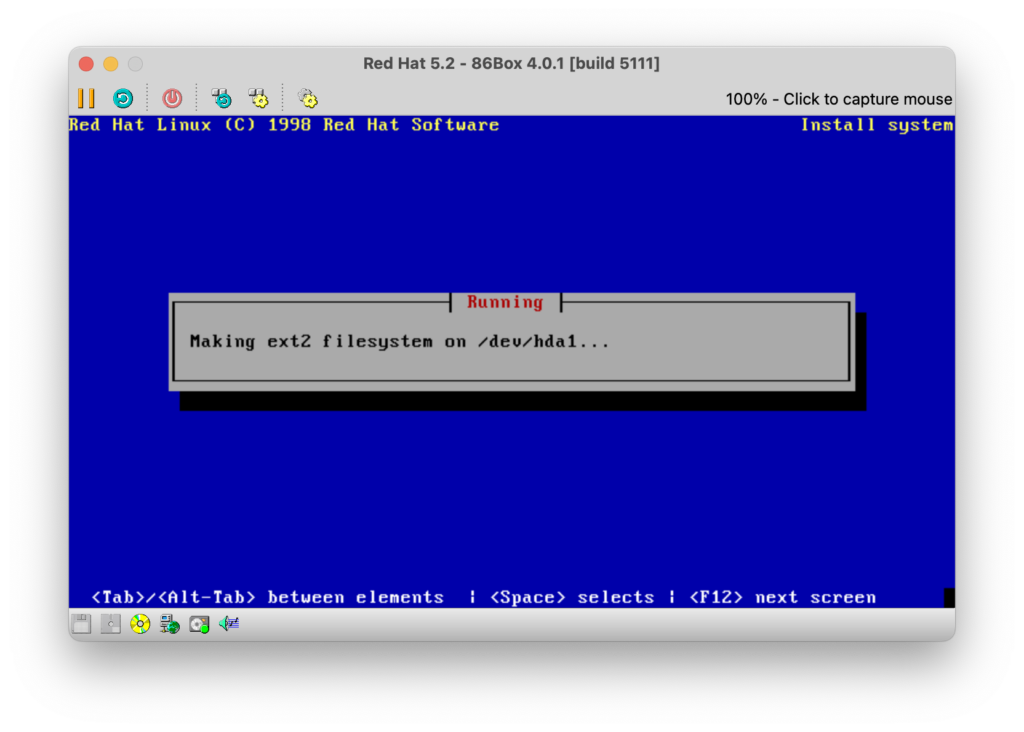
Setup will then format partition ‘hda1‘ with the ‘ext2′ filesystem.
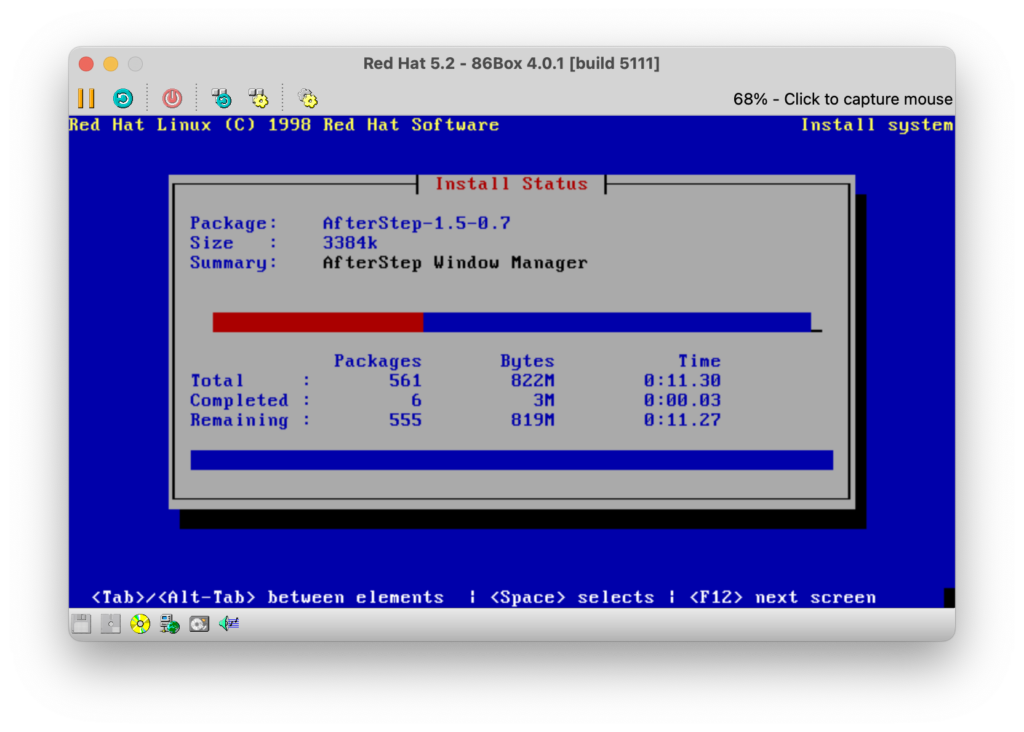
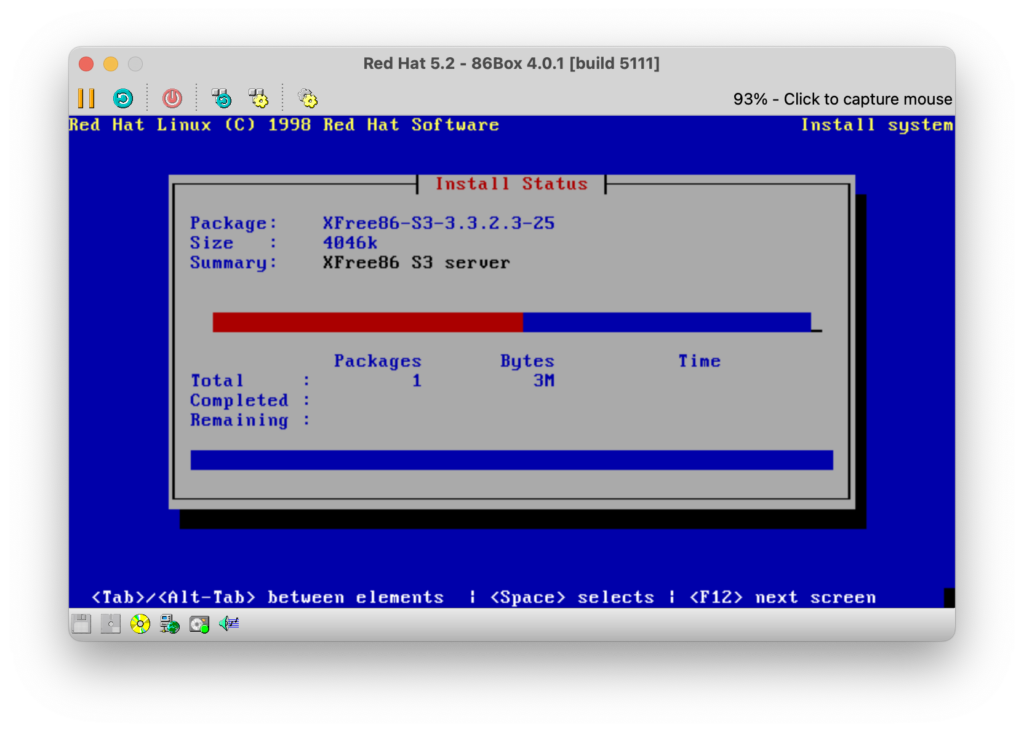
After formatting partition ‘hda1‘ the installer will begin the installation. The time this will take will depend on the speed of the host machine.
Press ‘Enter‘.

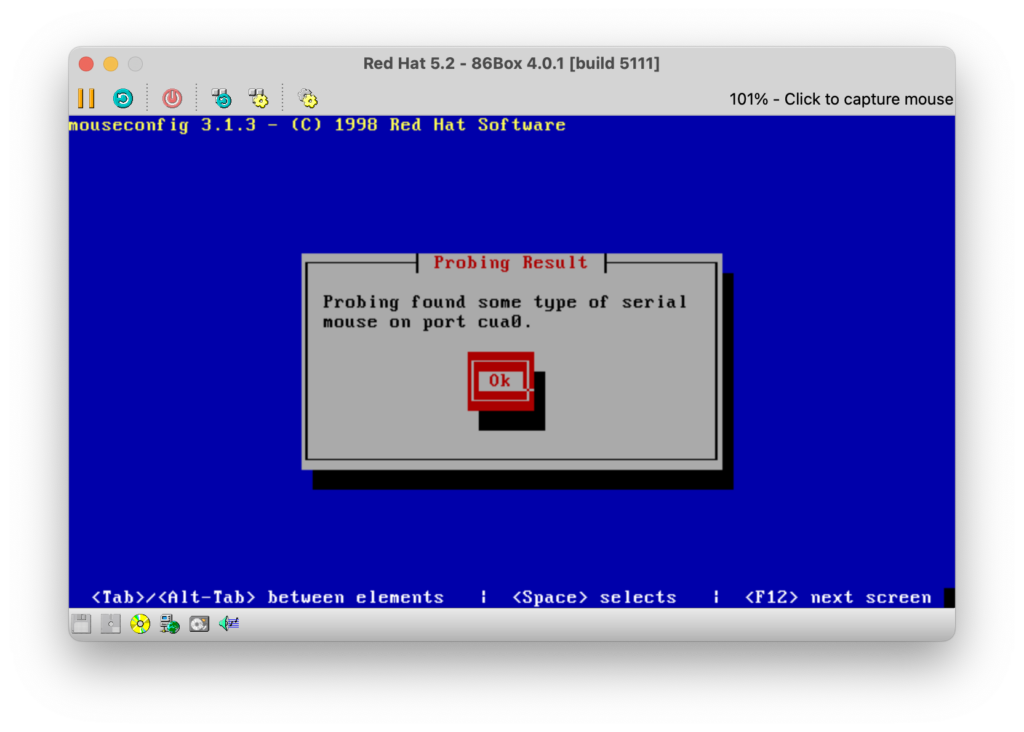
Scroll down the list of mice and select ‘Microsoft compatible (serial)‘. Select ‘OK‘ and press ‘Enter‘.
Press ‘Enter‘.
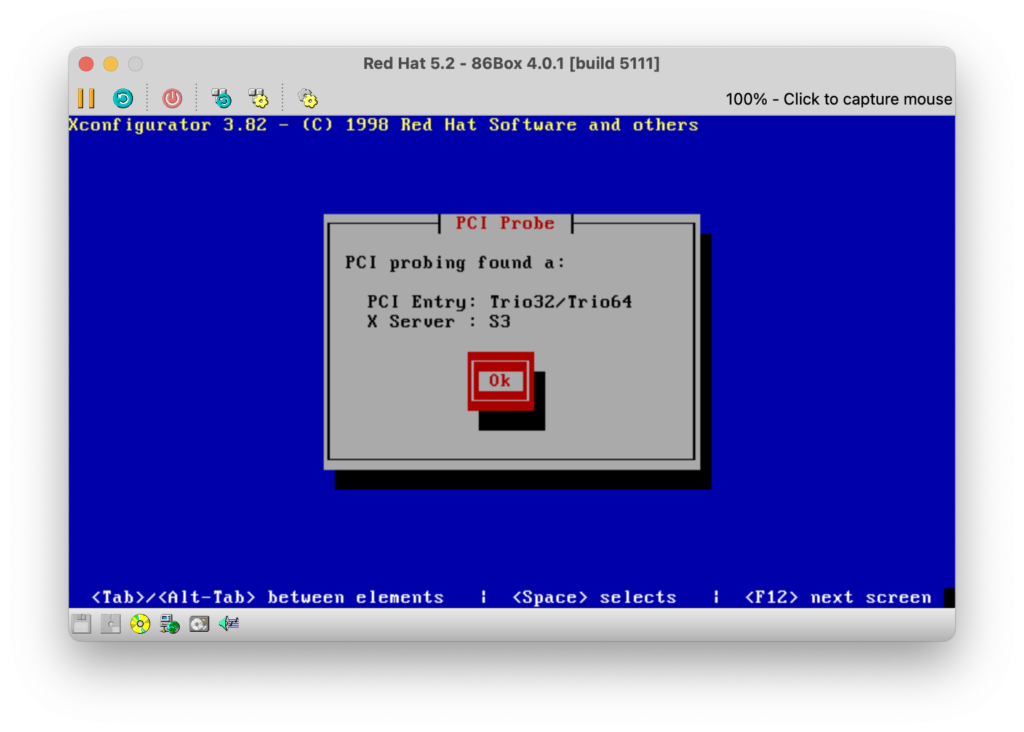
The installer will now install the XServer appropriate to our video card.
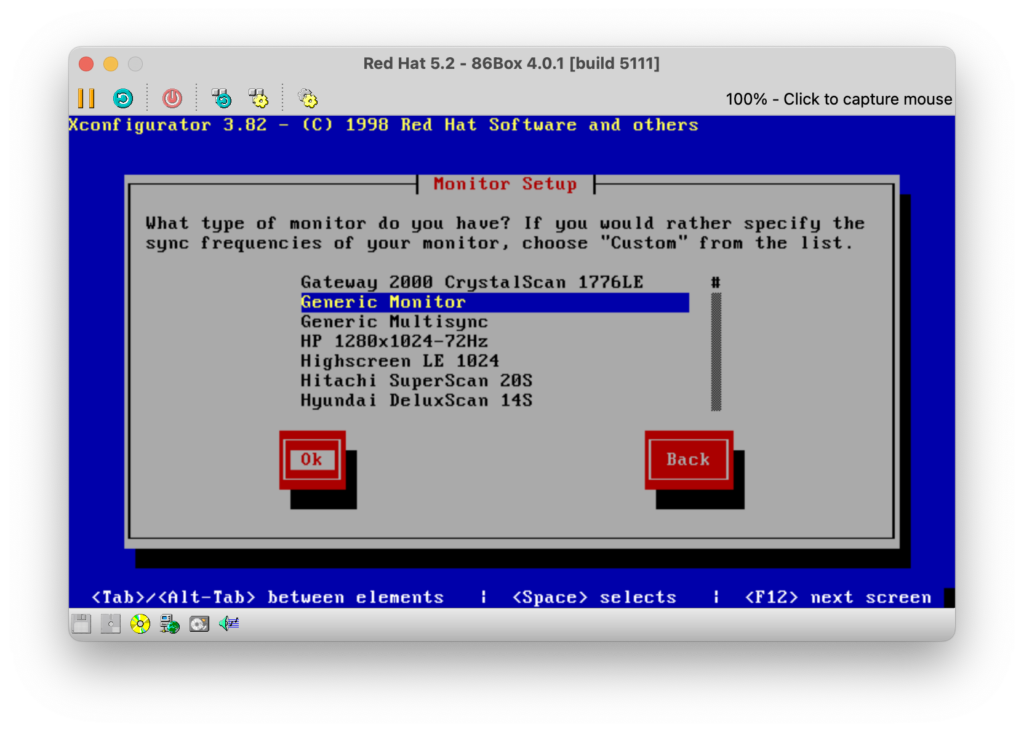
Scroll down the list of monitors and select ‘Generic Monitor‘. Select ‘OK‘ and press ‘Enter‘.
Press ‘Enter‘.
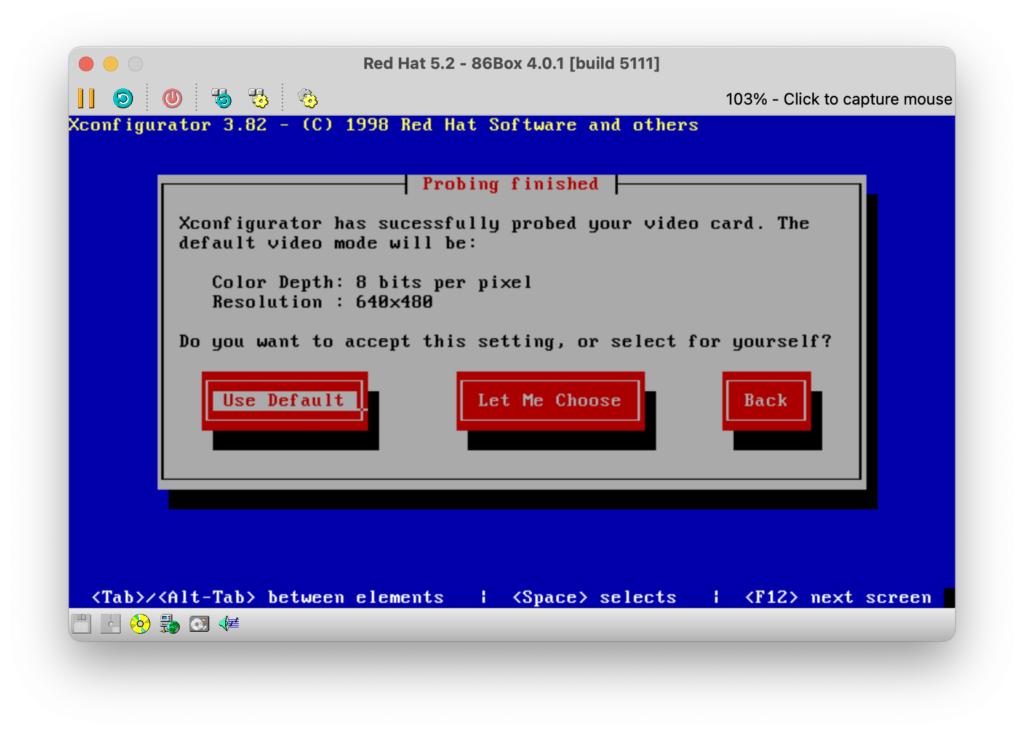
Select ‘Use Default‘ and press ‘Enter‘.

Select ‘Yes‘ and press ‘Enter‘.
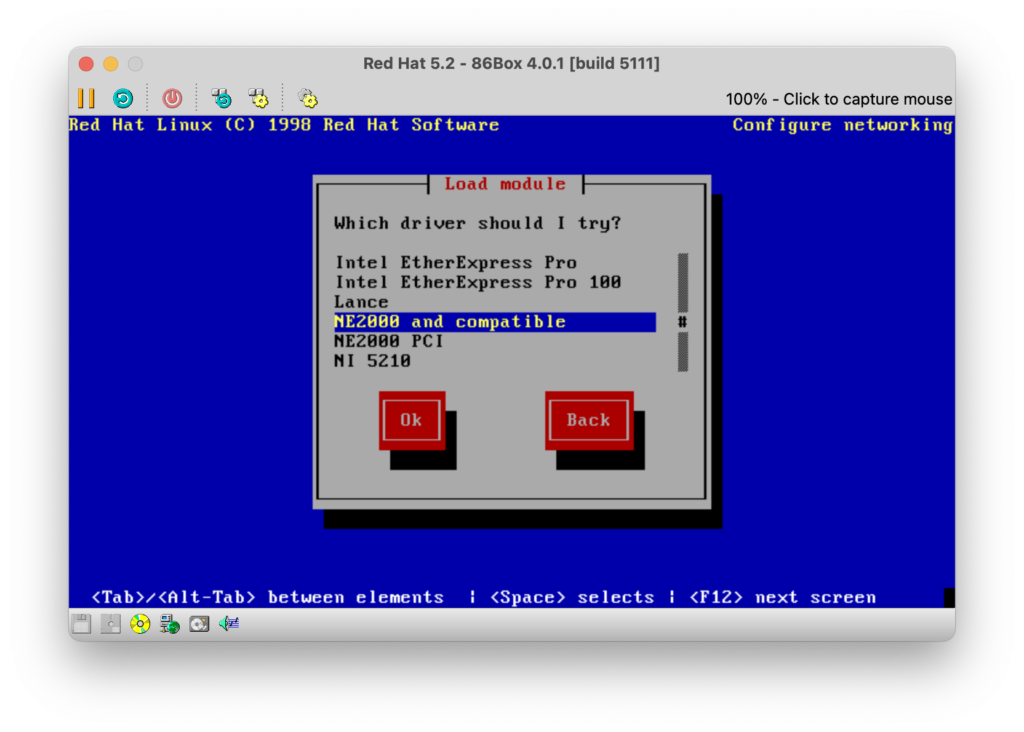
From the list of ‘drivers‘ list select ‘NE2000 and compatible‘. Select ‘OK‘ and press ‘Enter‘.
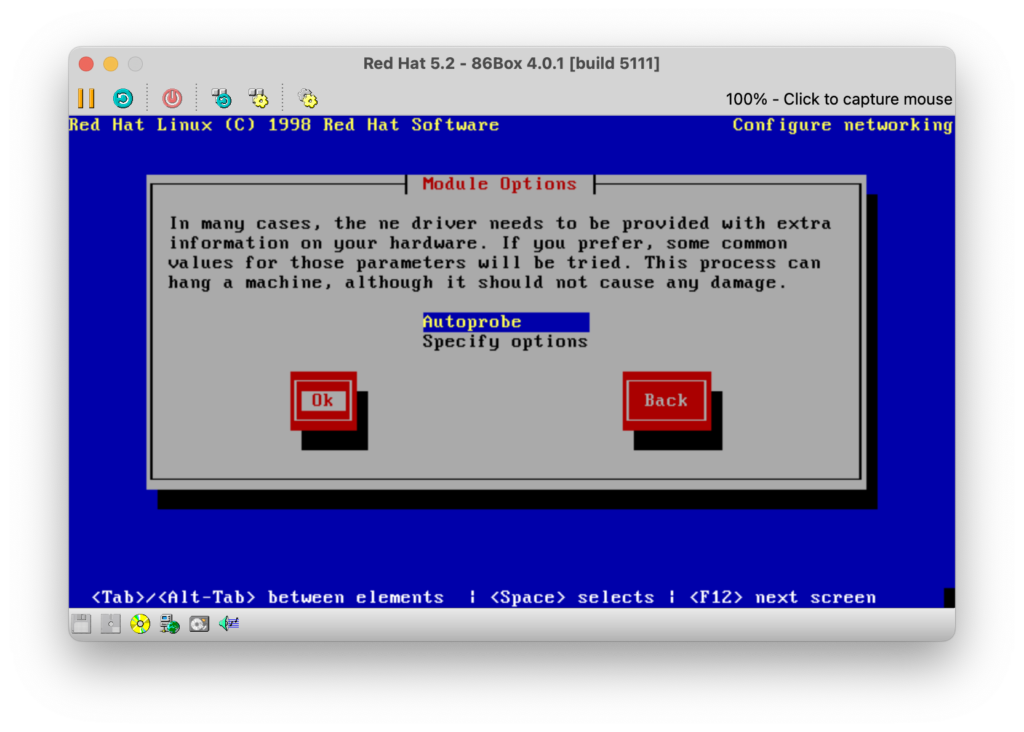
Select the ‘Autoprobe‘ option. Select ‘OK‘ and press ‘Enter‘.
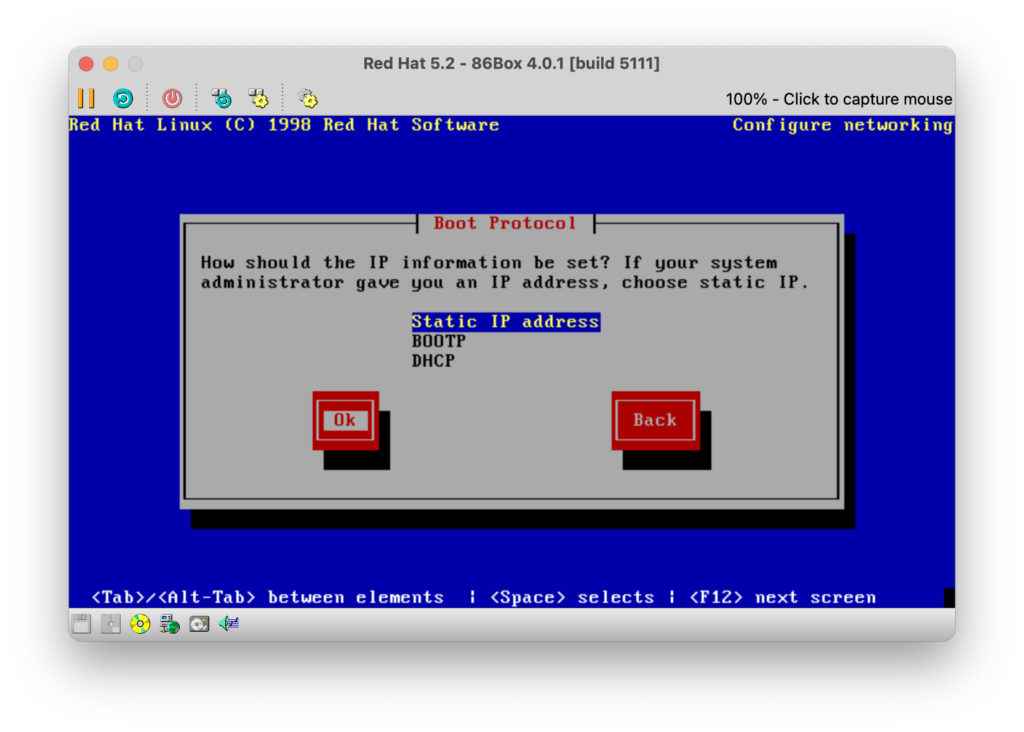
Select the ‘Static IP address‘ option. Select ‘OK‘ and press ‘Enter‘.
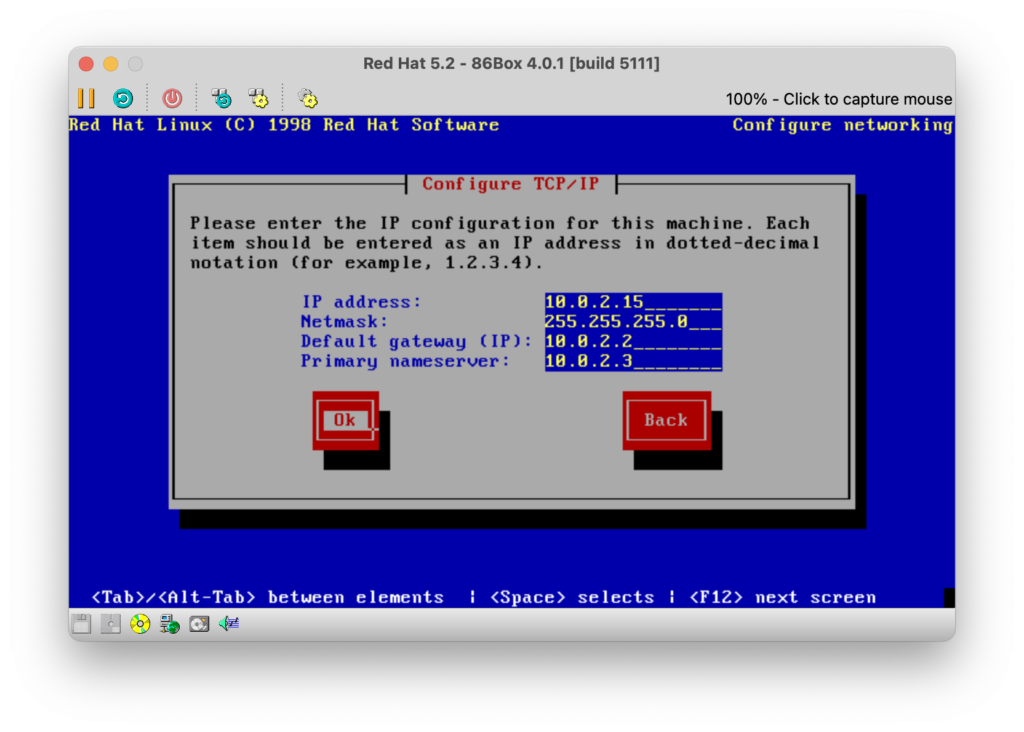
Configure TCP/IP as follows.
| Setting | Value |
| IP address | 10.0.2.15 |
| Netmask | 255.255.255.0 |
| Default gateway (IP) | 10.0.2.2 |
| Primary nameserver | 10.0.2.3 |
Select ‘OK‘ and press ‘Enter‘.
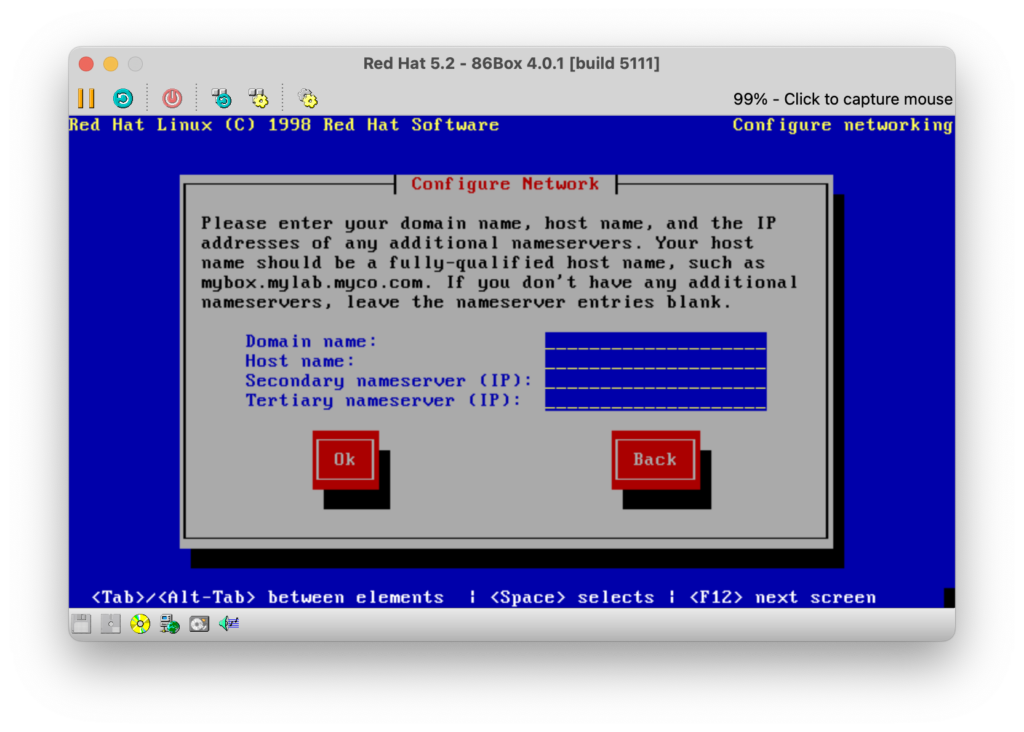
Set your ‘Domain name‘ and ‘Host name‘ to appropriate values. Examples of these may be ‘Test‘ for ‘Domain name‘ and ‘RH5.Test‘ for ‘Host name’. Select ‘OK‘ and press ‘Enter‘.
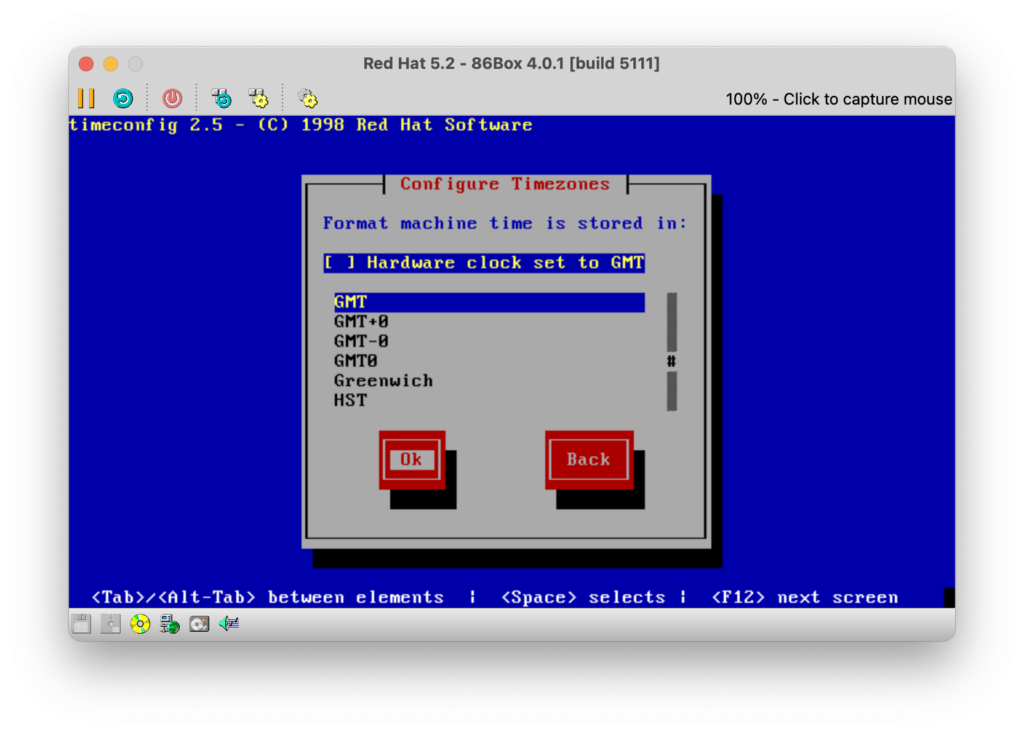
Select an appropriate timezone. Select ‘OK‘ and press ‘Enter‘.
Select ‘OK‘ and press ‘Enter‘.
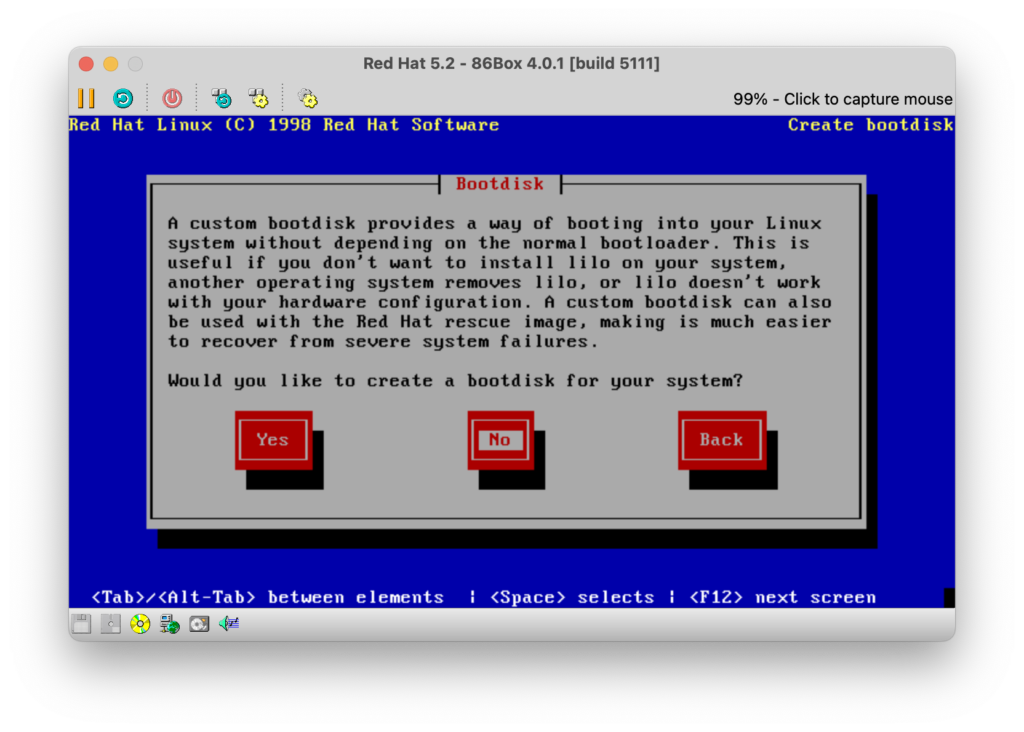
Select ‘No‘ and press ‘Enter‘.
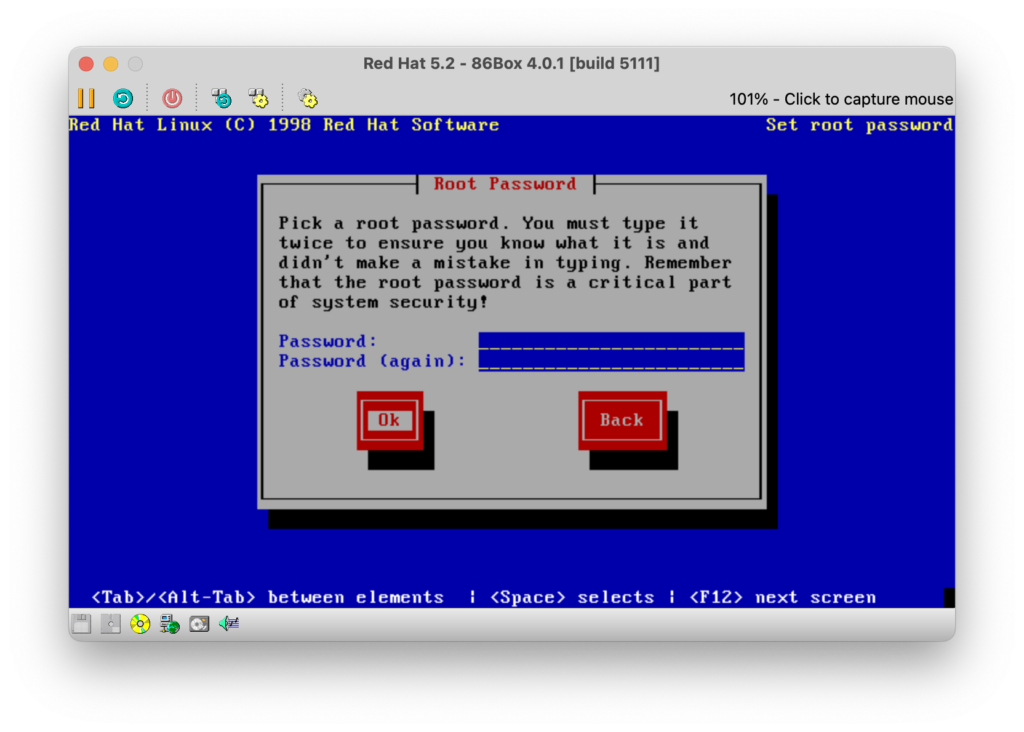
Set a password for the root account. Select ‘OK‘ and press ‘Enter‘.
Select ‘No‘ and press ‘Enter‘.
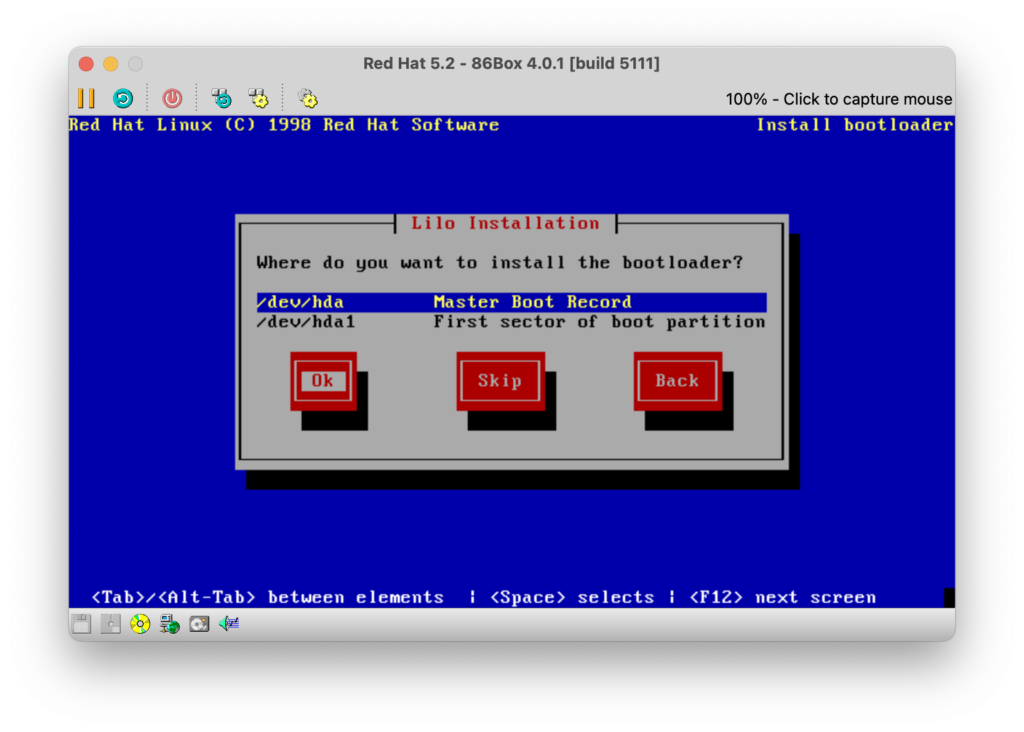
Select ‘/dev/hda‘ as the location for the Lilo installation. Select ‘Yes‘ and press ‘Enter‘.
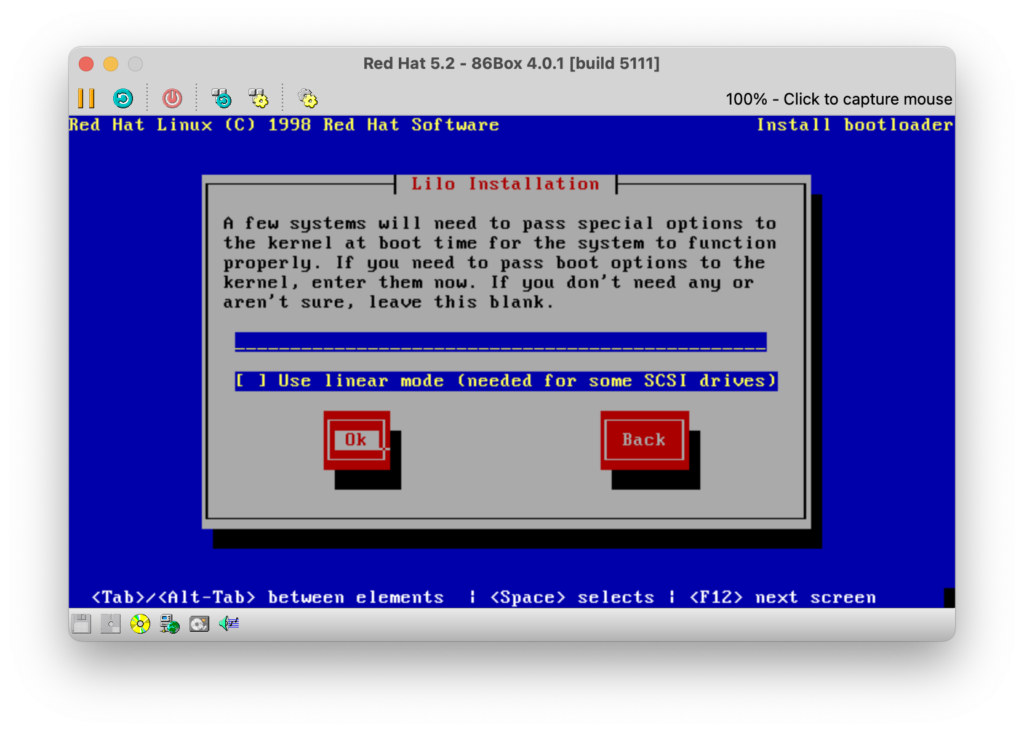
Select ‘OK‘ and press ‘Enter‘.
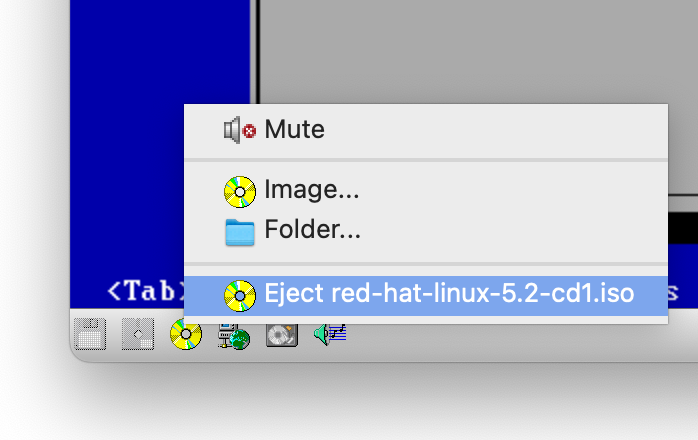
Eject the Red Hat Linux 5.2 install CD by selecting the CD icon and selecting ‘Eject‘ from the menu.
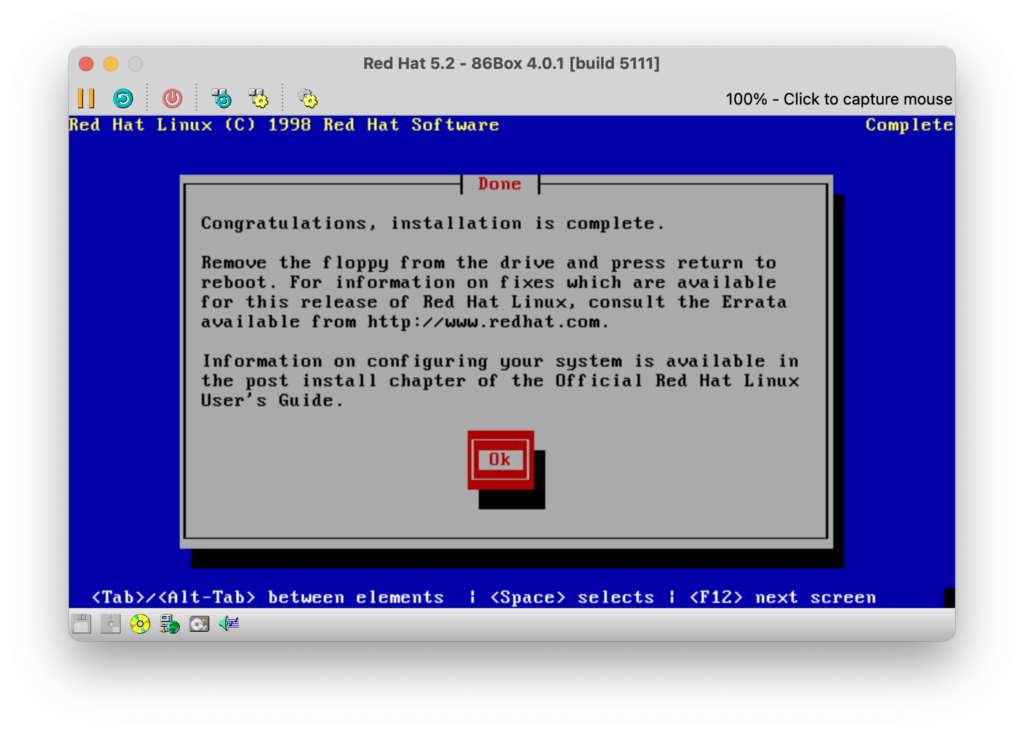
Select ‘OK‘ and press ‘Enter‘. The virtual machine will then reboot.
Running Red Hat Linux 5.2
From this point onwards these activities are not unique to the installation process. Having exited the installer your vm will now reboot and load your Red Hat Linux 5.2 installation.

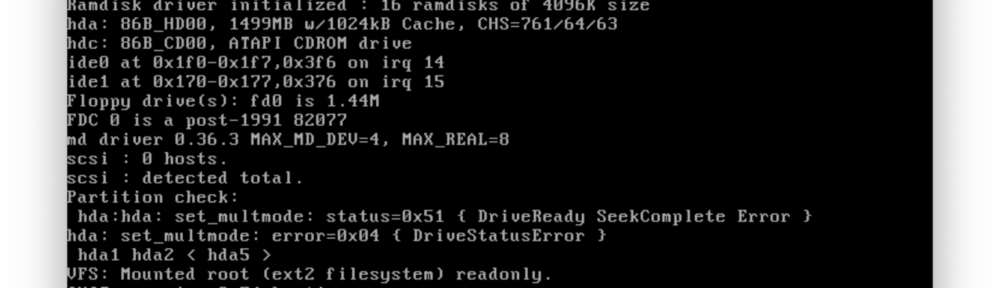
During boot Red Hat Linus 5.2 will display details of the boot process.
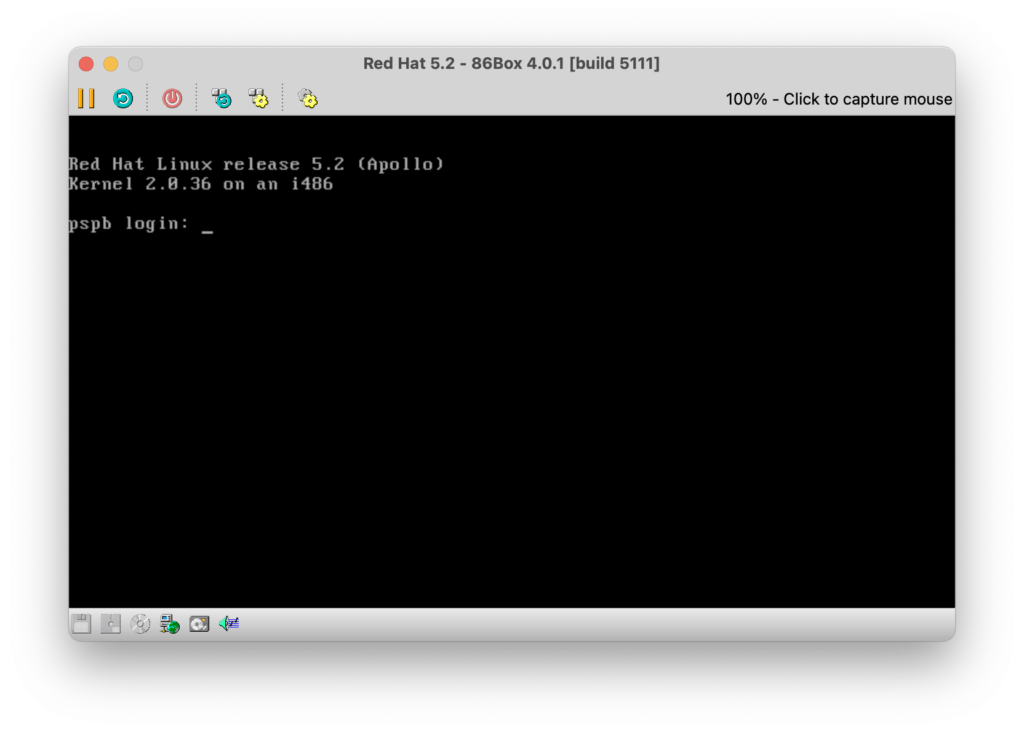
Log in. Use the username ‘root‘ and the root password you set earlier.
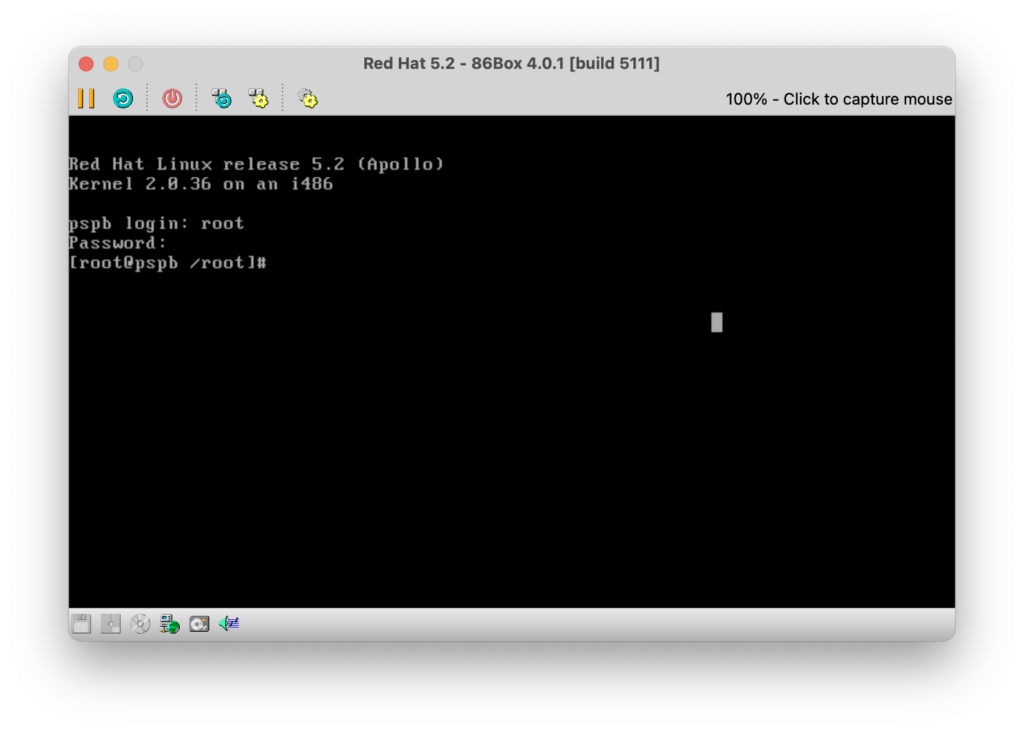
You are now logged in as the ‘root‘ user.

Standard command line tools are available to you.
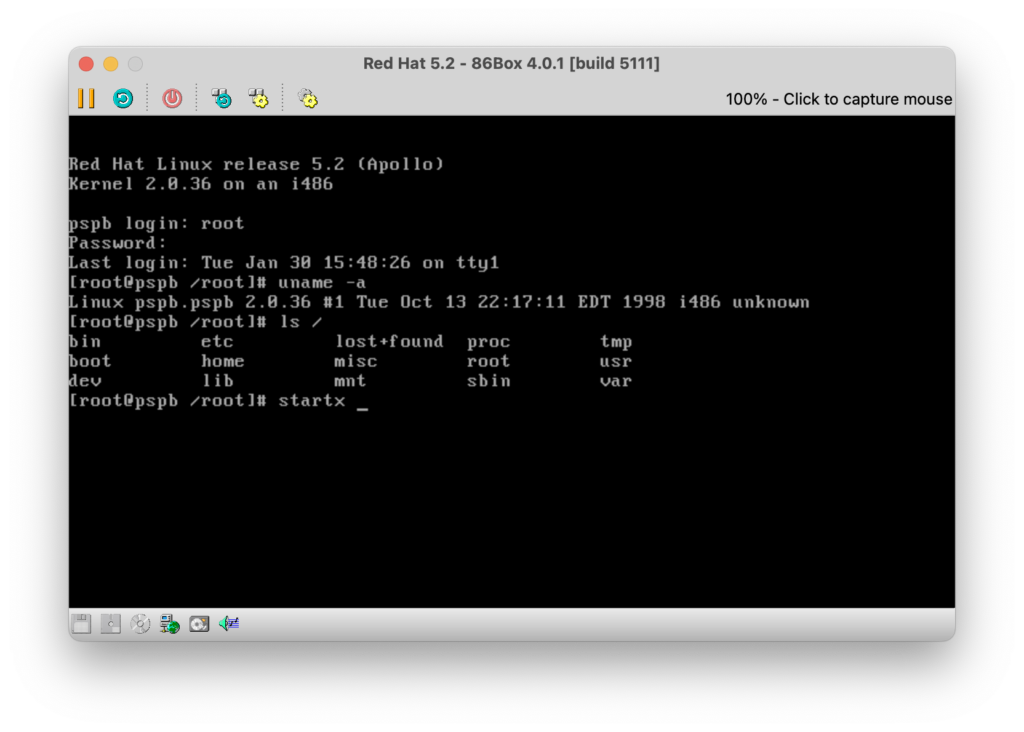
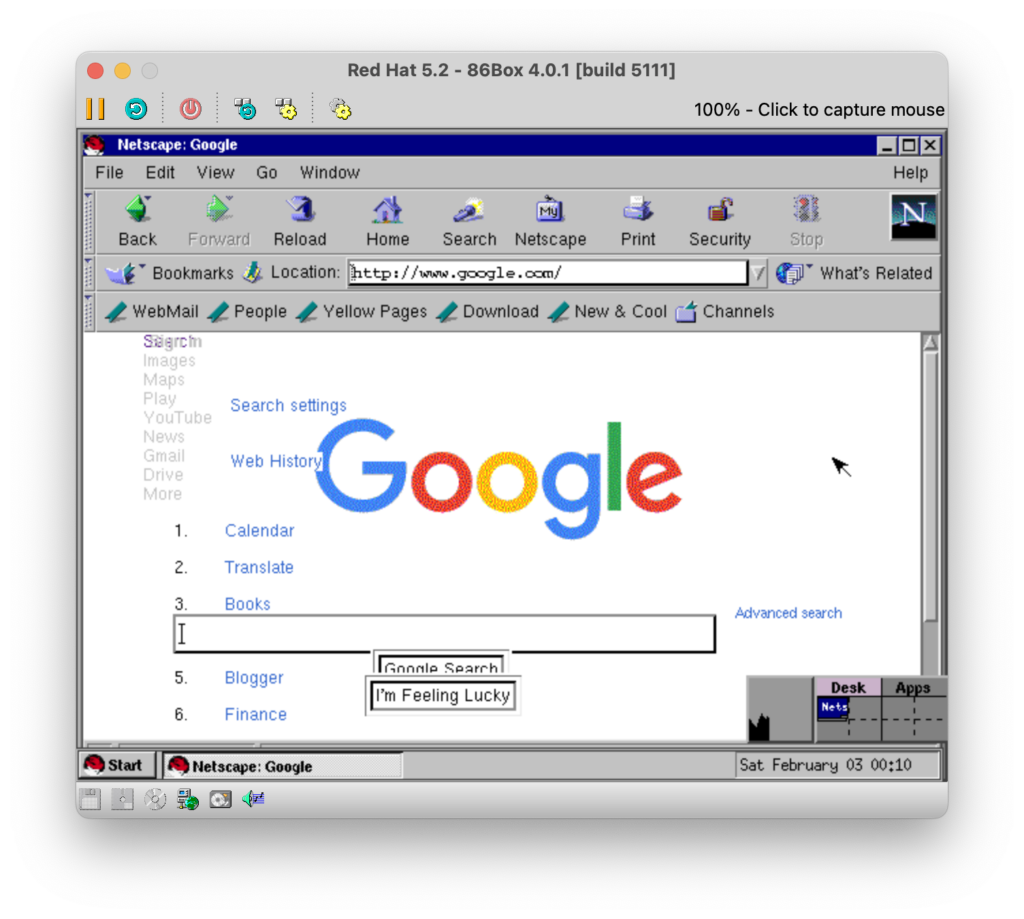
You can also start the desktop experience by entering ‘startx‘ and pressing ‘Enter‘.

It is possible to get Red Had Linux 5.2 to automatically boot to a graphical log-in screen by setting the runlevel to ‘5‘.
Further Resources
Late 90s Linux is not modern Linux or even post-millennium Linux. It’s crude in places and often difficult to configure and, thanks to link and bit rot, actually quite difficult to search for historic answers to any issues you may have. You will, for instance, have to properly halt your machine before powering off or you’ll risk hard disk corruption – a process that can be performed by entering ‘shutdown -h now‘ at the Terminal.
Fortunately Archive.org has a number of period appropriate resources that may be able help you:
Red Hat Linux Unleashed – Second Edition