***NEW: Building QEMU 10.0 on Raspberry Pi OS***
***NEW: Building QEMU 8.0 on Raspberry Pi OS***
***NEW: Building QEMU 7.0 on Raspberry Pi OS***
Introduction
QEMU is a virtualisation platform capable of full system emulation of multiple CPU types. While the fastest way to get QEMU onto a Raspbian installation remains ‘sudo apt-get install qemu’, QEMU is a a fast moving project and so the release provided by the Raspbian software repository is often several major releases out of date. Fortunately for us, QEMU is rather quick and simple to build on a modern, up to date Raspbian installation.
Prerequisites
A functioning Raspbian Buster installation.
This can either be a clean installation or one that’s seen a little life. However, before we begin, we should ensure that our install is fully up to date.
Start by opening a terminal and running…
sudo apt-get update…followed by…
sudo apt-get upgrade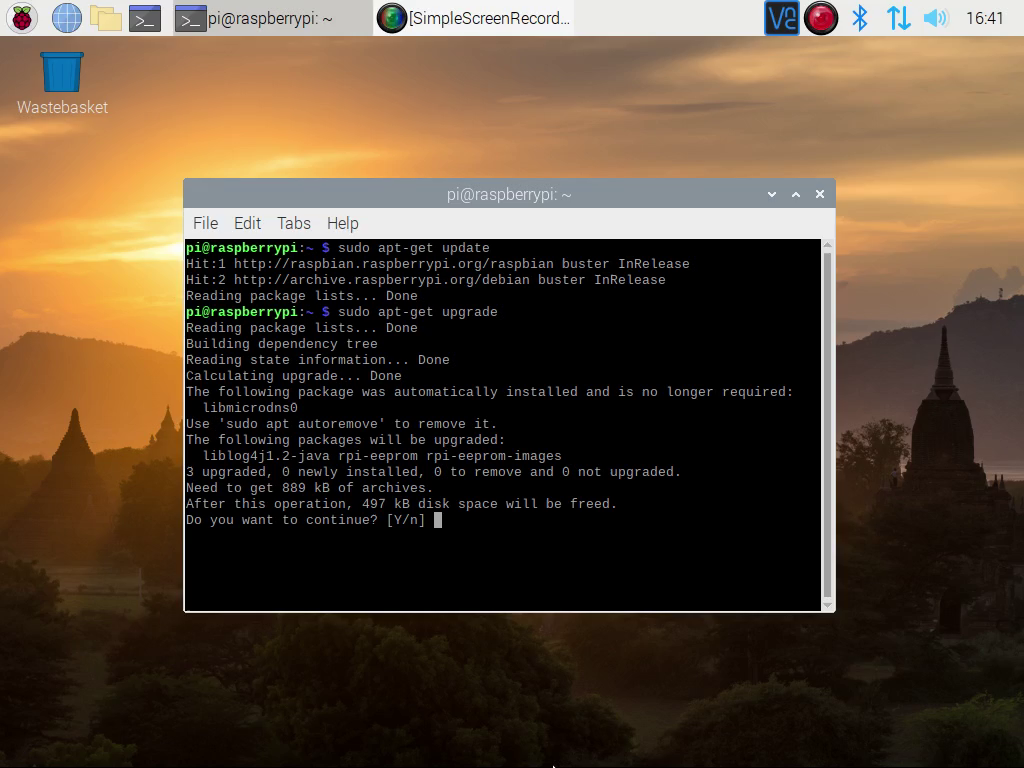
Allow ‘apt-get’ to upgrade any out of date packages it finds.
Compilation
Dependancies
While a default installation of Raspbian Buster comes with all of the standard development and build tools needed to compile QEMU 5.0, QEMU itself also has a number of dependancies that we must resolve before we attempt to compile.
These dependancies (and any dependancies they might depend on) can be installed by running…
sudo apt-get install git libglib2.0-dev libfdt-dev libpixman-1-dev zlib1g-dev git-email libaio-dev libbluetooth-dev libbrlapi-dev libbz2-dev libcap-dev libcap-ng-dev libcurl4-gnutls-dev libgtk-3-dev libcap-dev libcap-ng-dev libcurl4-gnutls-dev libgtk-3-dev librbd-dev librdmacm-dev libsasl2-dev libsdl1.2-dev libseccomp-dev libsnappy-dev libssh2-1-dev libvde-dev libvdeplug-dev libvte-2.90-dev libxen-dev liblzo2-dev valgrind xfslibs-dev libnfs-dev libiscsi-dev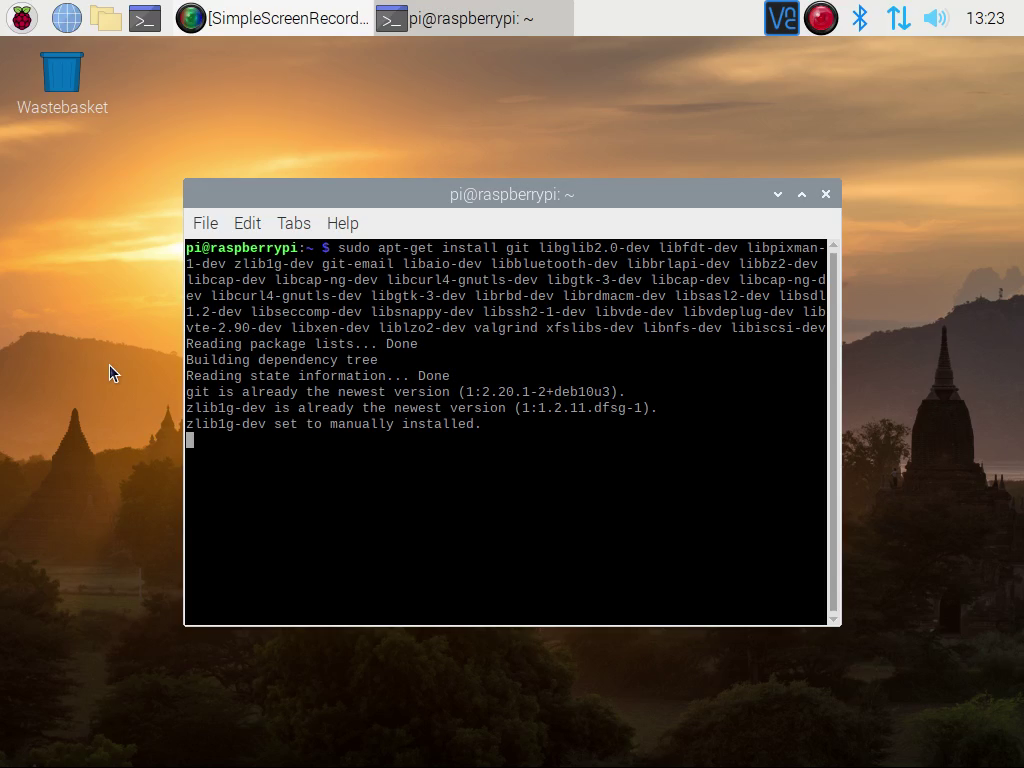
…and allowing ‘apt-get’ to complete it’s work. Don’t worry about any packages from that list that may already be installed, ‘apt-get’ is smart enough to only install what it needs.
Source Code
We then need to get a copy of the QEMU 5.0 source code. We can grab this with ‘wget’ and the following terminal command.
wget https://download.qemu.org/qemu-5.0.0.tar.xz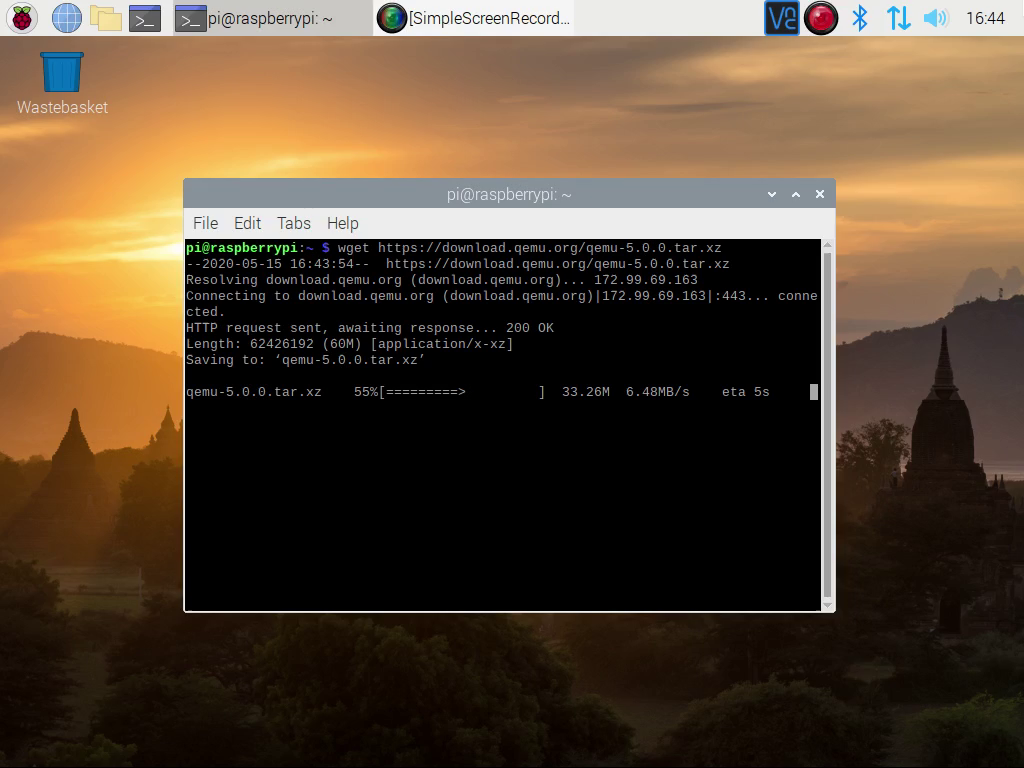
The QEMU 5.0 source code is bundled together in a single ‘tar.xz’ archive. This archive needs to be expanded into it’s constituent files and folders with ‘tar’.
tar xf qemu-5.0.0.tar.xz‘Tar’ will expand the archive and place the content into the ‘qemu-5.0.0’ directory. Move into this directory.
cd qemu-5.0.0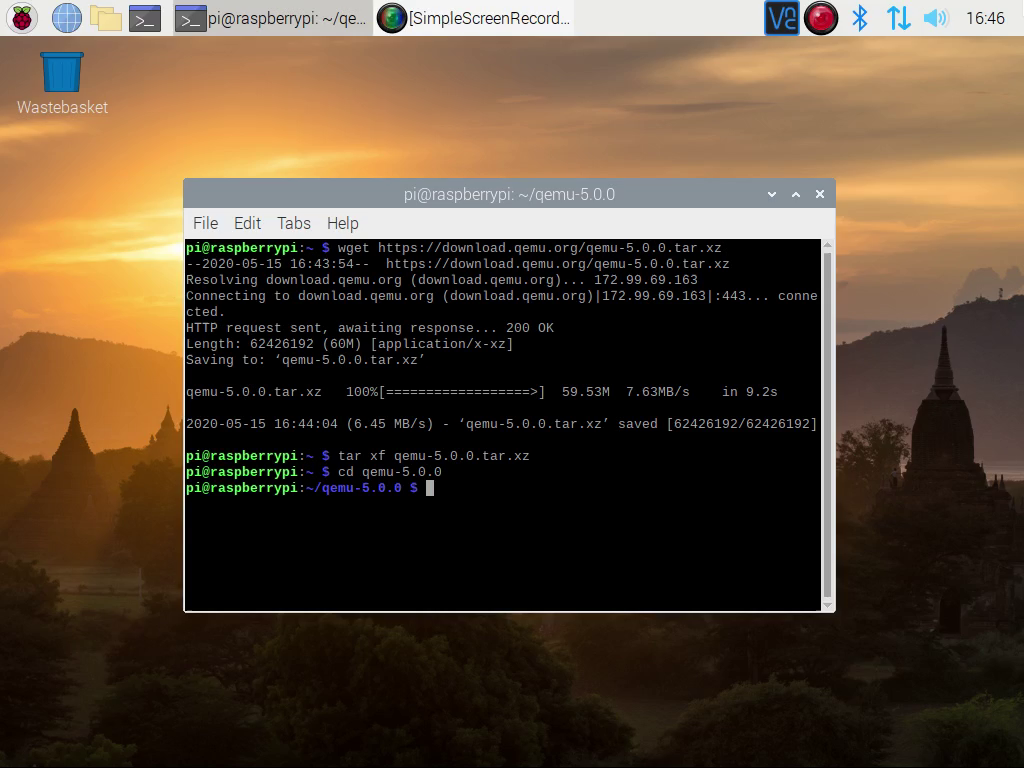
Configure
We now need to configure QEMU to build itself. This is done with the configure script inside the ‘qemu-5.0.0’ directory. The default settings are sensible, so we do not need to pass in any further directions into this configuration script.
./configure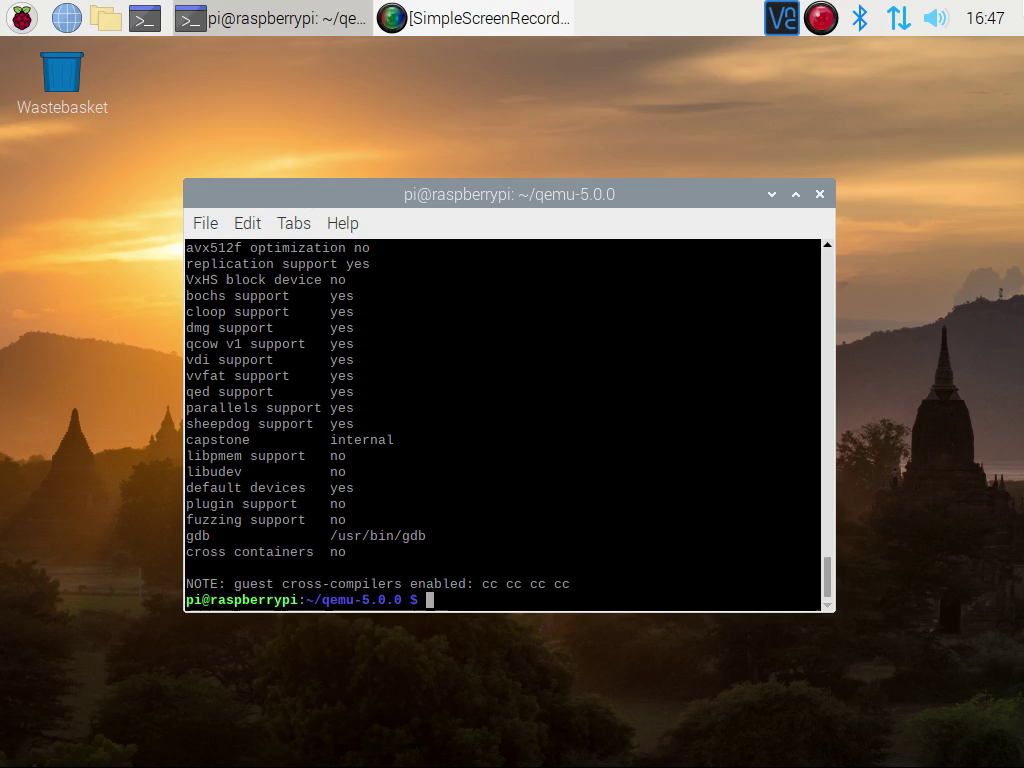
Once this has completed, we are ready to actually build QEMU.
Build
To compile QEMU, we must now run the ‘make’ command. On it’s own, running ‘make’ will attempt to compile QEMU with only one instance of the compiler running at a time. This will be quite a slow process.
As I am running a Raspberry Pi 4 with 4GB of RAM and with no other CPU intensive background tasks running, I am happy for ‘make’ to try and use all four cores of my Pi. We can do this by appending the ‘-j4’ flag to our command.
make -j4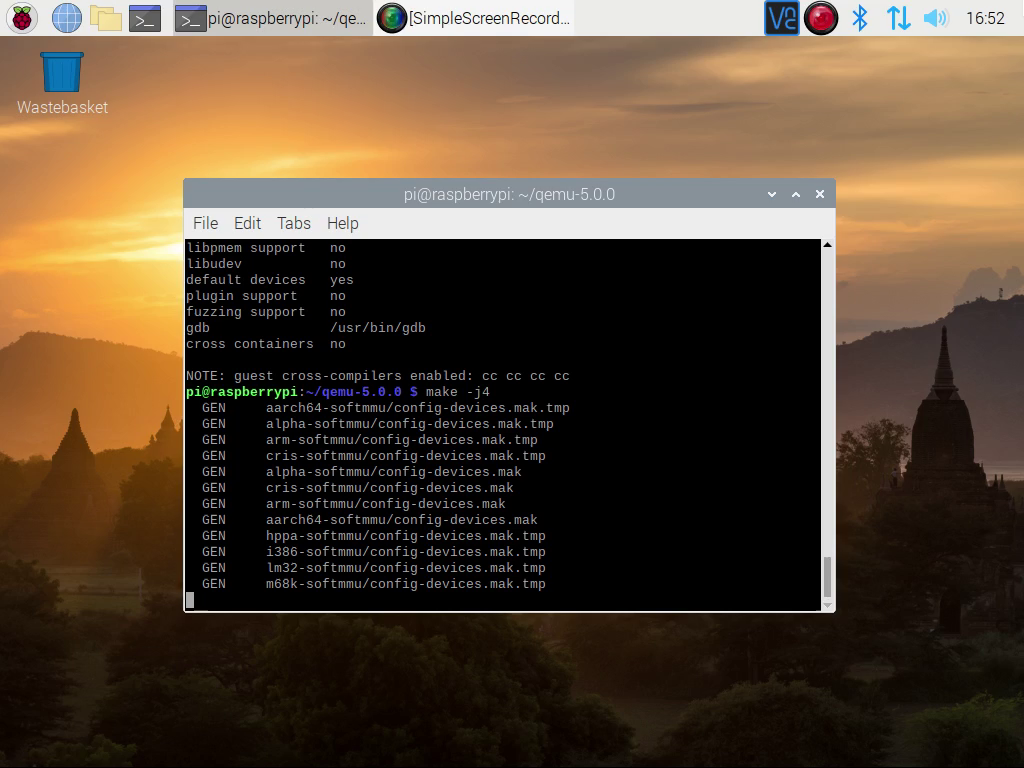
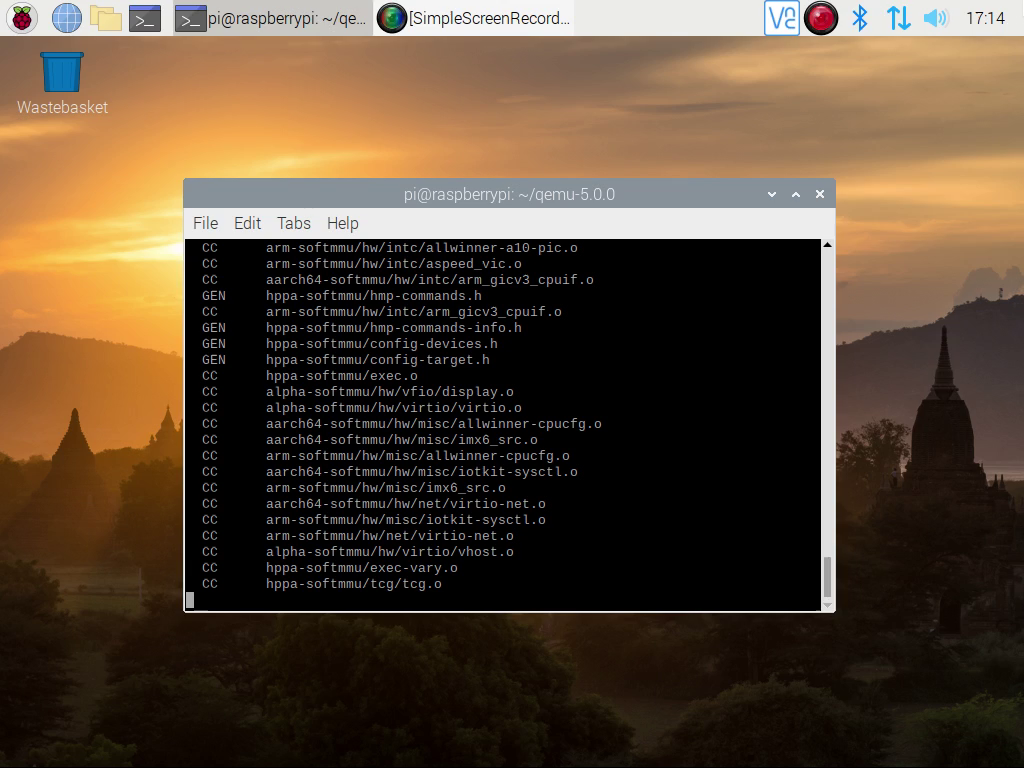
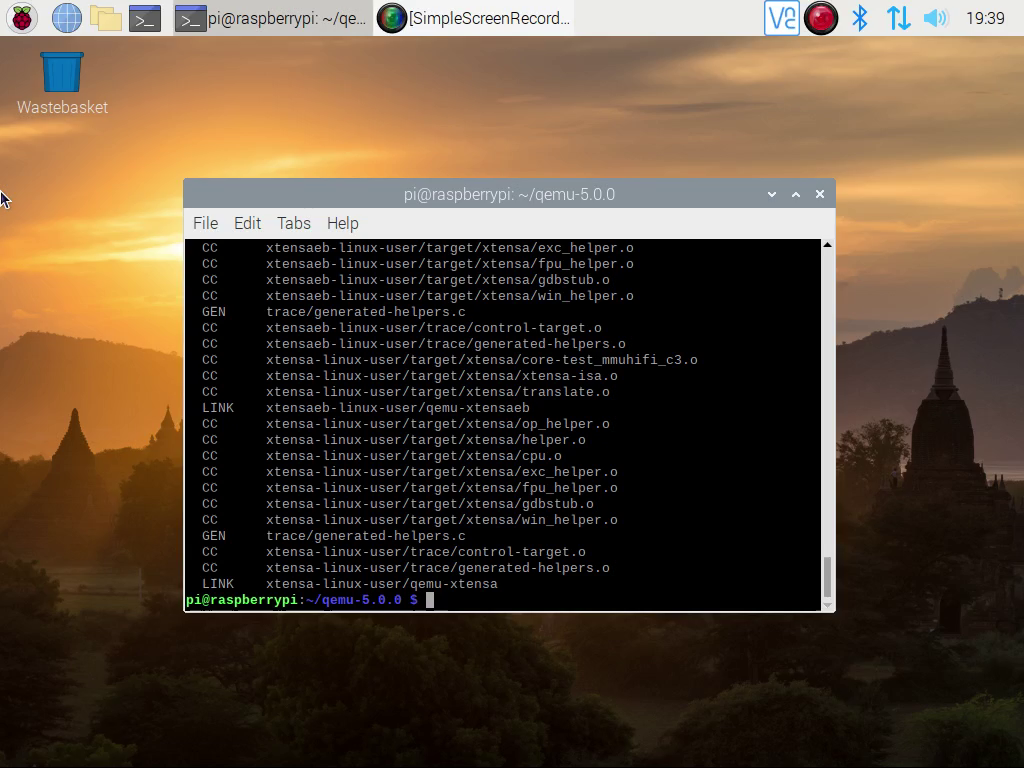
The compile will take two to three hours on a Raspberry Pi 4; older devices will take longer.
Testing our build
So now that the build has completed its time test the built product.
First of all, we need to grab a suitable live CD to boot. For this, we’re going to use Ubuntu 20.04.
Again, we can download this with ‘wget’
wget https://releases.ubuntu.com/20.04/ubuntu-20.04-desktop-amd64.iso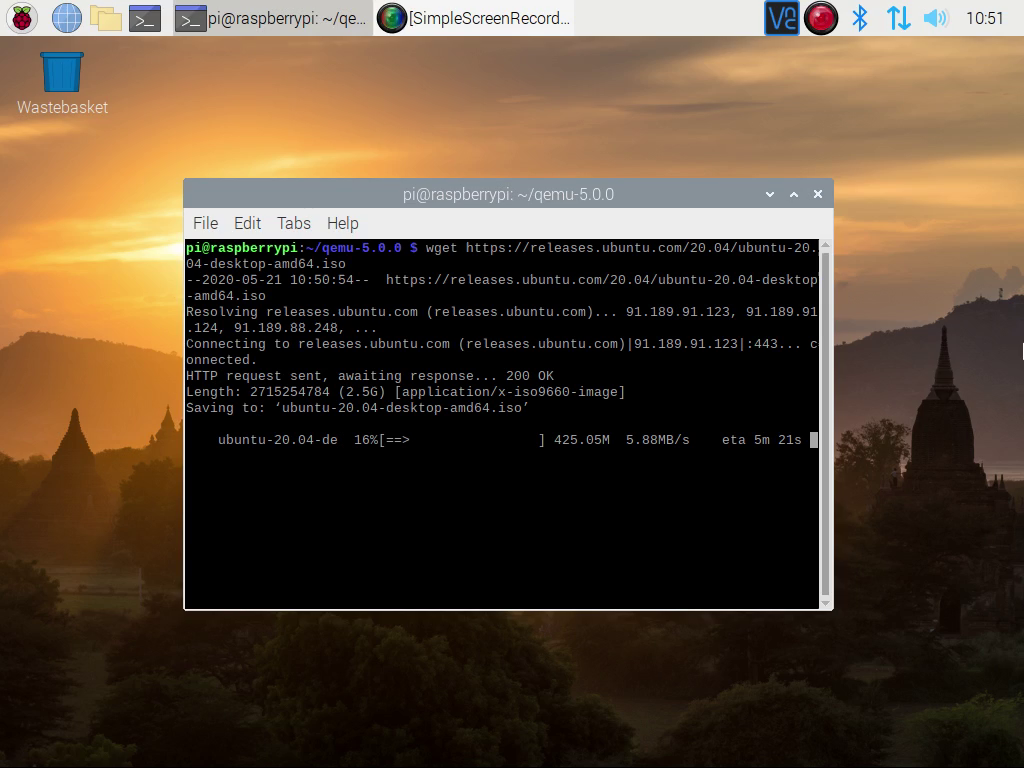
Next, we need to launch our Ubuntu live CD with the QEMU x86-64 full system emulator.
./x86_64-softmmu/qemu-system-x86_64 ./ubuntu-20.04-desktop-amd64.iso -m 1000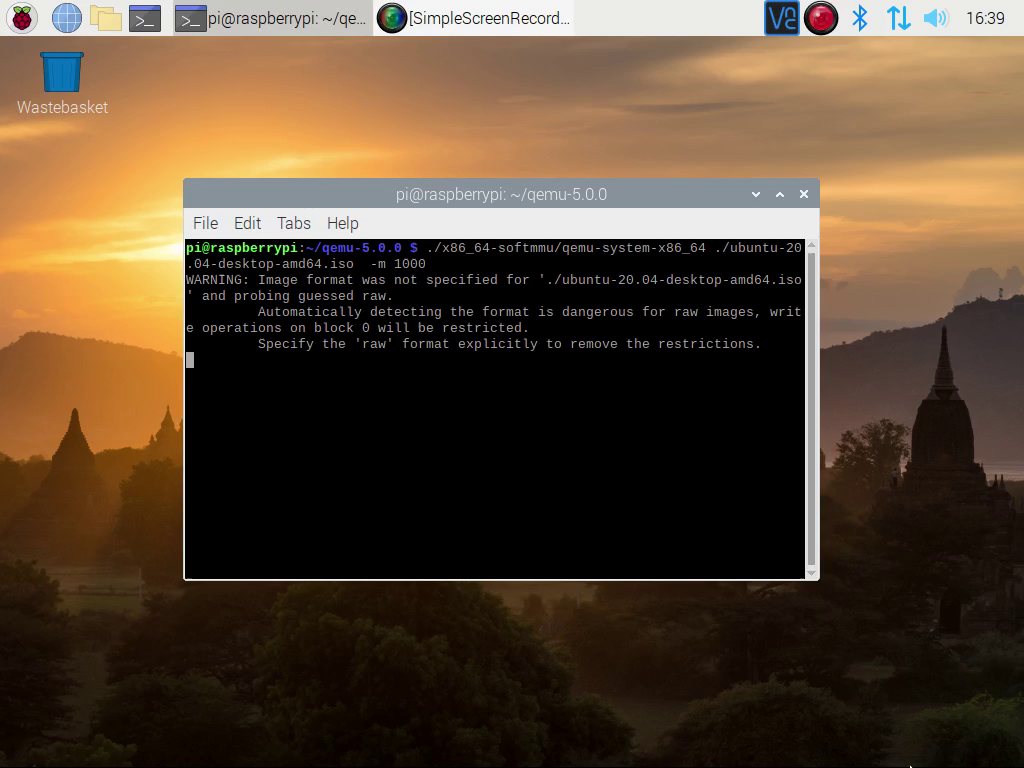
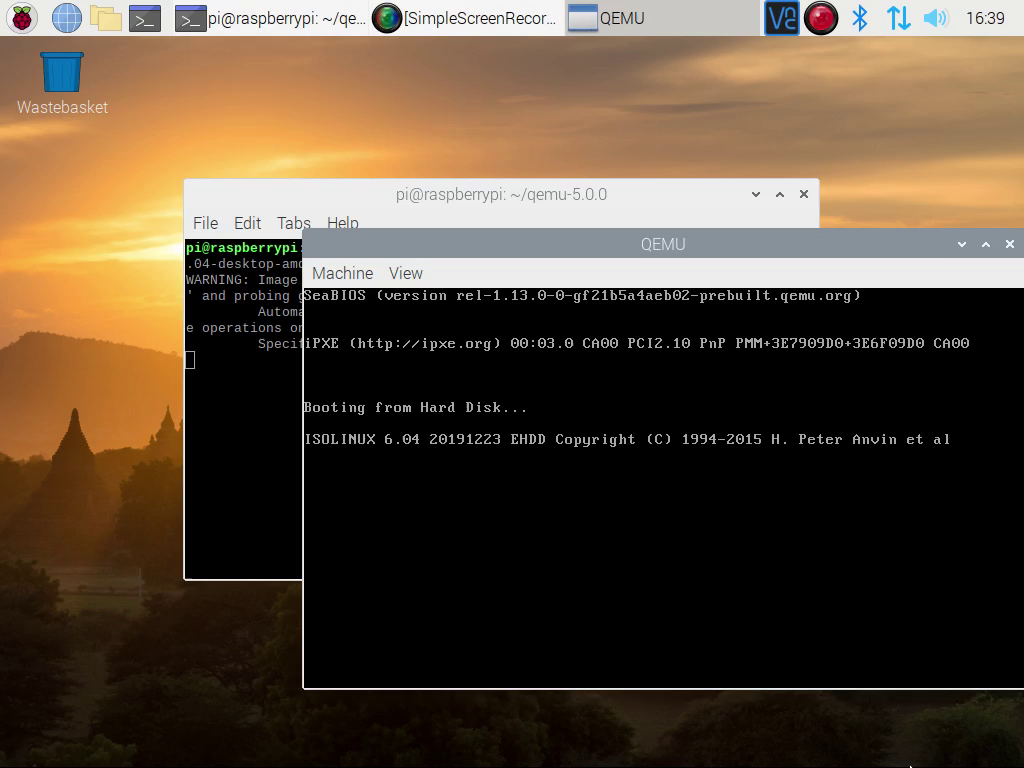
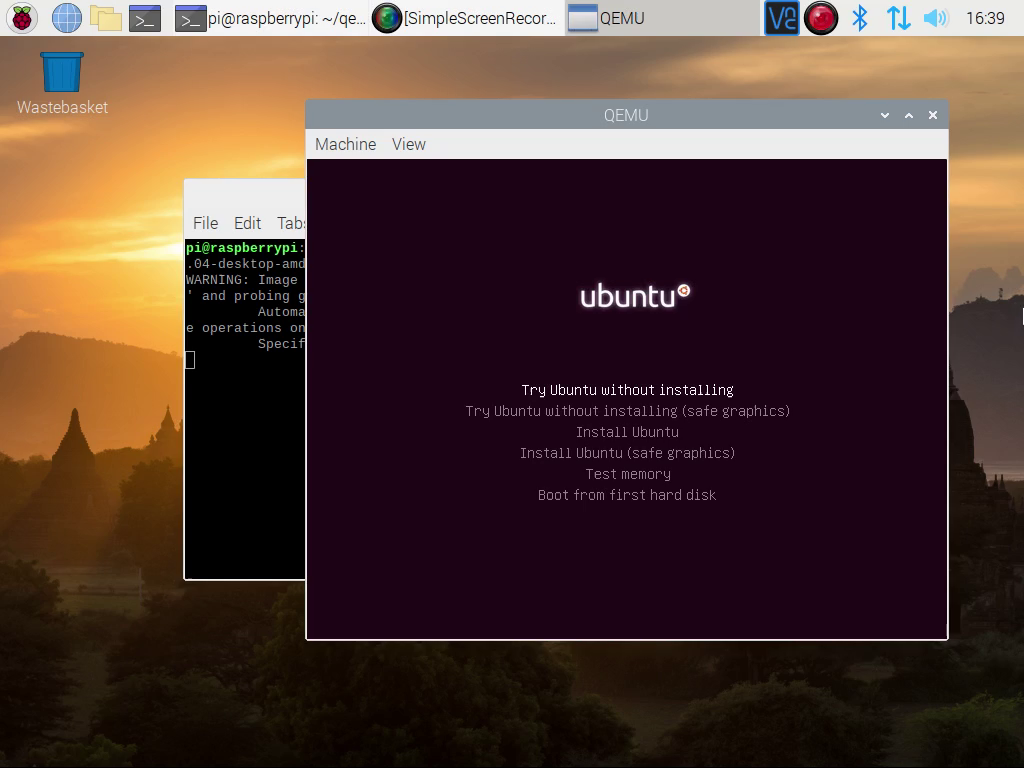
And there we are! The Ubuntu live CD running on a fully virtualised x86-64 system.