***NEW: Building QEMU 10.0 on Raspberry Pi OS***
***NEW: Building QEMU 8.0 on Raspberry Pi OS***
The Introduction
And spring 2022 brings us another major release of QEMU – in this case, QEMU 7.0, available in all of its tar.xz’d loveliness directly from qemu.org.
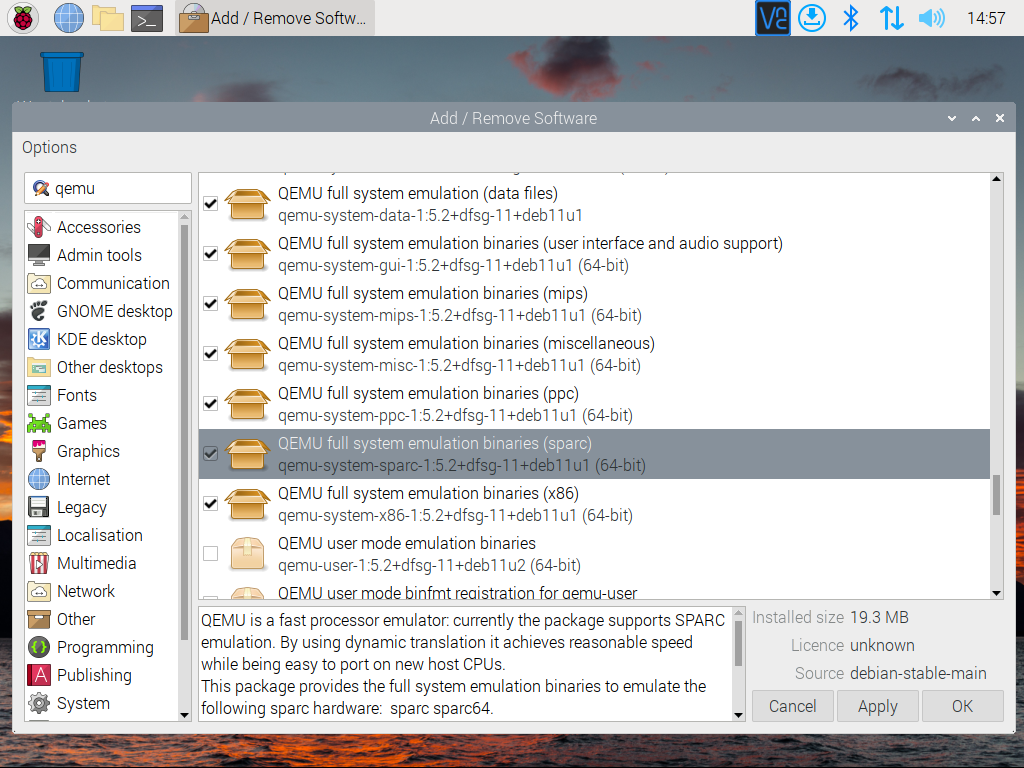
Whilst the Raspberry Pi OS‘s package repository remains the fastest, simplest way to get QEMU onto your Pi, Pi OS’s Debian lineage often leaves it trailing the cutting edge – in the case of QEMU, the packaged release for Raspberry Pi OS (version 2022-04-04) is version 5.2 from way back in December 2020.
Fortunately, QEMU is fairly easy to download and compile ourselves.
The Caveat
For the purposes of this guide we first work in the running user’s home directory and then, later, move into an extracted QEMU directory. Working in an alternate location will require the user to perform the necessary adjustments to the various locations mentioned in the guide.
The Environment
A Raspberry Pi with a modern release of Raspberry Pi OS. This can either be a fresh installation or an instance that is a little worn. Either way, your Raspberry Pi OS installation should be fully up to date.
This can be done by opening a terminal and entering the command…
sudo apt update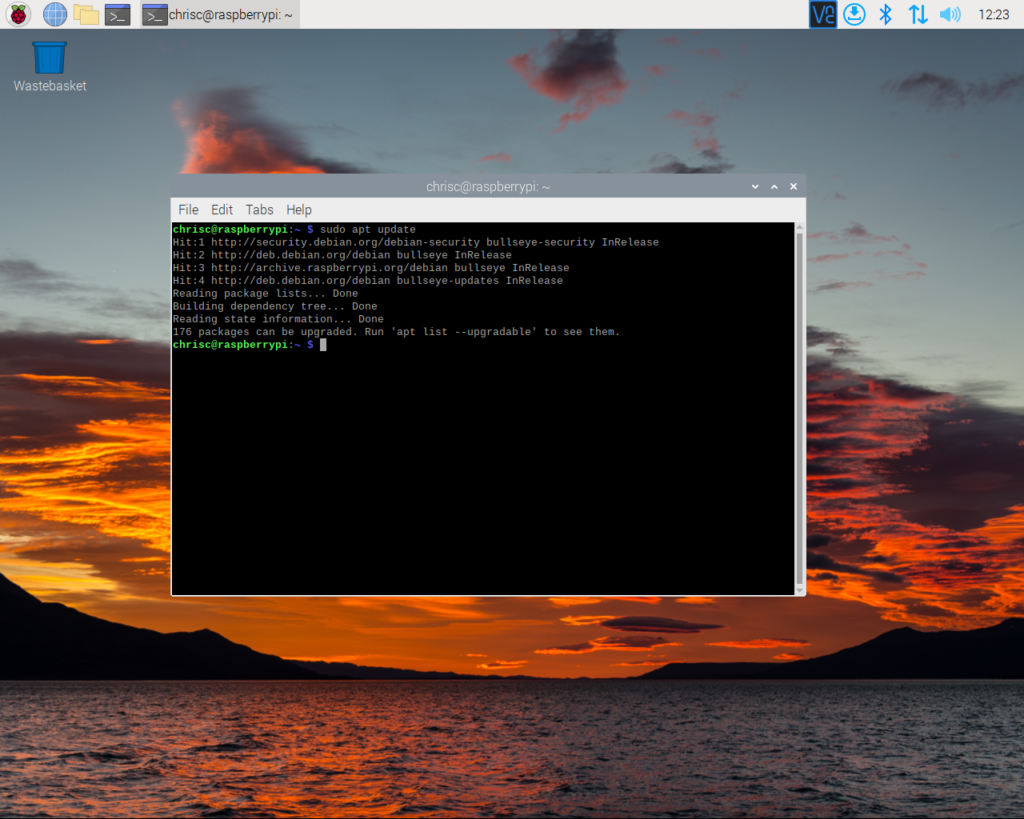
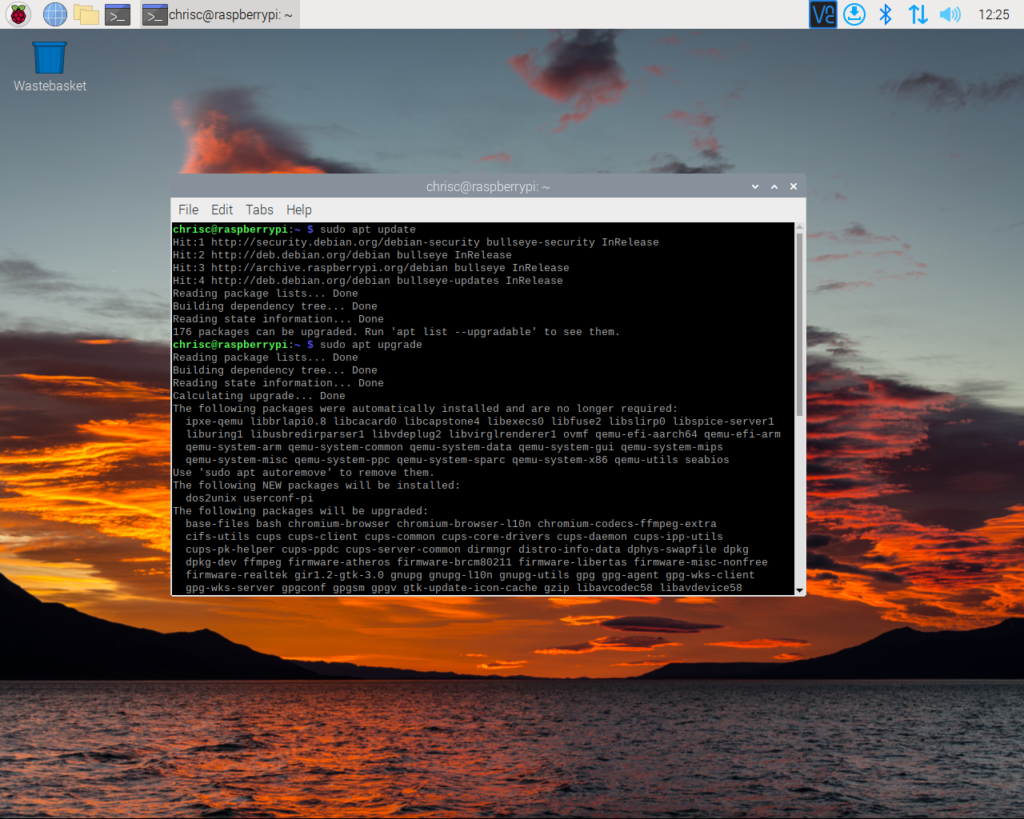
…followed by…
sudo apt upgrade …and answering ‘yes‘ when prompted.
Apt listing the available update…

…and asking you to ‘ok’ the changes.
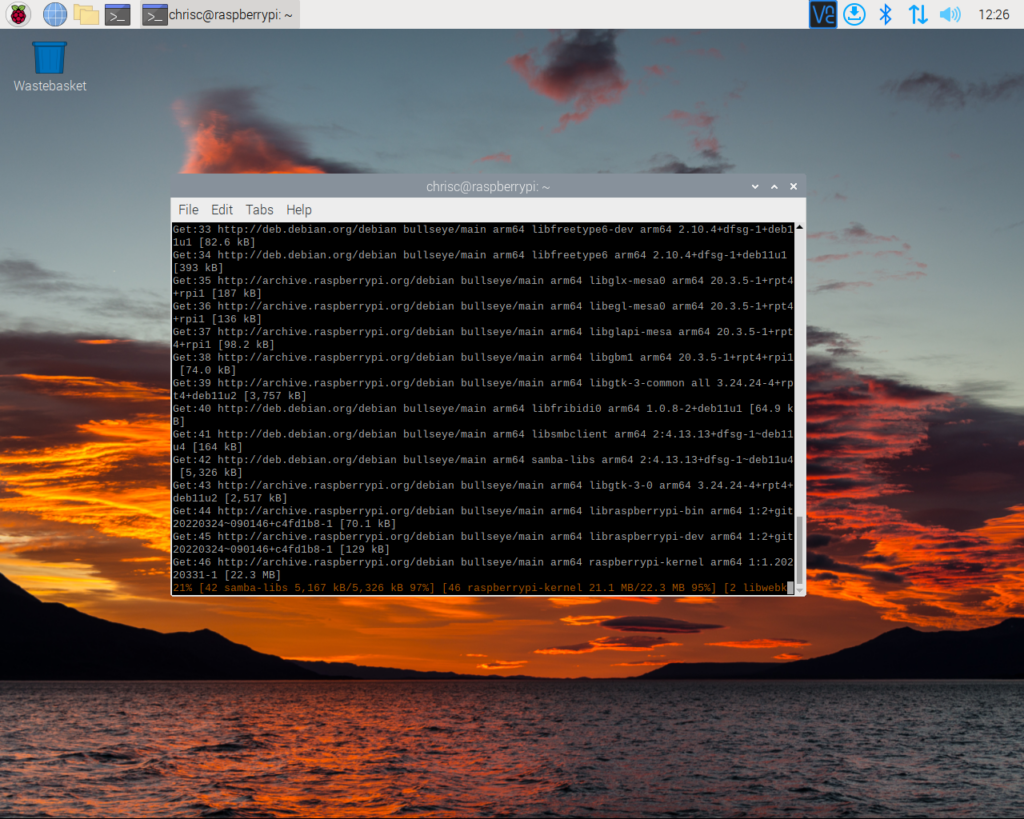
Apt grabbing the updates….
…followed by the installation of the updates.
All of our updates have installed without issue.
The Build Dependancies
While Raspberry Pi OS comes with the standard set of tools needed to compile a program like QEMU, QEMU itself is dependent on a number of third part libraries. We can install these code dependancies – and any dependancies that they may in turn rely on – with…
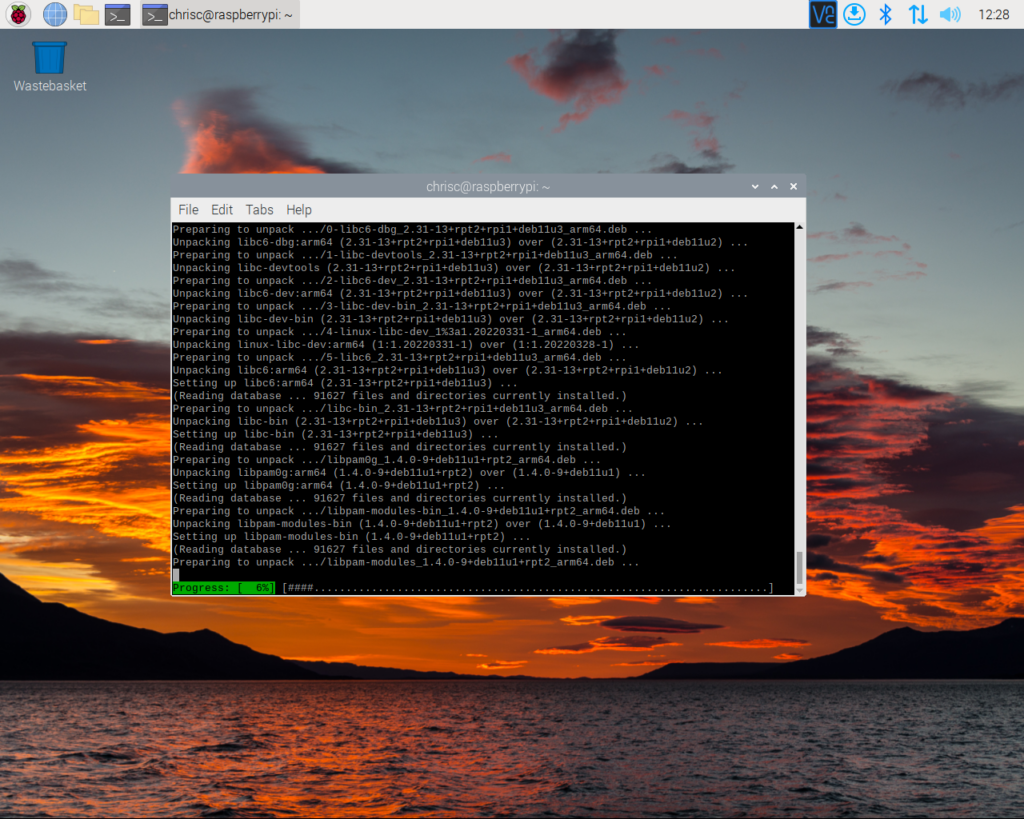
sudo apt-get install libglib2.0-dev libfdt-dev libpixman-1-dev zlib1g-dev ninja-build git-email libaio-dev libbluetooth-dev libcapstone-dev libbrlapi-dev libbz2-dev libcap-ng-dev libcurl4-gnutls-dev libgtk-3-dev libibverbs-dev libjpeg62-turbo-dev libncurses5-dev libnuma-dev git librbd-dev librdmacm-dev libsasl2-dev libsdl2-dev libseccomp-dev libsnappy-dev libssh-dev libvde-dev libvdeplug-dev libvte-2.91-dev libxen-dev liblzo2-dev valgrind xfslibs-dev As of summer 2022, this will download around 80MB of data that will require around 300MB of disk space.
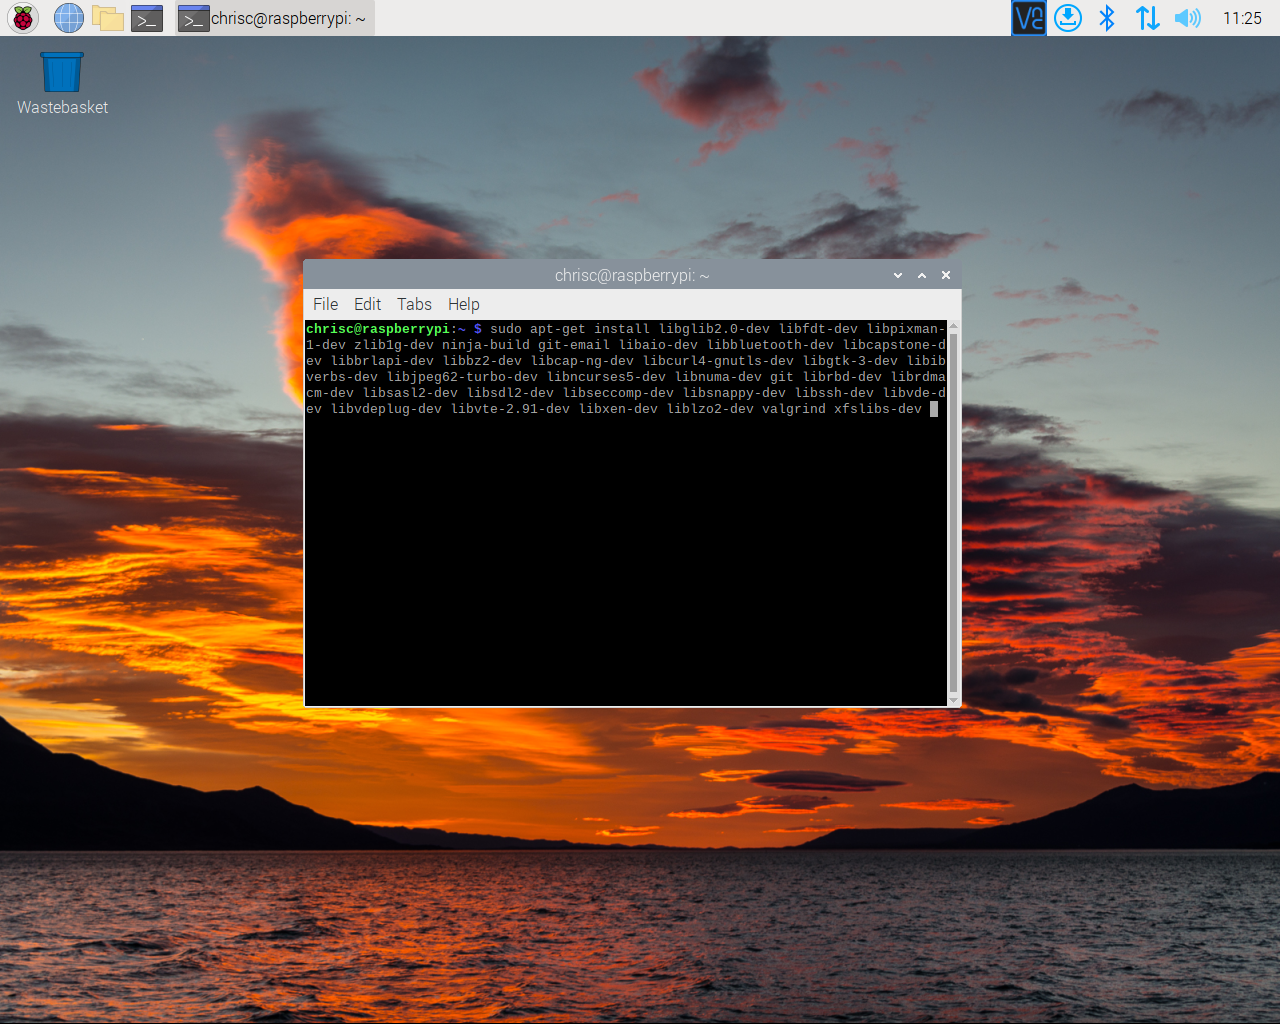
A list of our target packages.

Apt requires active conformation before it makes changes to your operating system installation.
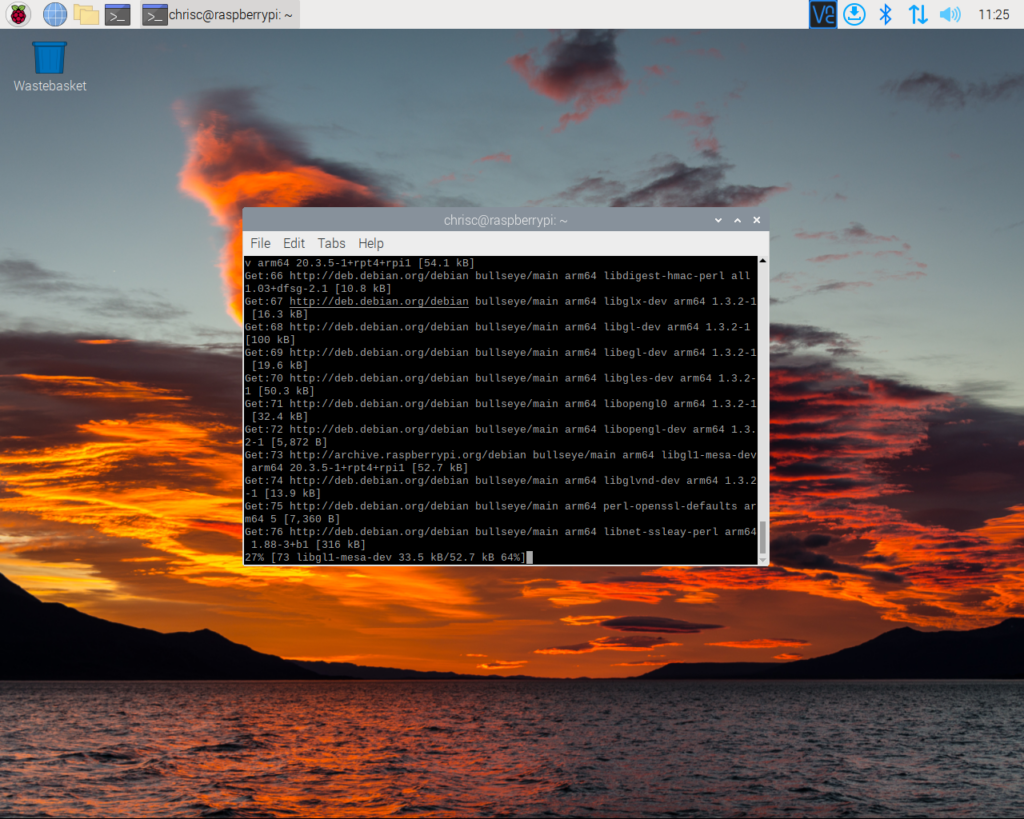
Apt grabbing the necessary packages from the repository

Installation
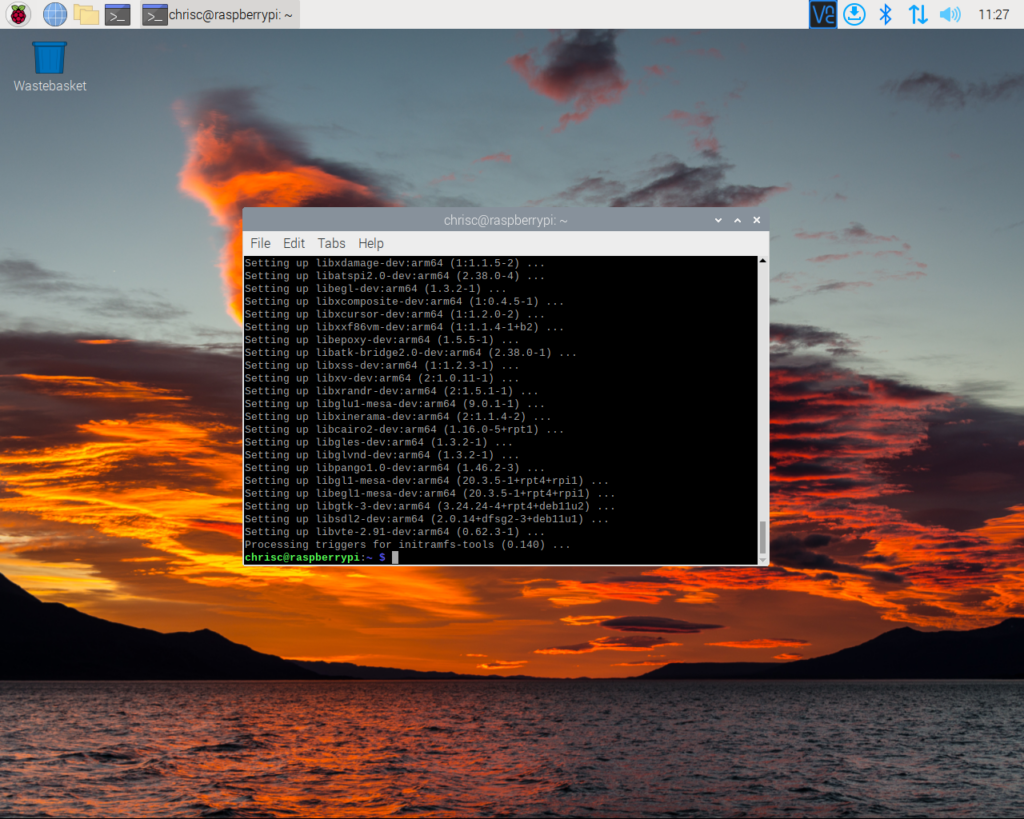
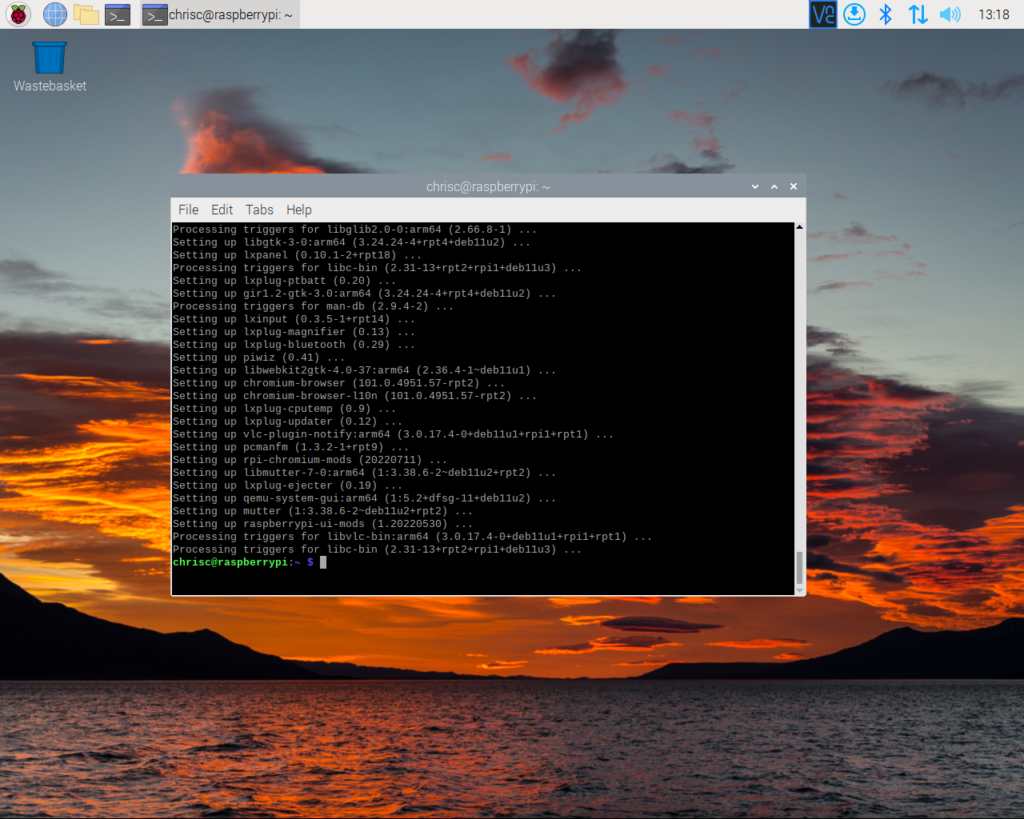
Installation of our dependancies has completed without issue.
The Code
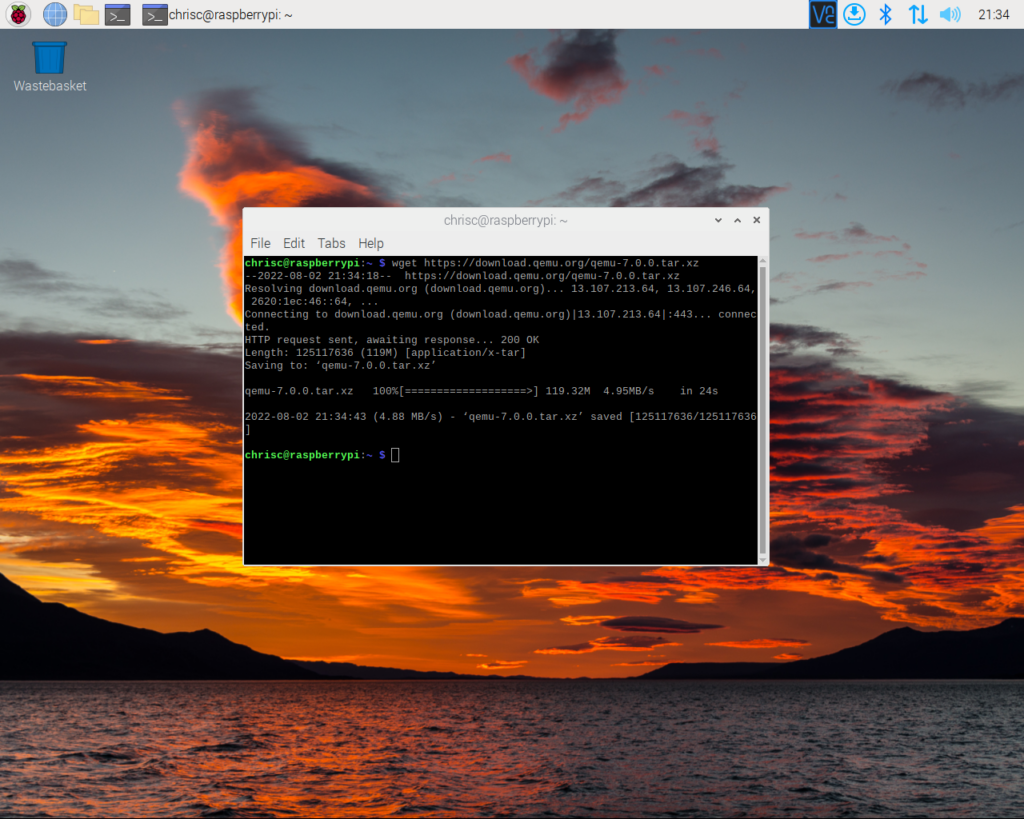
We then need to get a copy of the QEMU 7.0 source code. We can grab this with ‘wget’ and the following terminal command.
wget https://download.qemu.org/qemu-7.0.0.tar.xz
Our command.

Wget downloading our ‘.tar.zx’ file. At about 120MB, it’s quite a small file to download and, for the average user, won’t take particularly long.
Once the archive has downloaded, we need to extract the release. This can be done with…
tar xf qemu-7.0.0.tar.xzThis command will cause tar to create a directory named ‘qemu-7.0.0‘. Tar then unpacks the code into this directory.

Our tar command.

After tar has successfully unpacked our archive it will terminate without returning a value. In the event that tar cannot unpack the archive (due to corruption, disk space issue, etc.) tar will output the issue before the program terminates.
The Configuration
Enter the unpacked code directory with…
cd qemu-7.0.0
The QEMU code is provided with a script that can both check for the presence all of QEMU’s dependancies, and to also self configure itself ready for compilation. This can be accessed via…
./configure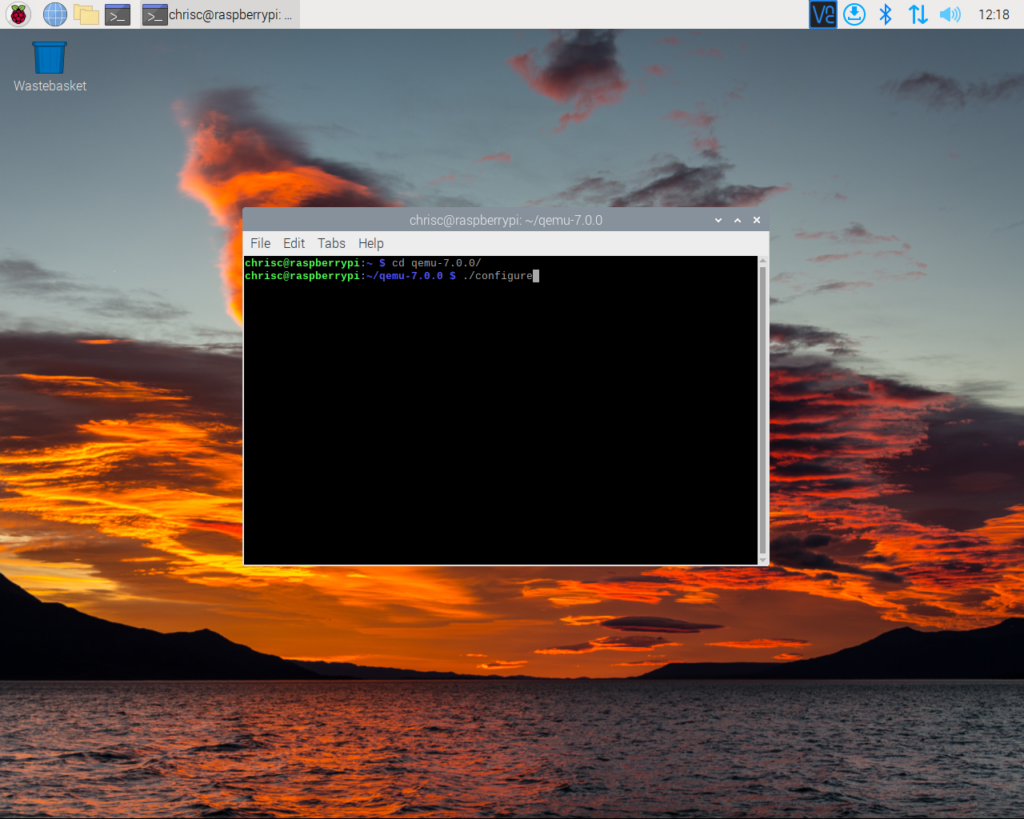
The ‘configure‘ script will test the build environment and then configure the build. This will take several minutes.

Having configured our environment for our build, the script will finish gracefully and without error.
The Build
We are now ready to compile QEMU. This is done with the…
make…command.
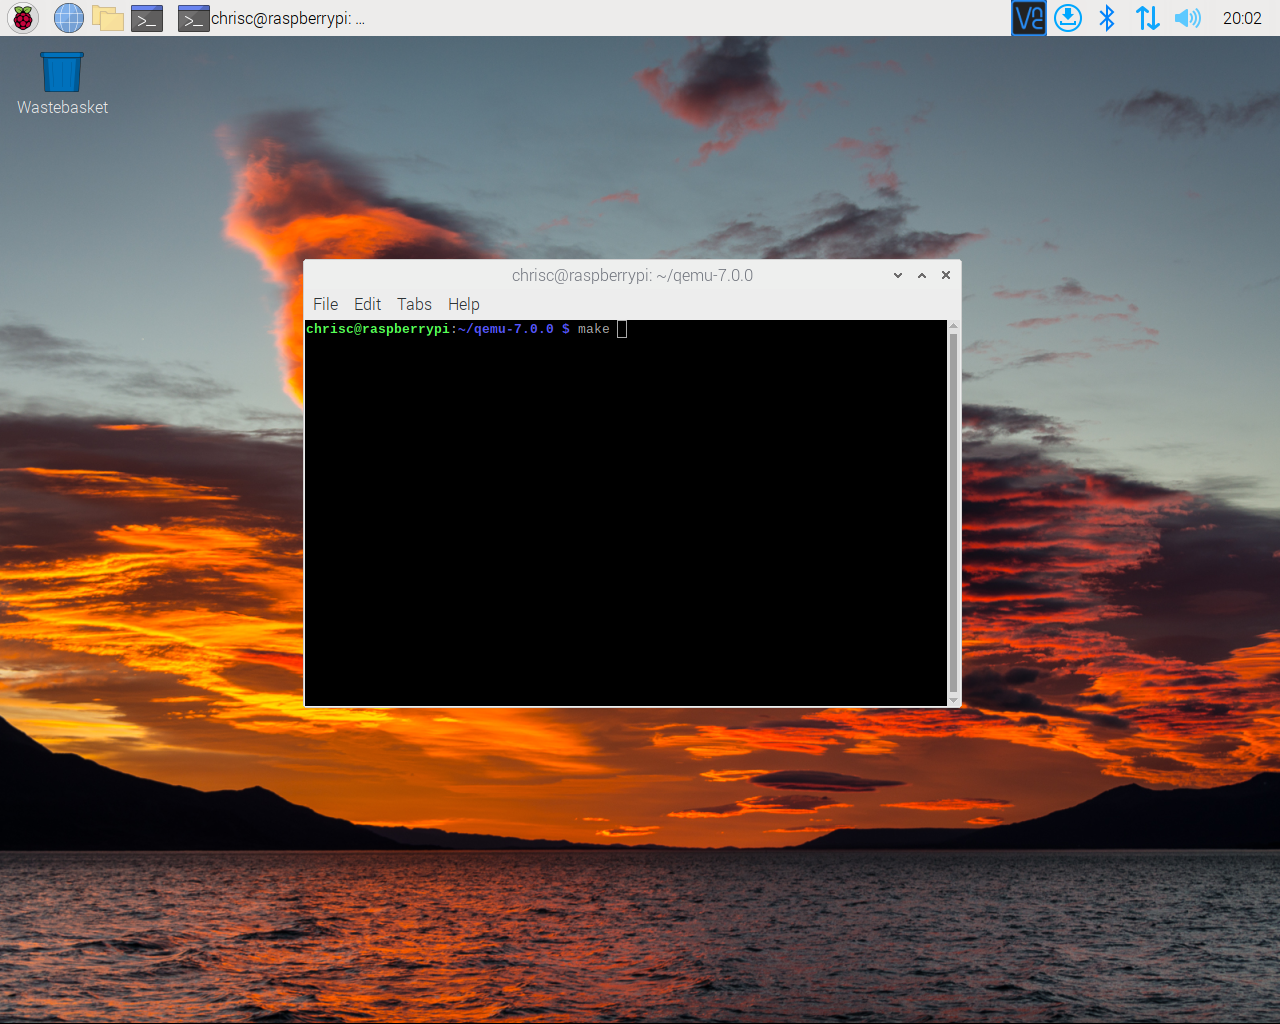
The ‘make‘ command will work its way through the build script, compiling each and every file as required.

On a Raspberry Pi 4, compilation will take around eight hours. This can be sped up via the…
make -j4…command. This command will run the build in four parallel threads which can result in a significant time reduction.
The Test Run
It’s now time to test our compilation of QEMU. The easiest way to do this is via a Linux Live CD – in our case a copy of Ubuntu 22.04.
First we need to grab a copy of Ubuntu. This can be done with ‘wget‘ and the following command…
wget https://releases.ubuntu.com/22.04/ubuntu-22.04-desktop-amd64.iso …which will download a copy of the Ubuntu ISO to our ‘~/qemu-7.0.0/’ directory.
We can start our QEMU/Ubuntu virtual machine with the following command.
./build/x86_64-softmmu/qemu-system-x86_64 -m 1G ./ubuntu-22.04-desktop-amd64.isoThis will start a QEMU x86_64 virtual machine with 1GB of RAM and the Ubuntu 22.04 live CD inserted. It does not provide a hard drive or any similar devices,
Find out more about using QEMU’s options here.