As well as making a good basis for a quiet and affordable webserver, the Raspberry Pi can also be used to quietly emulate a number of legacy operating systems. This allows you to toy with an alien operating system without the risk of tainting your main computing environment. And – as a long standing PC user – I occasionally get the urge to return to those simpler, less connected time.
Prerequisites.
1.
A Raspberry Pi.
2.
A default NOOBS Raspbian install. As of writing this was the 2018-11-13 release based on Debian Stretch (Debian 9)
3.
The “QEMU full system emulation binaries” package. This is a meta-package – essentially a collection of packages that can be installed as a simple coherent unit – and will bring in both the required QEMU emulator for intel 386 and greater, but also a number of emulators for other compute environments (PPC, Sparc etc). Unless your SD card is particularly small, it is better to select this package and let the dependency tool bring the entire QEMU environment to your Pi.
4.
A set of MSDOS 6.22 disk images. My disk images will be called ‘Disk1.img’, ‘Disk2.img’ and ‘Disk3.img’ respectively.
Installation.
QEMU is a system emulator that runs on top of your Raspbian installation, like any other program does. For the following instructions I will assume that you are using the default Raspbian user ‘pi’.
1.
Before we can install MSDOS 6.22 we need to create a file to act as a hard drive for our installation. Open a terminal window and change to your Documents directory. If you are unsure how to do this then the Raspbian terminal primer is a good place to start.
2.
Create a suitable file to act as a virtual hard drive.
Enter the following at the command line:
qemu-img create -f qcow2 ~/Documents/MSDOS622.disk 256M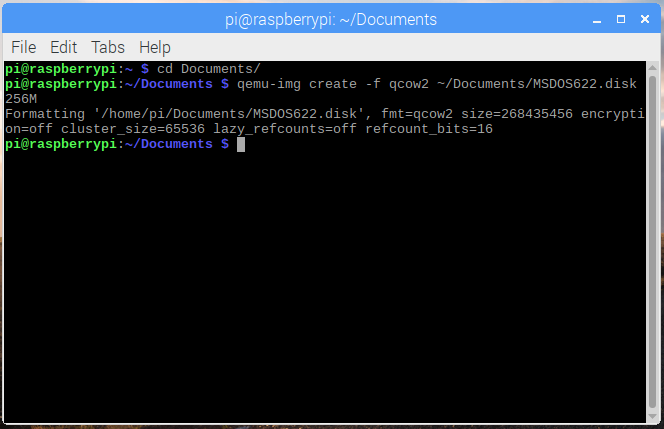
So what did this command do? Let’s break it down:
- ‘qemu-img’ – This is the qemu virtual disk creation utility.
- ‘create’ – Qemu-img allows for many different actions on disk images. In this case we are instructing qemu-img that we are creating a virtual disk.
- ‘-f qcow2’ – The file used for the disk image must be structured in a way that qemu understands. In this case we are telling it to use the second generation of the QEMU disk format – qcow2.
- ’~/Documents/MSDOS622.disk’ – We wish to create a disk image called ‘MSDOS622.disk’ in the currently active user’s ‘Documents’ directory.
- ‘256M’ – We are going to create a virtual disk with an internal capacity of 256MB. While this might seem small by today’s 10TB+, 256MB was a good size for a disk when MSDOS 6.22 first launched launched in 1994. After all, our MSDOS 6.22 media comprises of only three 1.4MB disk images and Theme Park – one of the best selling games of the year – weighed in at 20MB.
3.
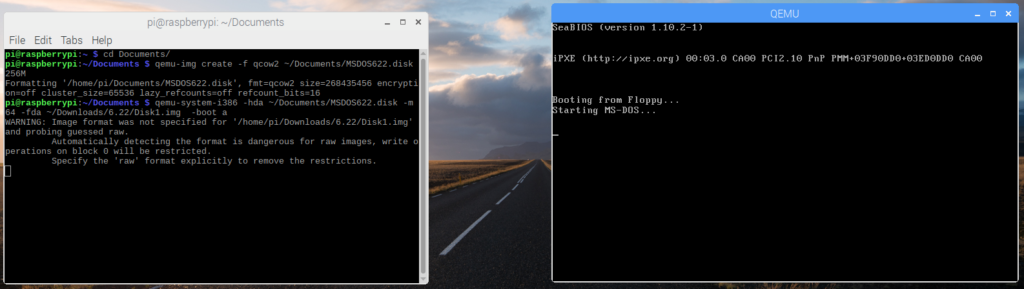
Run QEMU with our newly created virtual hard drive and with our first installation disk:
qemu-system-i386 -hda ~/Documents/MSDOS622.disk -m 64 -fda ~/Downloads/6.22/Disk1.img -boot aLet’s break this down:
- ‘qemu-system-i386’ – This is the QEMU intel x86 emulator. This is the program that will simulate the PC we will be using.
- ‘-hda ~/Documents/MSDOS622.disk’ – We tell QEMU to use the file we created in step 2. as the first hard drive in the emulated PC.
- ‘-m 64’ – We set the amount of memory on our emulated PC in megabytes. MSDOS 6.22 first shipped in an age when 8MB was a reasonable amount for a PC to ship with. 64MBs – the maximum the at MSDOS 6.22 can address – will be more than enough memory for our operating system to stretch its legs.
- ‘-fda ~/Downloads/6.22/Disk1.img’ – Treat the file stored at ‘~/Downloads/6.22/Disk1.img’ as a floppy disk inserted into floppy drive A. You may have put your disk image files in a different place. If so, alter this path to the location of the disk 1 file.
- ‘-boot a’ – Attempt to boot from floppy drive A.
4.
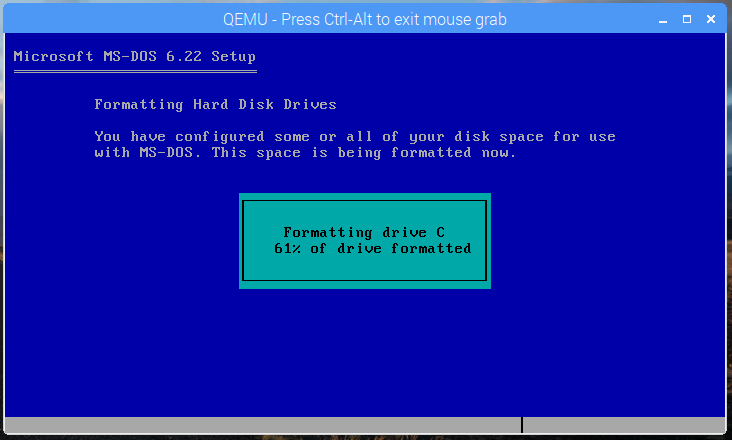
Follow the onscreen instructions. MSDOS setup will guide you through the basic settings you need to choose.

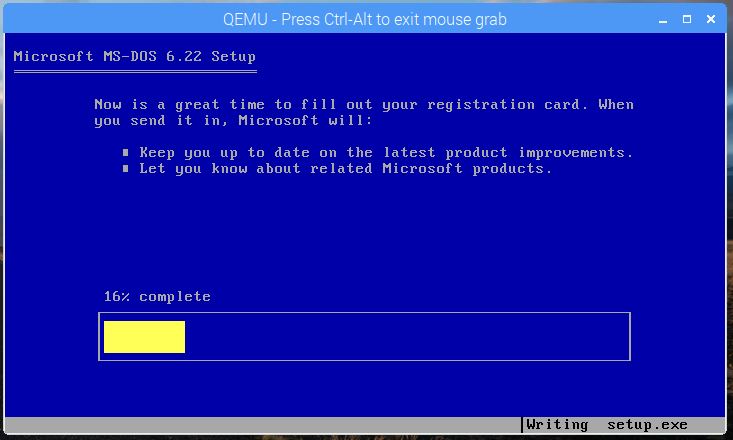
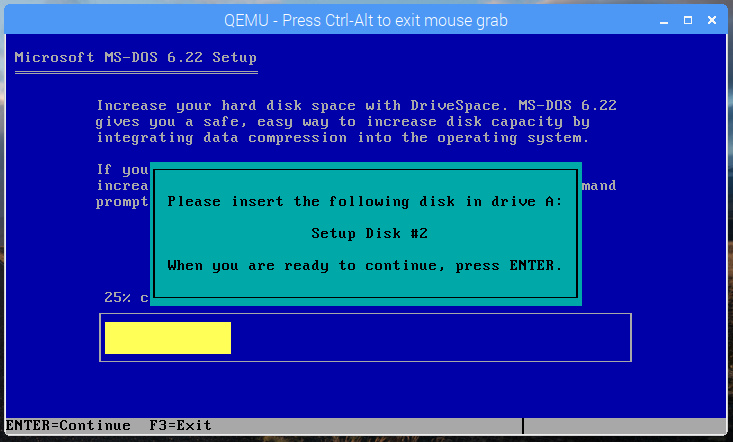
We now need to change the file that the virtual floppy drive -fda is using as source data from file ‘~/Downloads/6.22/Disk1.img’ to file ‘~/Downloads/6.22/Disk2.img’.
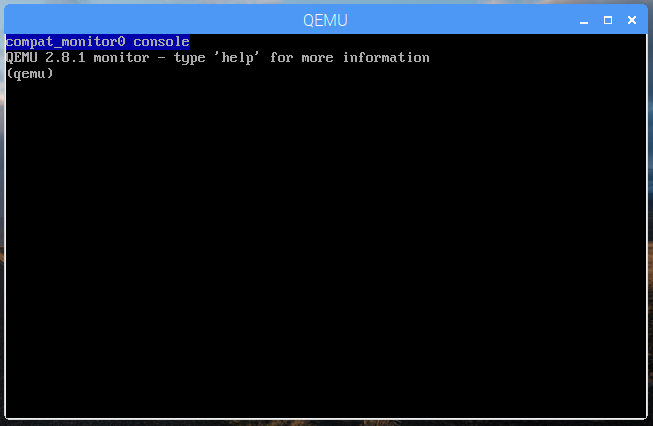
- First, move to the QEMU console by pressing ‘ctrl-alt-shift-2’.
Then change the target of the floppy drive by entering:
change floppy0 /home/pi/Downloads/6.22/Disk2.img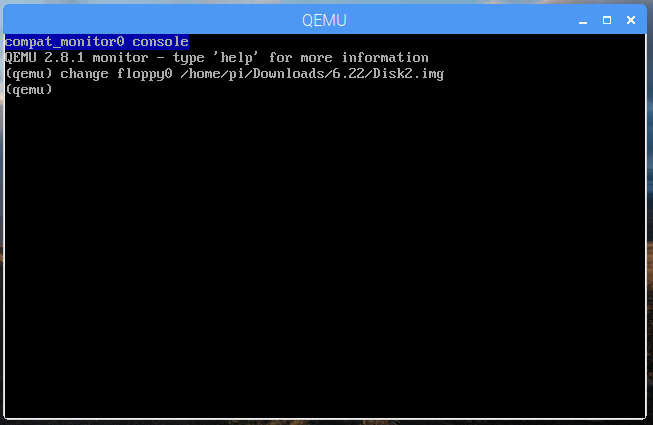
Note: The path to your replacement disk image must be a fully qualified path
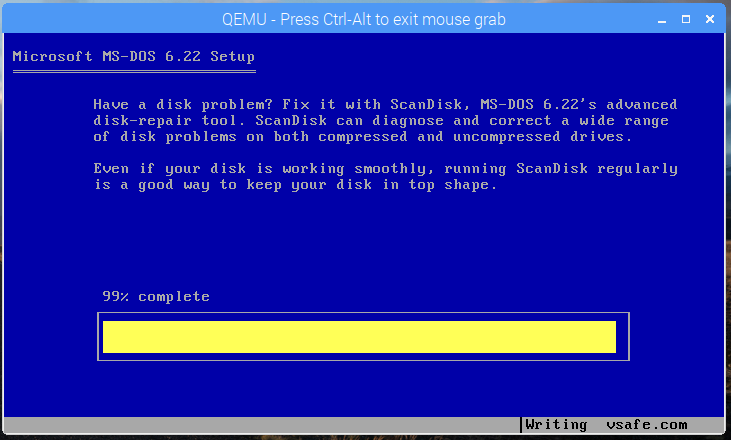
- And, finally, switch back to the output of our emulated PC by pressing ‘ctrl-alt-shift-1. Continue the installation by following the onscreen prompts.
6.
Repeat the process outlined in step 5. to set the disk to the third and final image. Allow MSDOS 6.22 to complete installation.
7.
Once installation is complete the installation program will prompt you to remove all floppy disks.
- Move back to the QEMU console with ‘ctrl-alt-shift-2’.
- Then enter:
eject floppy0
- Move back to the QMEU output by pressing ‘ctrl-alt-shift-1’.
8.
Continue to follow the installation programs instructions until your emulated PC reboots and you are presented with the classic DOS prompt.
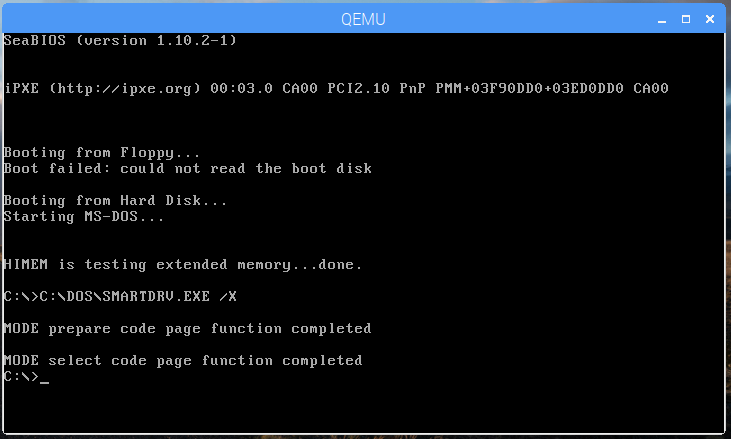
Congratulations! And welcome to 1994!
Use
It is unlikely that, after installing DOS, you are just going to use it the once. After shutting down your QEMU DOS instance, it can be restarted so:
qemu-system-i386 -hda ~/Documents/MSDOS622.disk -m 64 -soundhw sb16,adlib,pcspkThis command is slightly different to the one we used earlier so let’s break it down:
- ‘qemu-system-i386’ – This is the QEMU intel x86 emulator.
- ‘-hda ~/Documents/MSDOS622.disk’ – This is the file we are going to use as our hard drive.
- ‘-m 64’ – We want to give our PC as much memory – 64MB – as MSDOS 6.22 can use.
- -soundhw sb16,adlib,pcspk – We may wish to run games and other multimedia programs that output sound. This parameter gives our emulated PC a simple PC speaker, an adlib sound card and a SoundBlaster 16 sound card.
As this command is quite long, you may wish to wrap it up in a simple script and, after making the script executable, run it that way.