Introduction
And so it came to pass that QEMU – a dependancy for ‘Period Sites in Period Browsers‘ – moved from version 9.0 to 10.0.
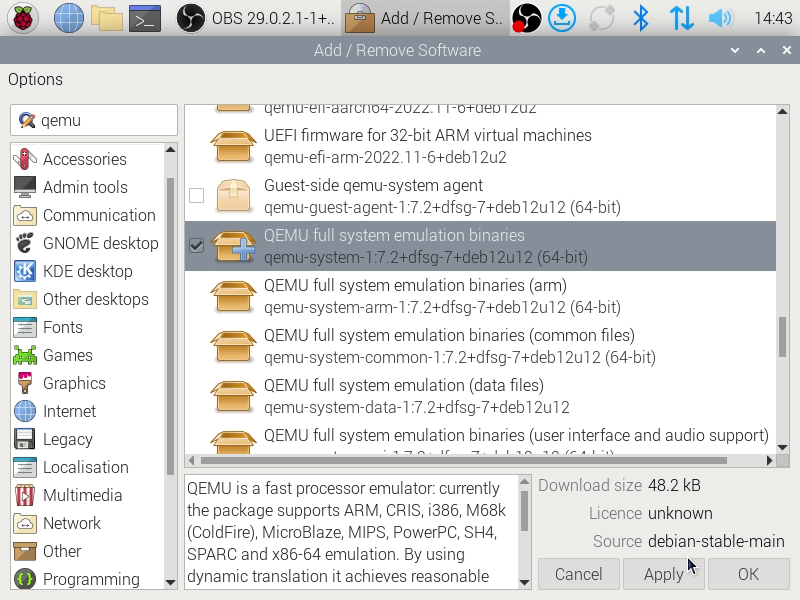
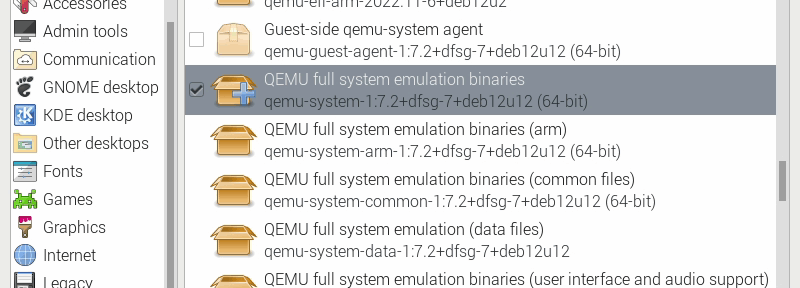
Now the traditional way to get QEMU – as with most software on Raspberry Pi OS – is to go through the ‘Add / Remove Software’, the handy front end to the classic ‘apt install’ command.
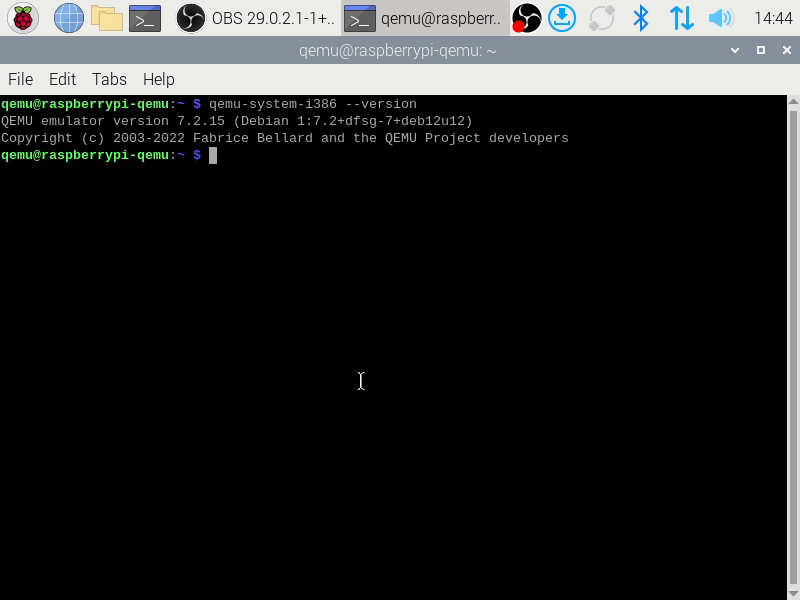
Unfortunately the version of QEMU provided by Raspberry Pi OS is (as of writing) QEMU 7.2.15, an autumn 2024 maintenance release of QEMU 7.0 which itself was first released on the 19th April, 2022.
Assumptions
This guide assumes that you are working in the route of your user directory and all paths will be relative to this. It also assumes that you have the required permissions to install dependancies via apt. A standard Raspberry Pi OS user should be able to do this.
Environment

Whilst QEMU 10.0 does not require a clean installation of Raspberry Pi OS, building QEMU 10.0 should be done on a version of the operating system that’s up to date.
First, open a Terminal and enter…
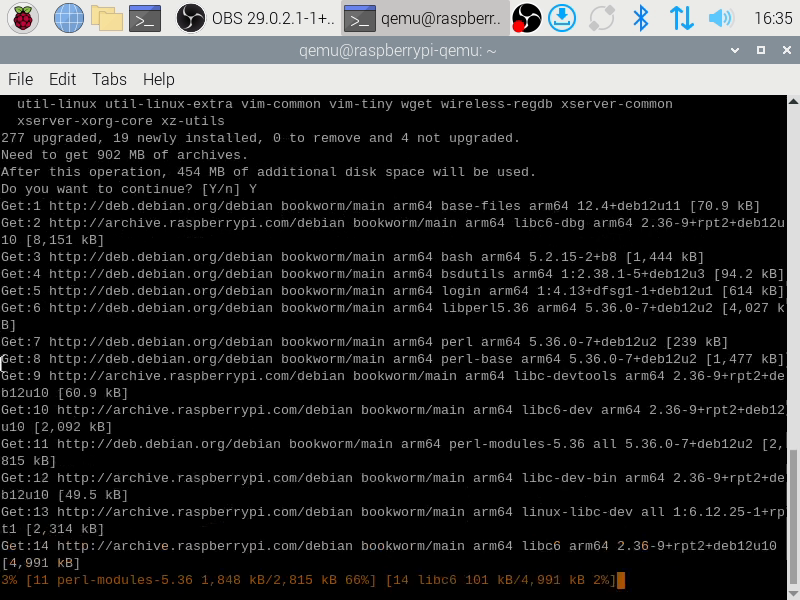
sudo apt update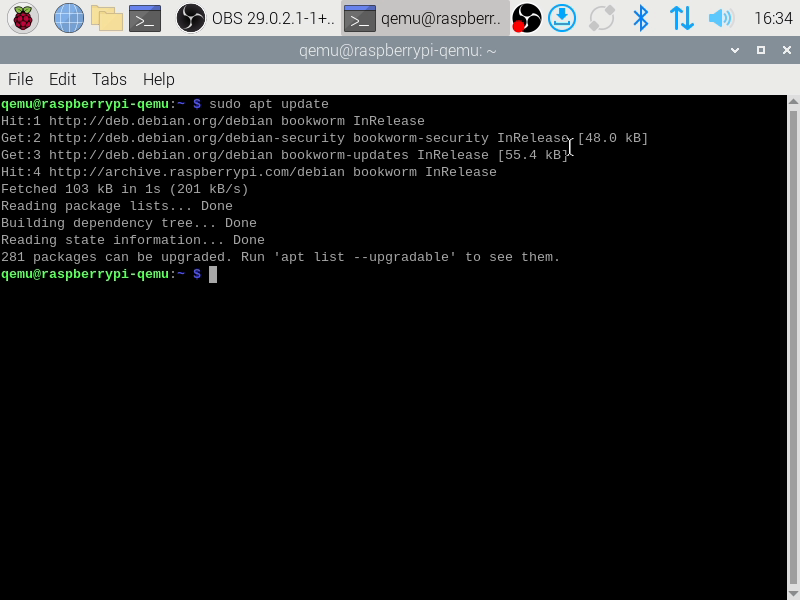
This will ensure that the list of updates that Raspberry Pi OS has is itself up to date.
Then, in the Terminal, enter…
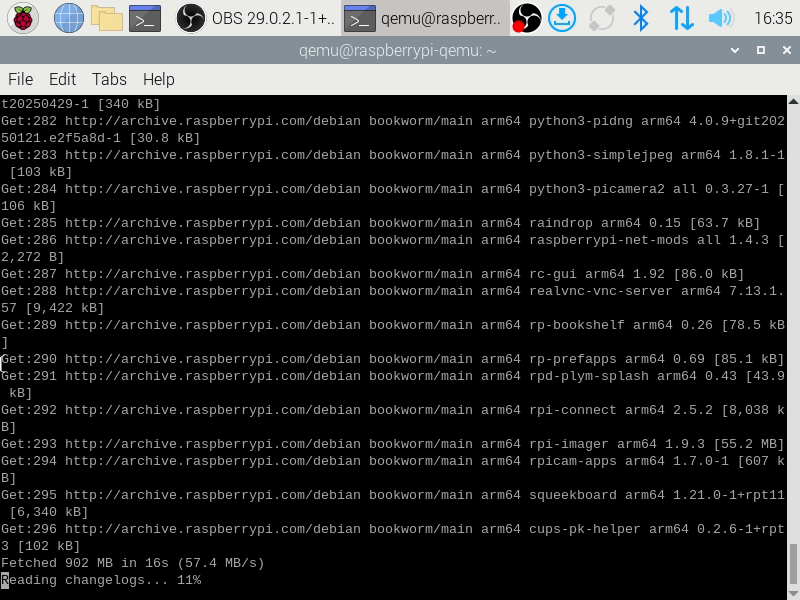
sudo apt upgrade
This will present you with a list of installed packages that require upgrading to the latest version.
In the Terminal enter…
YApt will then install any outstanding updates and any packages that these updates may now require.
…grabbing updates…
…preparing to install…
…installing updates…
…updates installed.
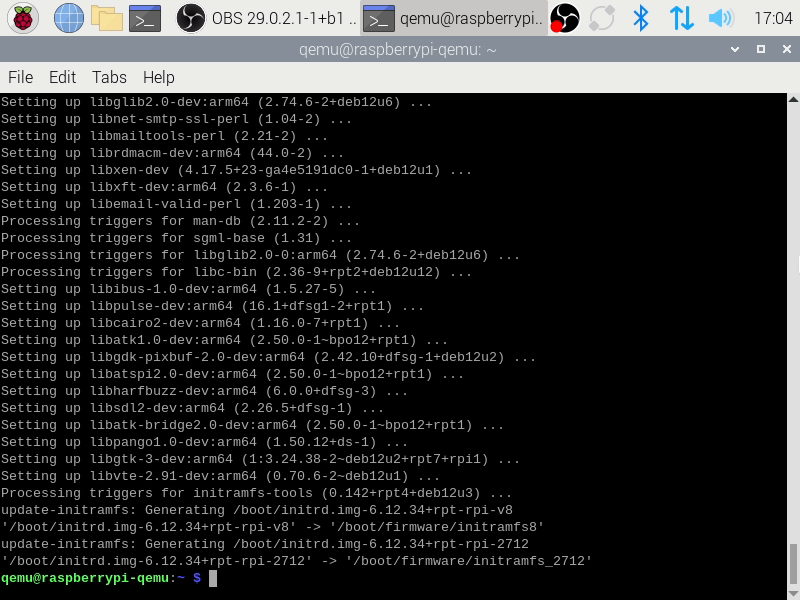
After installation of these updates it can be worth restarting your Raspberry Pi. This can be done by entering…
sudo reboot…at the Terminal.
Dependancies
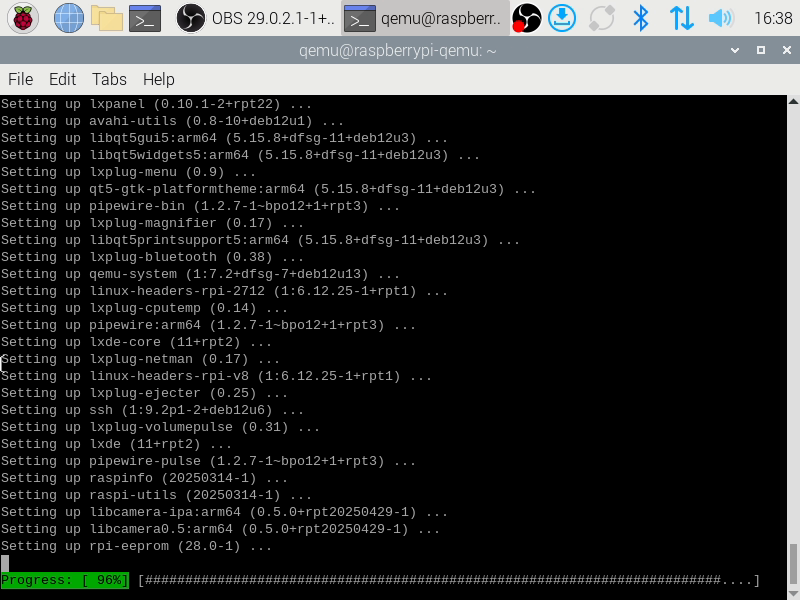
QEMU 10.0 is dependent on a number of third party libraries and tools. Some of these tools are used to compile the code, while some of the libraries are used for the creation of the user interface. These dependancies can be installed via apt.
Open a Terminal and enter…
sudo apt-get install git libglib2.0-dev libfdt-dev libpixman-1-dev zlib1g-dev ninja-build git-email libaio-dev libbluetooth-dev libcapstone-dev libbrlapi-dev libbz2-dev libcap-ng-dev libcurl4-gnutls-dev libgtk-3-dev libibverbs-dev libjpeg62-turbo-dev libncurses5-dev flex bison libnuma-dev librbd-dev librdmacm-dev libsasl2-dev libsdl2-dev libseccomp-dev libsnappy-dev libssh-dev libvde-dev libvdeplug-dev libvte-2.91-dev libxen-dev liblzo2-dev valgrind xfslibs-dev libnfs-dev libiscsi-dev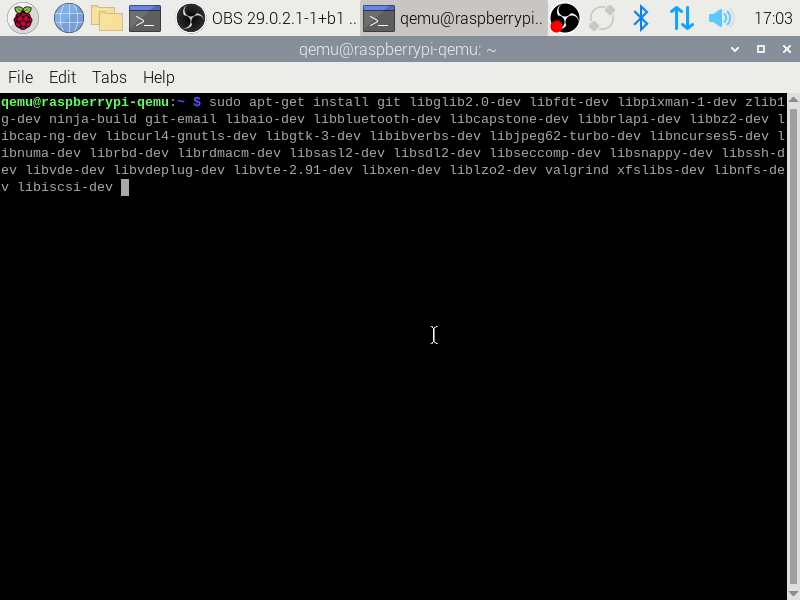
The list of dependancies we wish to request.

A list of all our our requested dependancies and any dependancies they may have. In this example, our list of 37 dependancies will bring in an additional 124 dependancies for a total of 161 new objects to install. Your list will vary, depending on what else you already have installed.
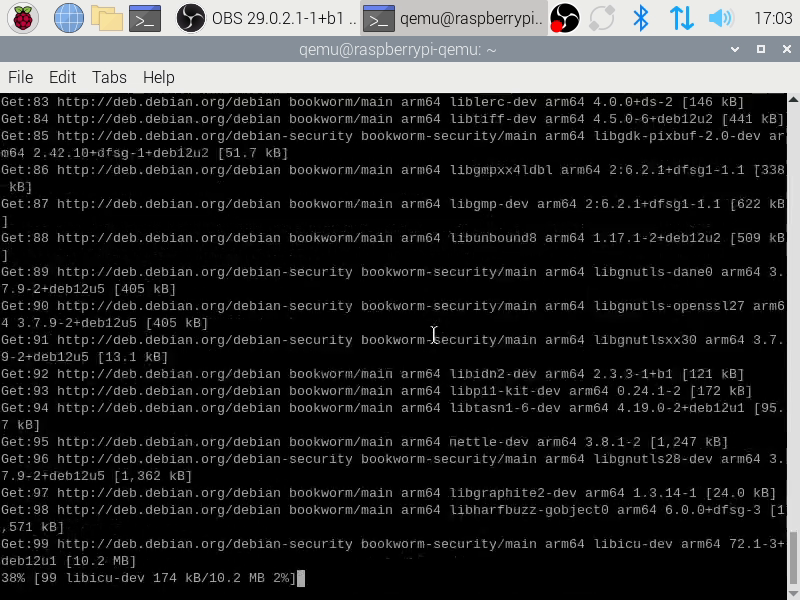
As with our updates, apt will retrieve all of the files required to perform our task.
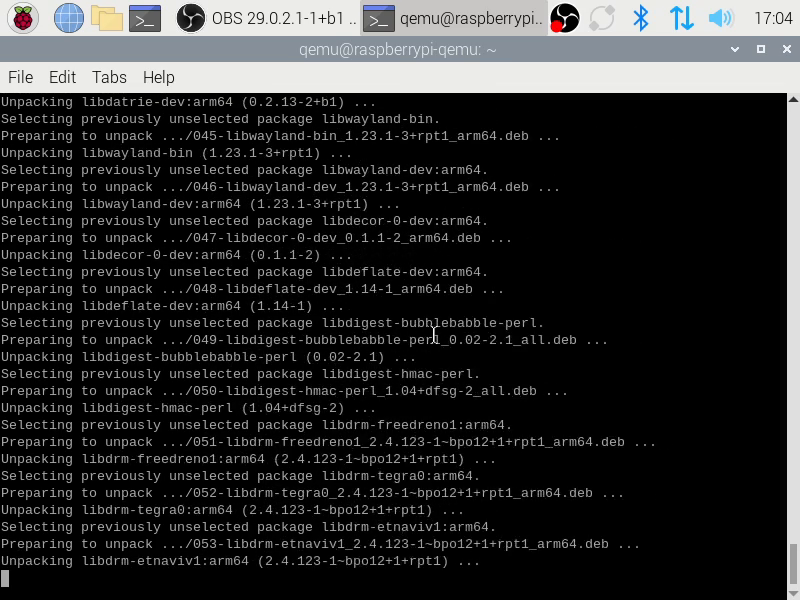
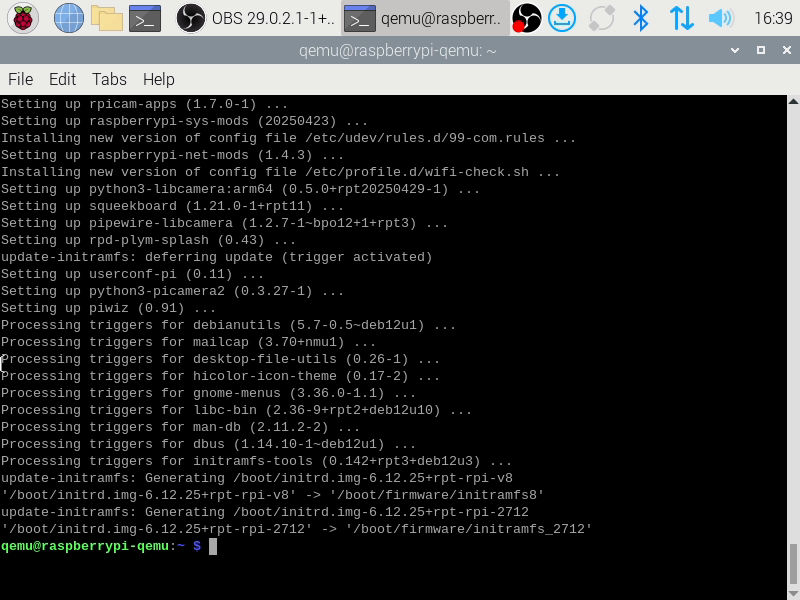
Once all of the required files have downloaded, apt will install our requested packages.
When the terminal prompt returns the installation will have completed sucessfully.
As before, you may wish to reboot your Raspberry Pi. Again, this can be done with:
sudo rebootCode
Now your environment has been successfully prepared you need the QEMU 10.0 release code.
Other, newer releases may be found listed on the ‘qemu.org‘ homepage. However, for the purposes of this guide we will assume that we wish to build QEMU 10.0.
QEMU 10.0 can be found at https://download.qemu.org/qemu-10.0.0.tar.bz2 in a compressed archive. We can use wget to download this code archive.
wget https://download.qemu.org/qemu-10.0.0.tar.bz2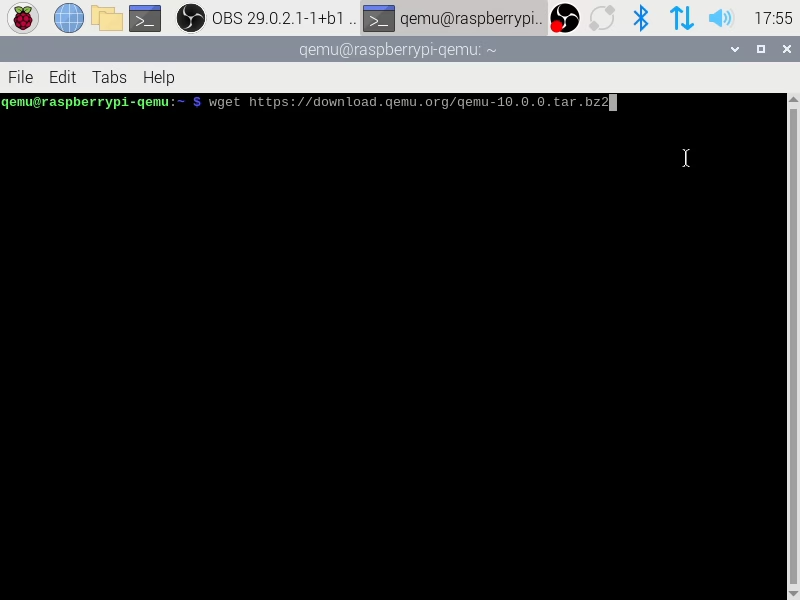
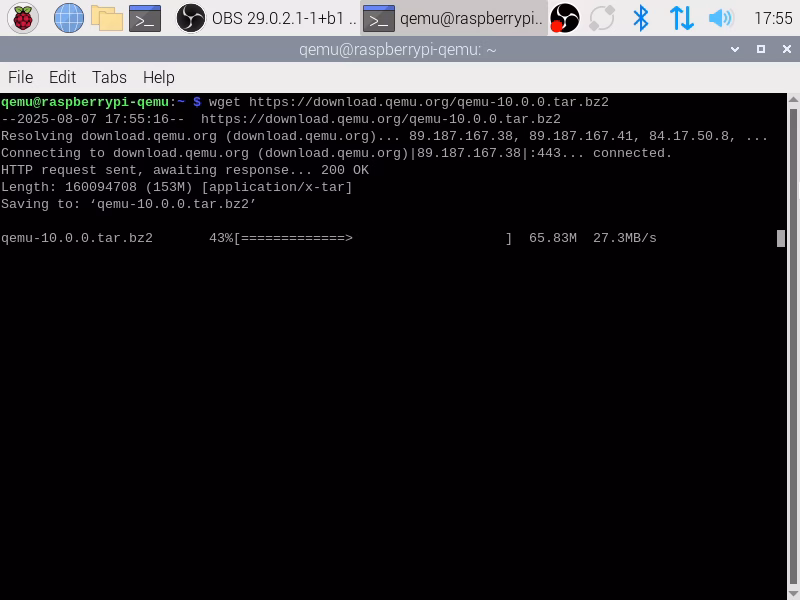
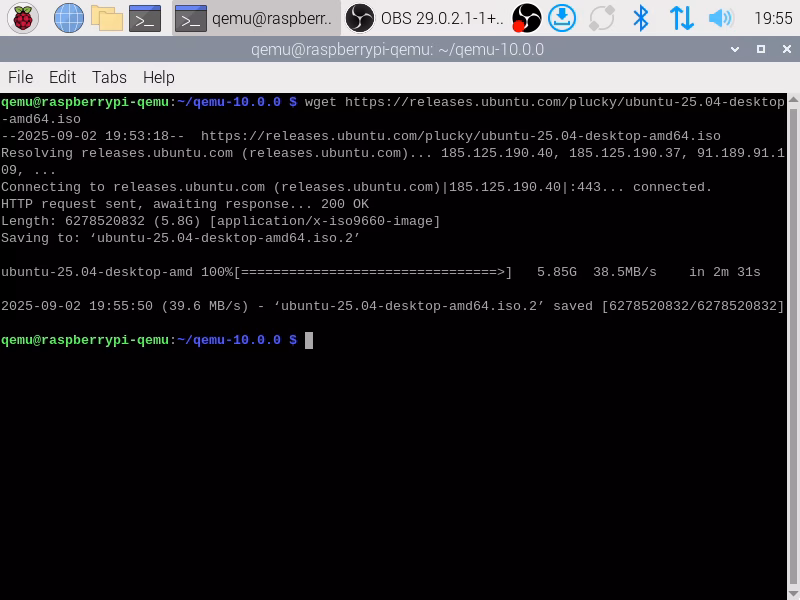
Downloading.
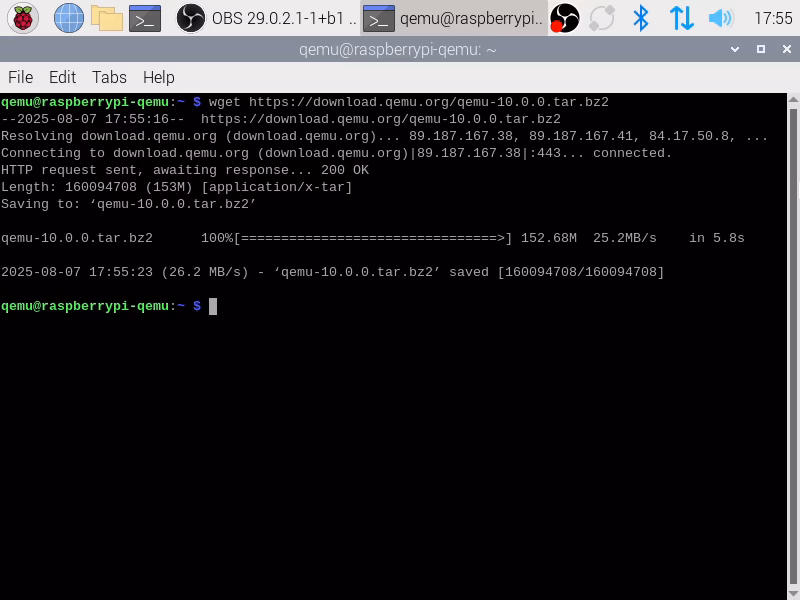
wget has successfully downloaded the QEMU 10.0 code archive.
Once the archive has successfully downloaded it needs to be expanded. This can be done via the tar command thus…
tar xf qemu-10.0.0.tar.bz2
If tar succeeds without issue it will quietly exit.
Configuration
Change into the now-decompressed code directory via…
cd qemu-10.0.0
Once in the source code directory we must configure QEMU to build itself.
This can be done with the configure command.
./configure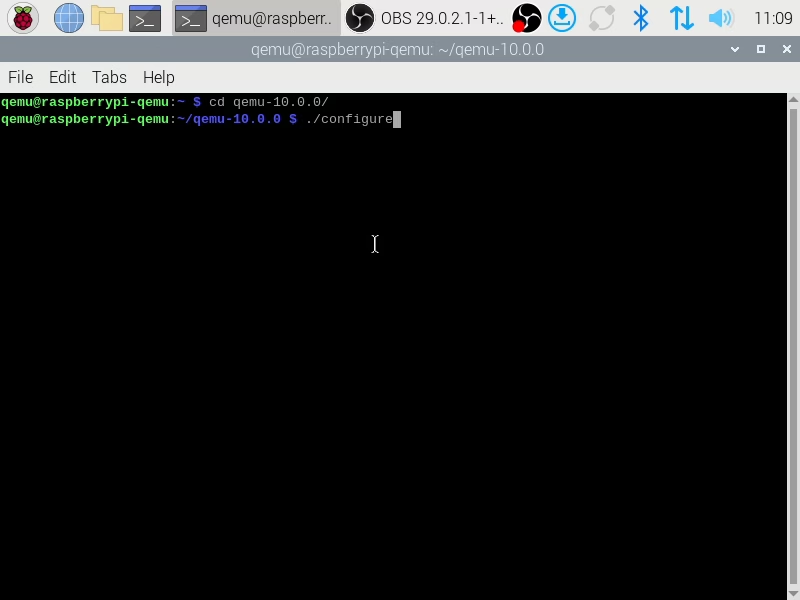
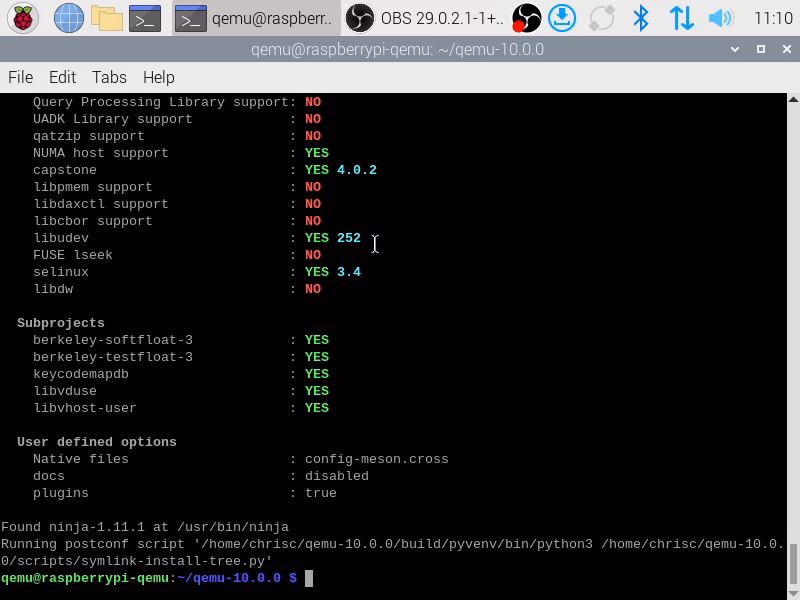
The QEMU configuration script will then analyse your system and, if possible, configure itself to allow you to build QEMU.
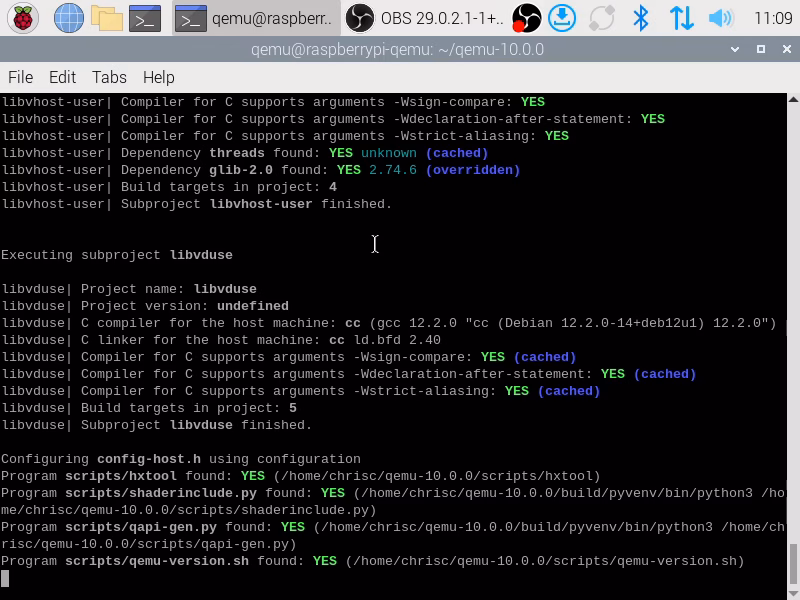
In this example the configuration script has successfully completed. We are now ready to build QEMU 10.0.
Build
You now have a choice – just how much of your Raspberry Pi’s resources should you dedicate to this build? If you plan on using your Raspberry Pi for other tasks whilst building QEMU, you should build QEMU in single thread mode. This can be done via entering…
make…in the root of your source code directory.
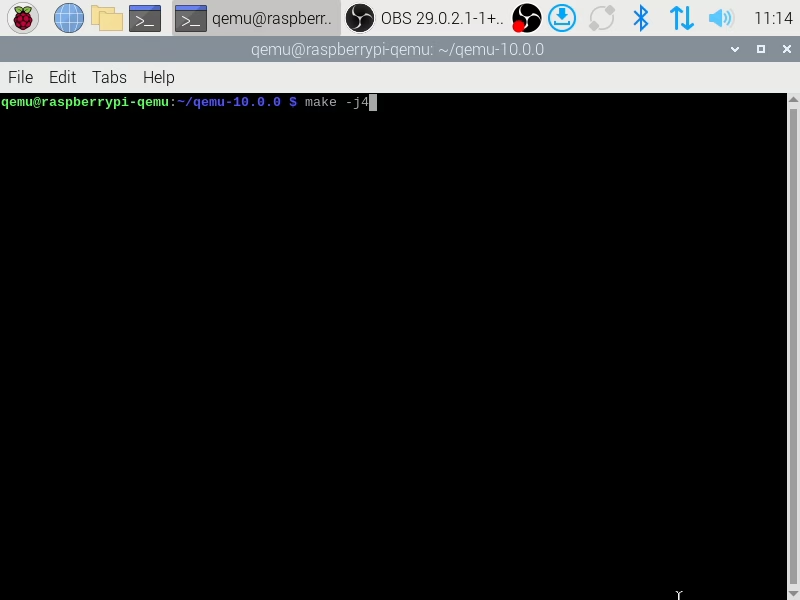
On the other hand, if your Raspberry Pi would otherwise be idle you may wish to dedicate more resources to your QEMU build. This can be done via…
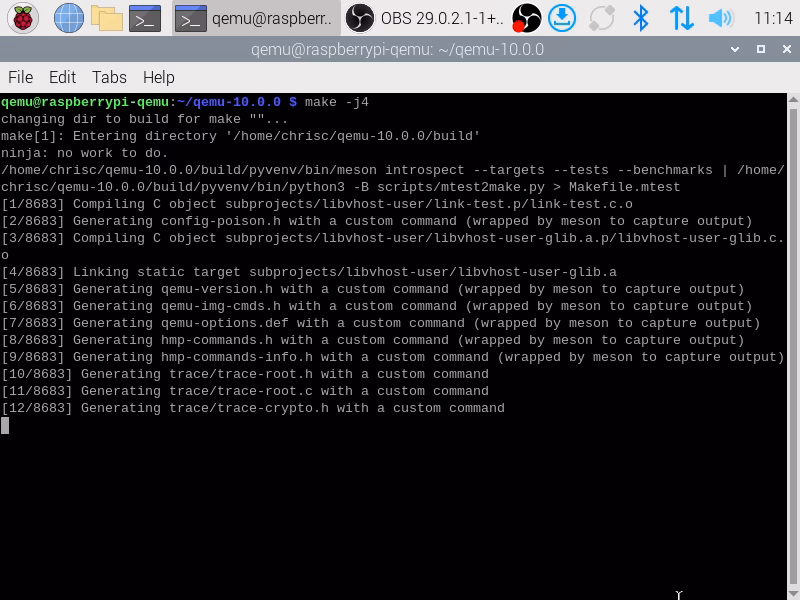
make -j4…which will instruct make to compile QEMU via four parallel threads.
Once make is called it will compile QEMU’s elements as needed.
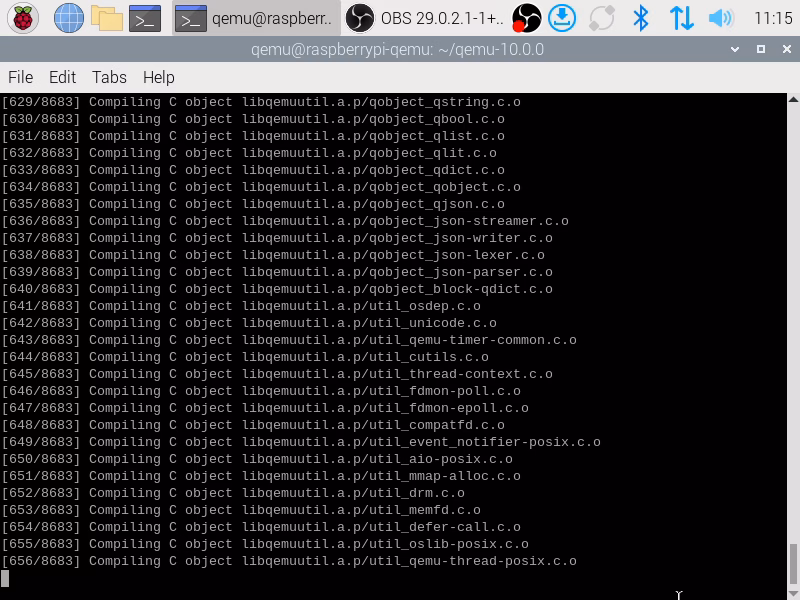
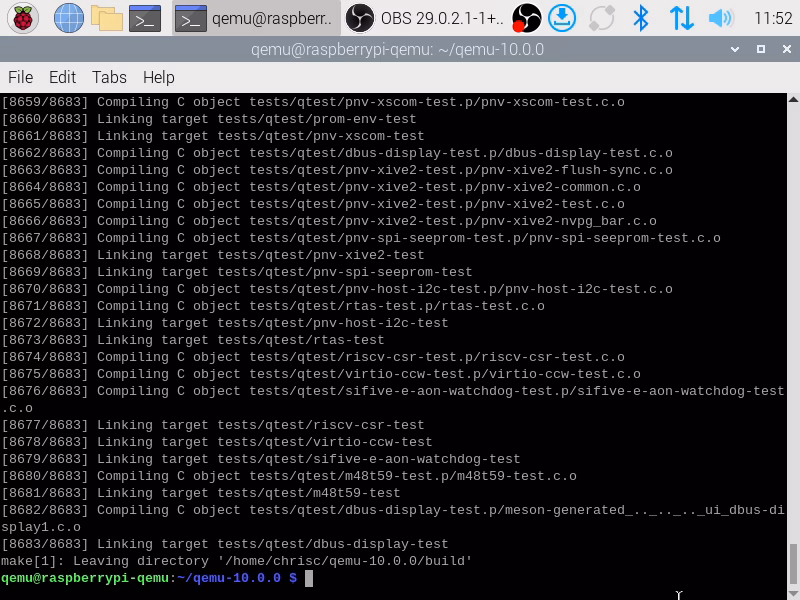
Once compilation is complete the build QEMU executables can be found in ‘~/qemu-10.0.0/build’ directory.
Test
Having compiled QEMU 10.0 it’s time to test the result. To do this we will use a linux live CD as it requires us to only allocate CPU and memory. To do this we will use ‘Ubuntu 25.04 for x86-64‘.
First, ensure that you are still in the ~/qemu-10.0.0′ directory and then use wget to download ‘Ubuntu 25.04 for x86-64 ‘ via…
wget https://releases.ubuntu.com/plucky/ubuntu-25.04-desktop-amd64.iso 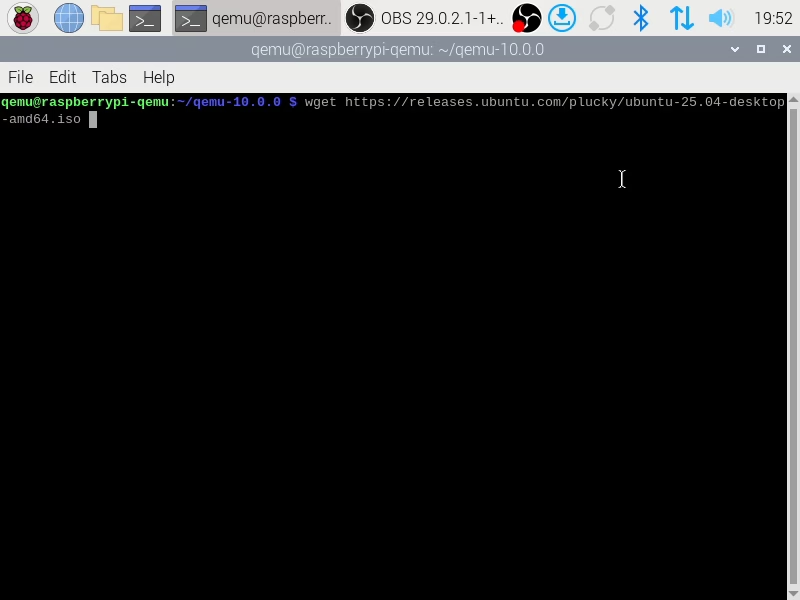
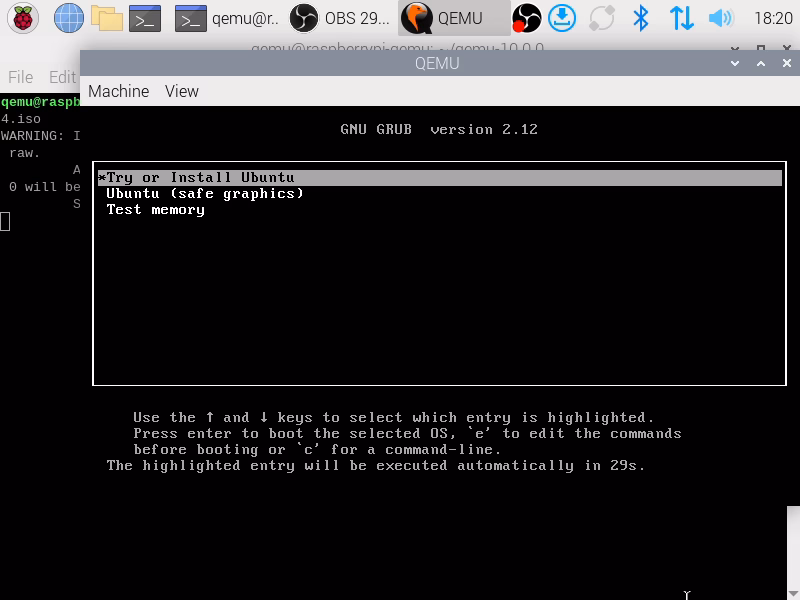
Once the download has completed you can then start a QEMU virtual machine with the live image. This can be done via…
./build/x86_64-softmmu/qemu-system-x86_64 -m 3G ./ubuntu-25.04-desktop-amd64.iso
As our virtual machine has no hard drive attached, it’s probably not with going further than the GRUB boot menu.
Find out more about using QEMU here.