***NEW: Building QEMU 10.0 on Raspberry Pi OS***
Introduction
Another passing year brings the 8th major release of the incredibly versatile emulation platform QEMU.
As always, the fastest, simplest way to get QEMU onto Raspberry Pi OS is via the default package manager. Unfortunately, version 5.2 – the version currently offered via the package manager – is almost 3 years out of date and an awful lot of development has occurred since.
Fortunately building QEMU 8.0 is not that difficult.
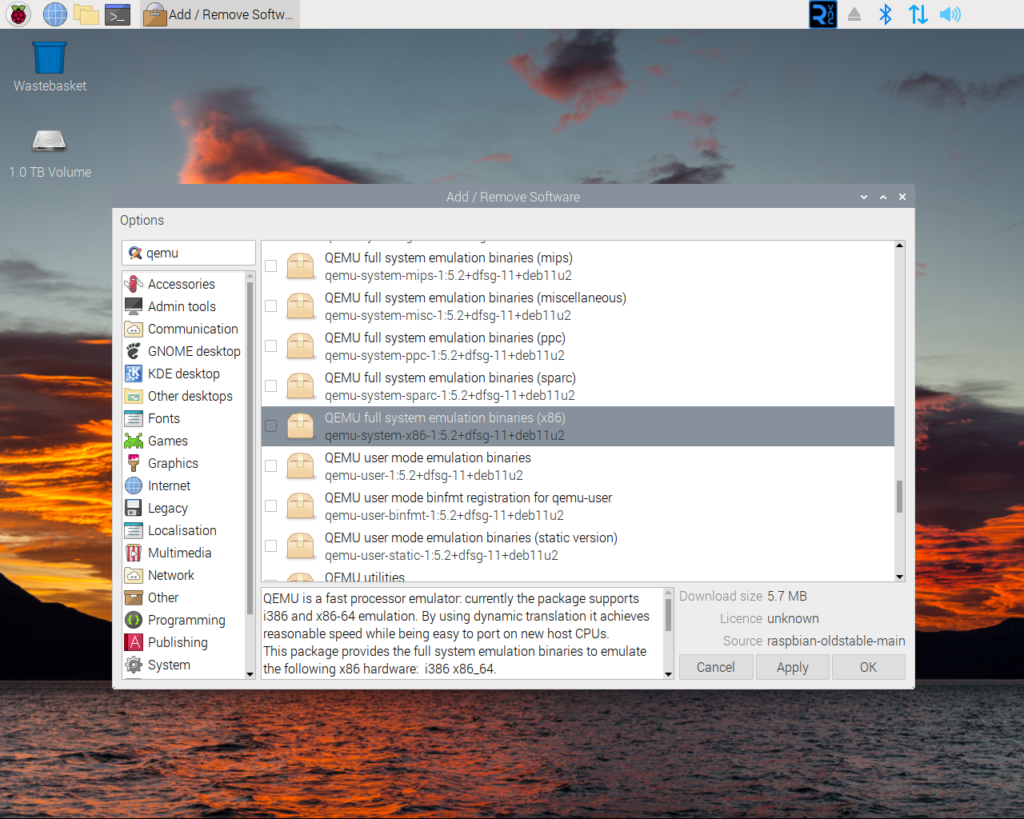
QEMU in the Raspberry Pi OS package manager…
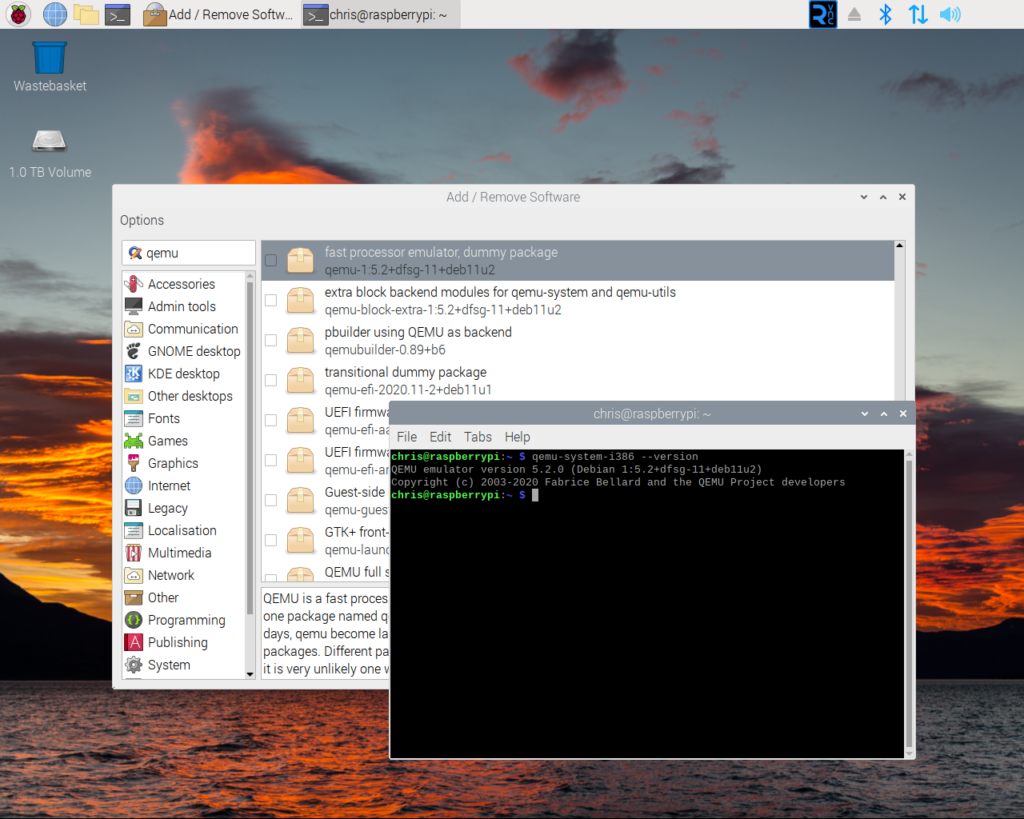
…alas the offered version is incredibly out of date!
Assumptions
For the purposes of this guide, we are going to assume that you are working in the root of your user directory and all paths will be relative to this. Should you wish to work elsewhere then you will need to make the necessary adjustments to the various paths mentioned in this guide.
Environment
While your Raspberry Pi does not need to have a clean install of the operating system, building QEMU 8.0 properly does require your OS to be up to date. This can be done by first opening a Terminal and then entering…
sudo apt update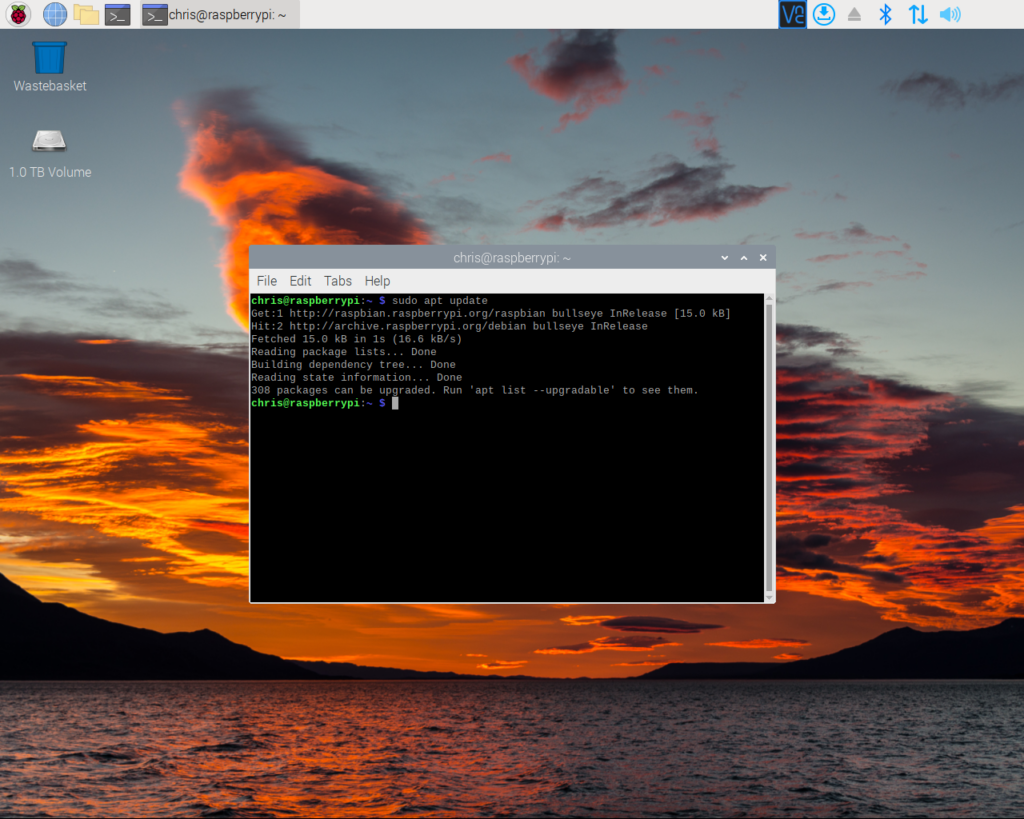
…and authenticating if necessary. Having updated ‘apt‘ we now need to update the other packages installed on your Raspberry Pi.
To do this enter…
sudo apt upgrade 
And enter ‘yes’ when prompted. ‘apt‘ will now download and install the latest versions of all outdated packages on your system.

‘apt‘ downloading updates for our installed packages.
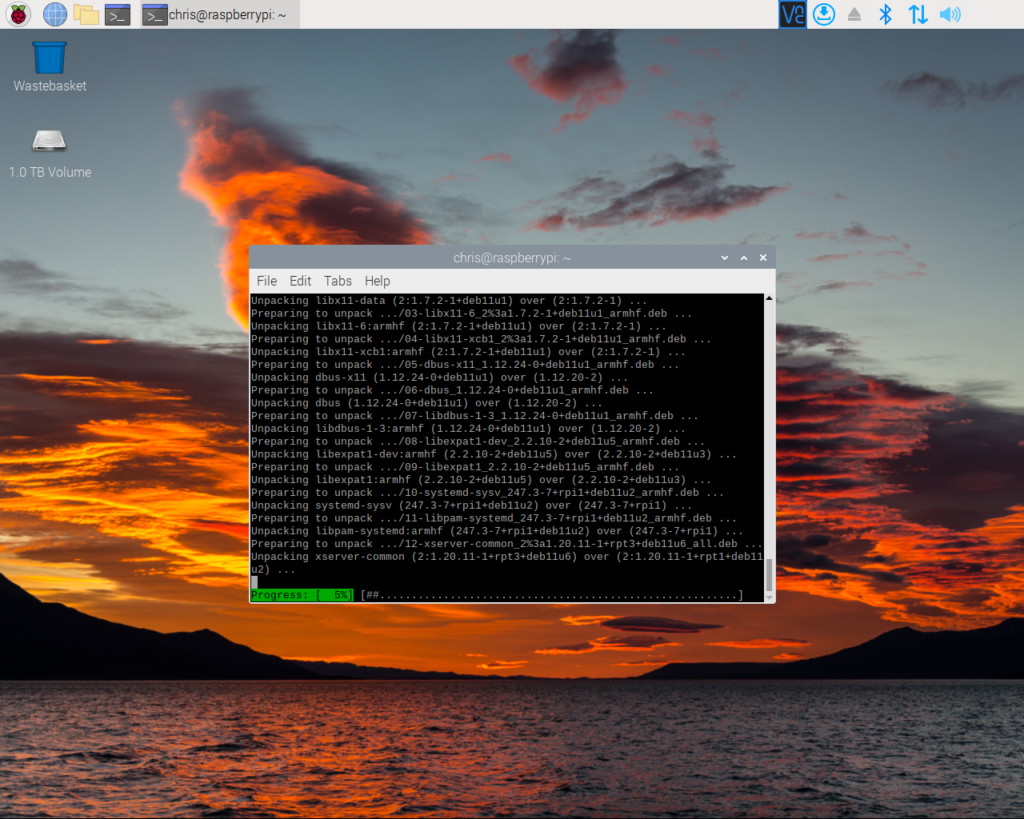
‘apt‘ installing various package updates.
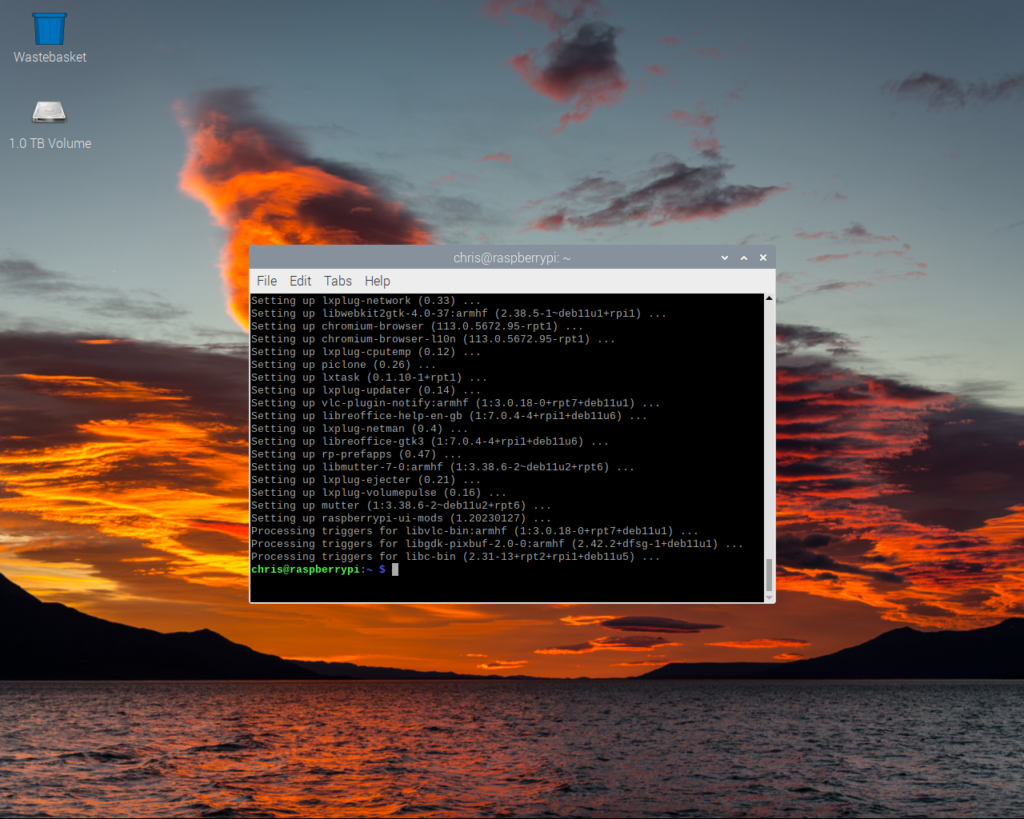
‘apt‘ after it has installed the various updated packages. After installing these updated you may wish to reboot.
Dependancies
Like all good piece of software, QEMU does not attempt to re-invent the wheel. Instead, it uses both code and build utilities from a number of third party projects. To successfully build QEMU 8.0 we need to insure that all of the third party elements are available to the build process. Fortunately the Raspberry Pi OS makes these required dependancies available as easy to install packages.
The following command will install these dependancies.
sudo apt-get install git libglib2.0-dev libfdt-dev libpixman-1-dev zlib1g-dev ninja-build libaio-dev libbluetooth-dev libcapstone-dev libbrlapi-dev libbz2-dev libcap-ng-dev libcurl4-gnutls-dev libgtk-3-dev libibverbs-dev libjpeg9-dev libncurses5-dev libnuma-dev librbd-dev librdmacm-dev libsasl2-dev libsdl2-dev libseccomp-dev libsnappy-dev libssh-dev libvde-dev libvdeplug-dev libvte-2.91-dev libxen-dev liblzo2-dev valgrind xfslibs-dev libnfs-dev bison flex libiscsi-devDon’t worry if you think you may already have some of these dependancies installed as ‘apt‘ is smart enough to figure out what is needed and what is already available.

Our package list.
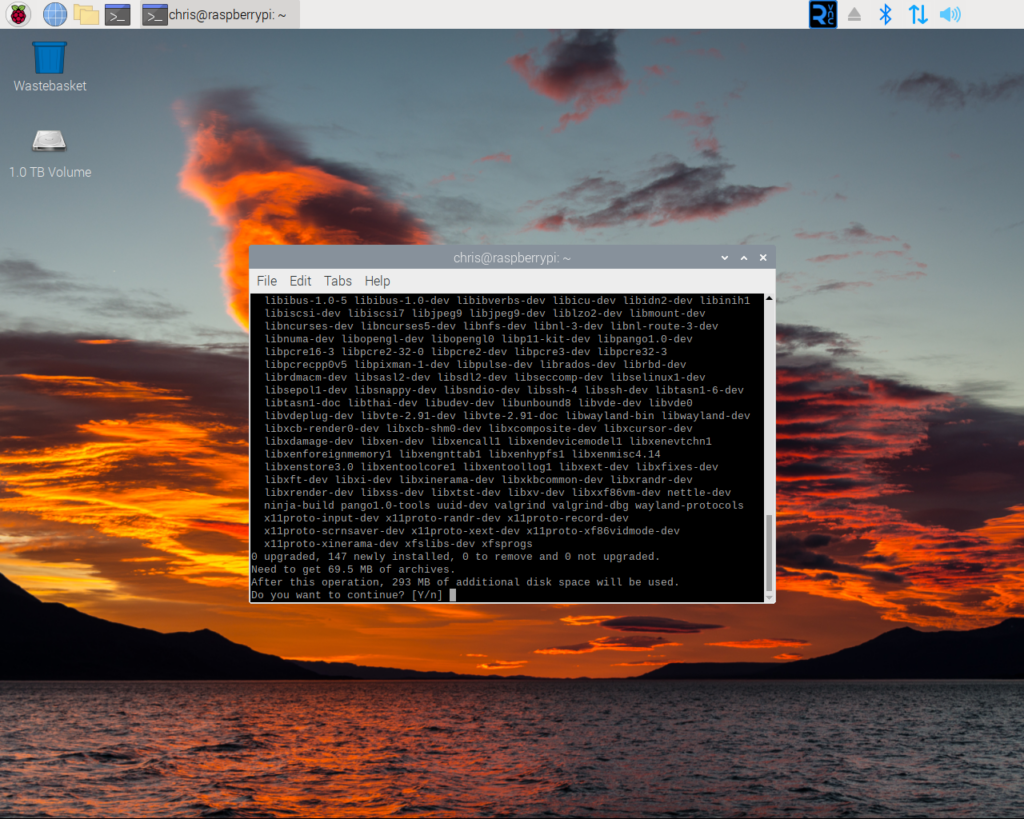
‘apt‘ finding both our packages and any packages they in turn rely on.

‘apt‘ downloading the required packages.

‘apt‘ installing our packages.
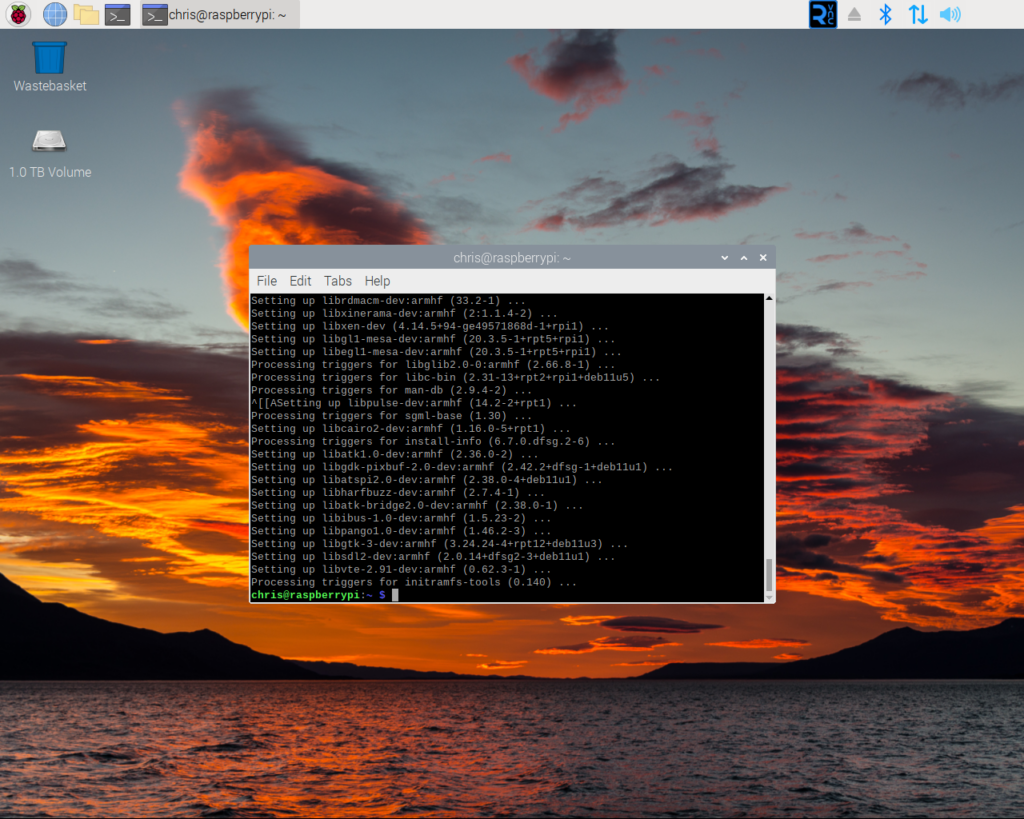
Installation has completed.
Code
We now require the source code for QEMU 8.0. This can be downloaded via ‘wget‘ with the following command.
wget https://download.qemu.org/qemu-8.0.0.tar.bz2
‘wget‘ downloading the QEMU 8.0 source code archive.

‘wget‘ will report any issues it encountered during the download. Once the archive has been downloaded it needs to be unpacked. This can be done via…
tar xf qemu-8.0.0.tar.xz
‘tar‘ will only report if it encounters and issue when it is extracting the archive. Extracting the archive may take a few minutes to complete and is dependant on the speed of your storage device.
Configuration
Before we can compile QEMU 8.0 the configuration process must check the environment is suitable to build in and then configure itself to use this environment.
First we must move into our extracted code archive. This is done with…
cd qemu-8.0.0
Having changed into the root of the rouse code directory we must now get QEMU to configure itself to build. The config process is run with the…
./configure …command.

The ‘configure‘ command analysing the environment and configuring the compile process to work with it. This will take a little time.
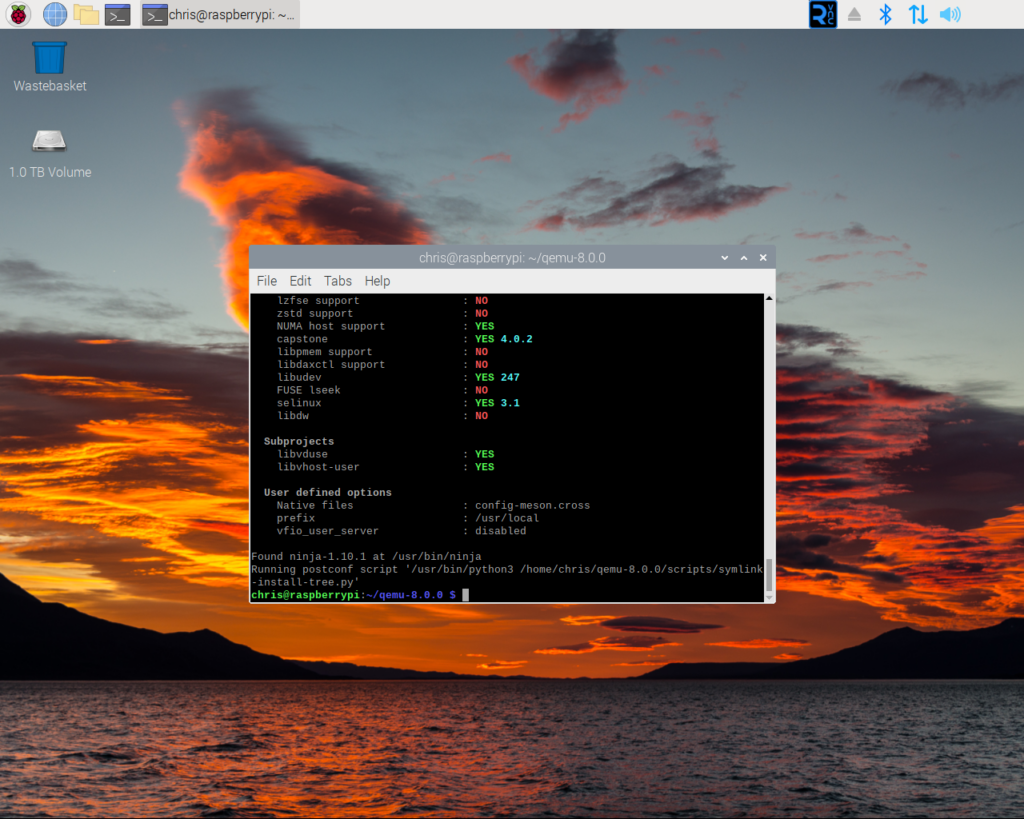
The ‘configure‘ command having successfully completed.
Build
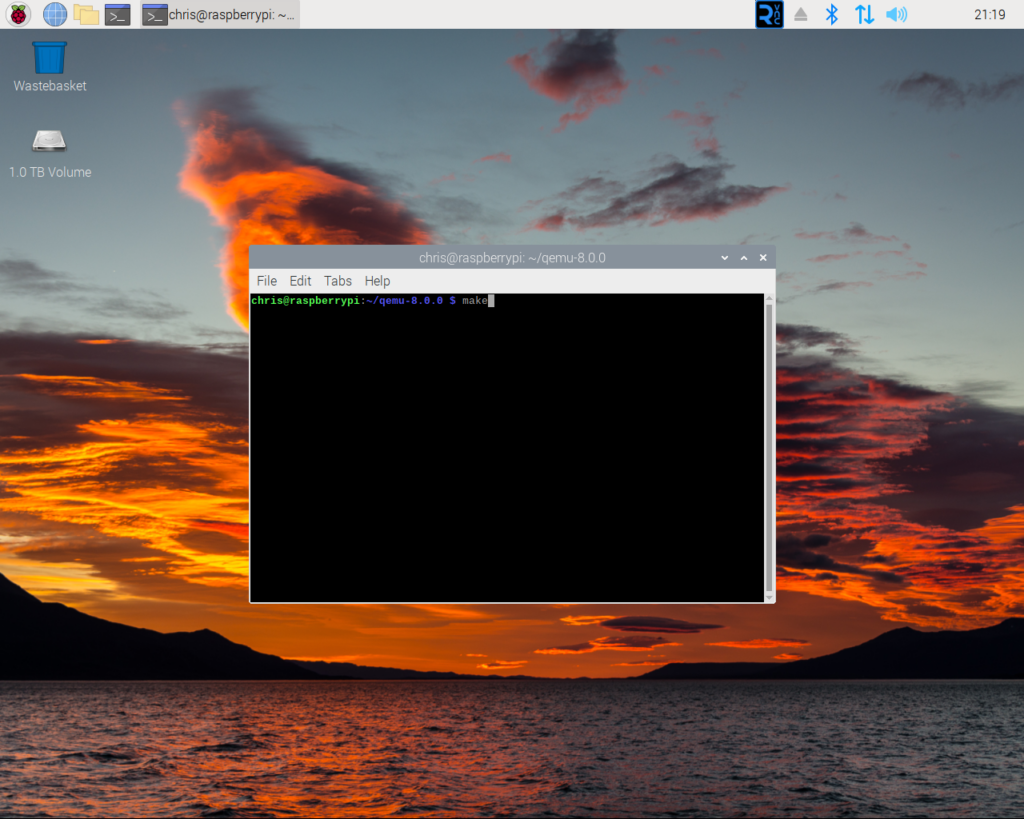
We are now ready to compile QEMU 8.0. This is done with the…
make…command.
‘make‘ will then compile the elements of QEMU. This will take several hours. If you do not plan on using your Raspberry Pi while compiling you can speed up the process via the
make -j4Using the ‘-j4’ variant can be significantly quicker.
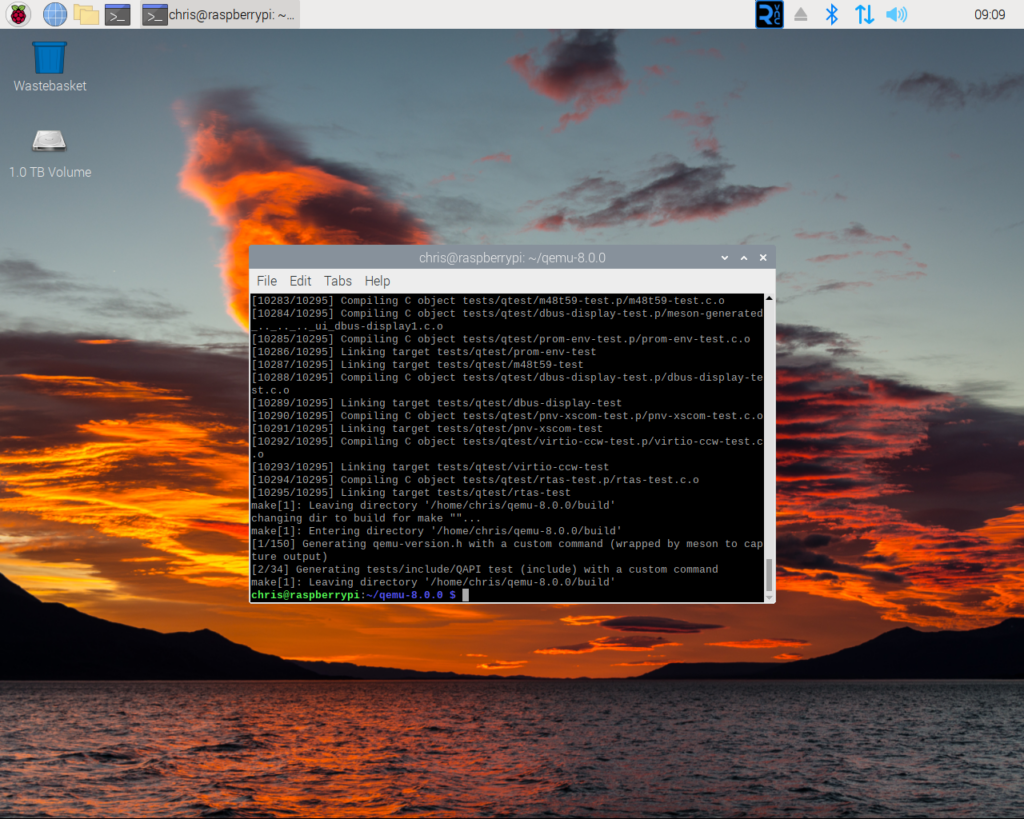
All being well, compilation will complete without issue.
Test
Now that QEMU 8.0 has been compiled it is time to start our first VM. The easiest way to do this is to boot a Linux Live CD on a system with only CPU and memory. The live CD we will be using is Ubuntu 23.04.
Remain in the ‘qemu-8.0.0’ directory and then use the ‘wget‘ command thus…
wget https://cdimage.ubuntu.com/releases/lunar/release/ubuntu-23.04-desktop-legacy-amd64.isoThis will download the Ubuntu ISO image to your Raspberry Pi.
Once the download has completed you can start a new virtual machine using the Ubuntu ISO image via…
./build/x86_64-softmmu/qemu-system-x86_64 -m 1G ./ubuntu-23.04-desktop-legacy-amd64.iso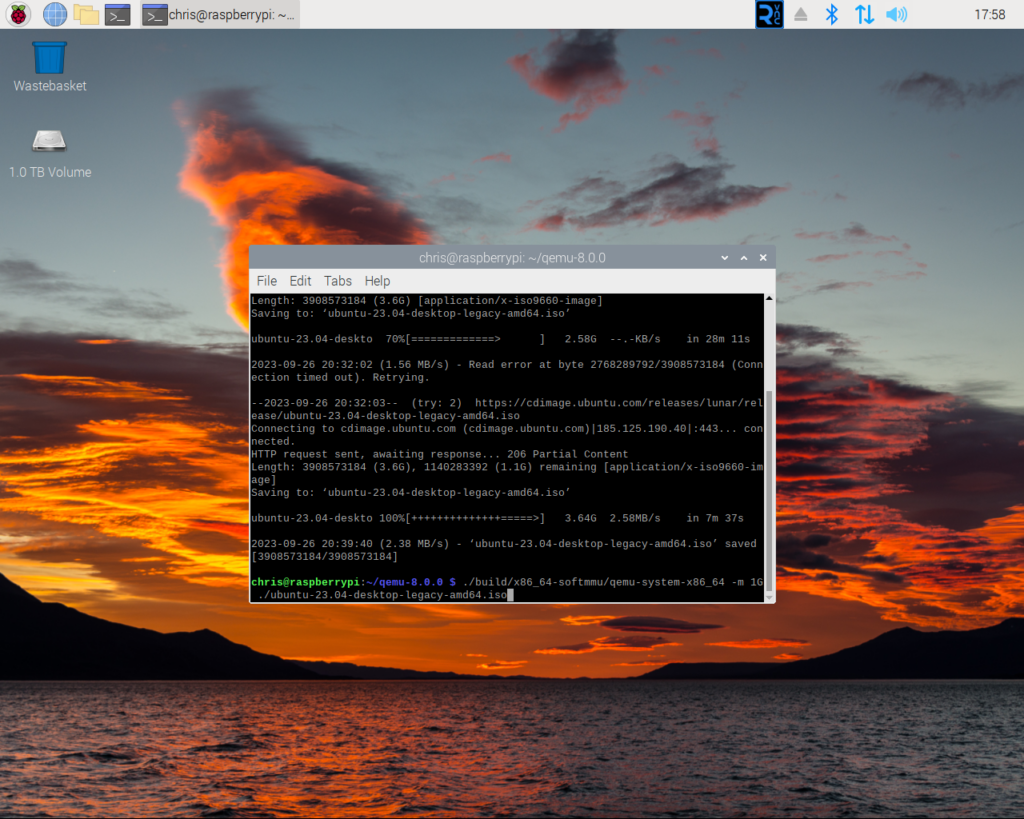
The Ubuntu ISO image booting.
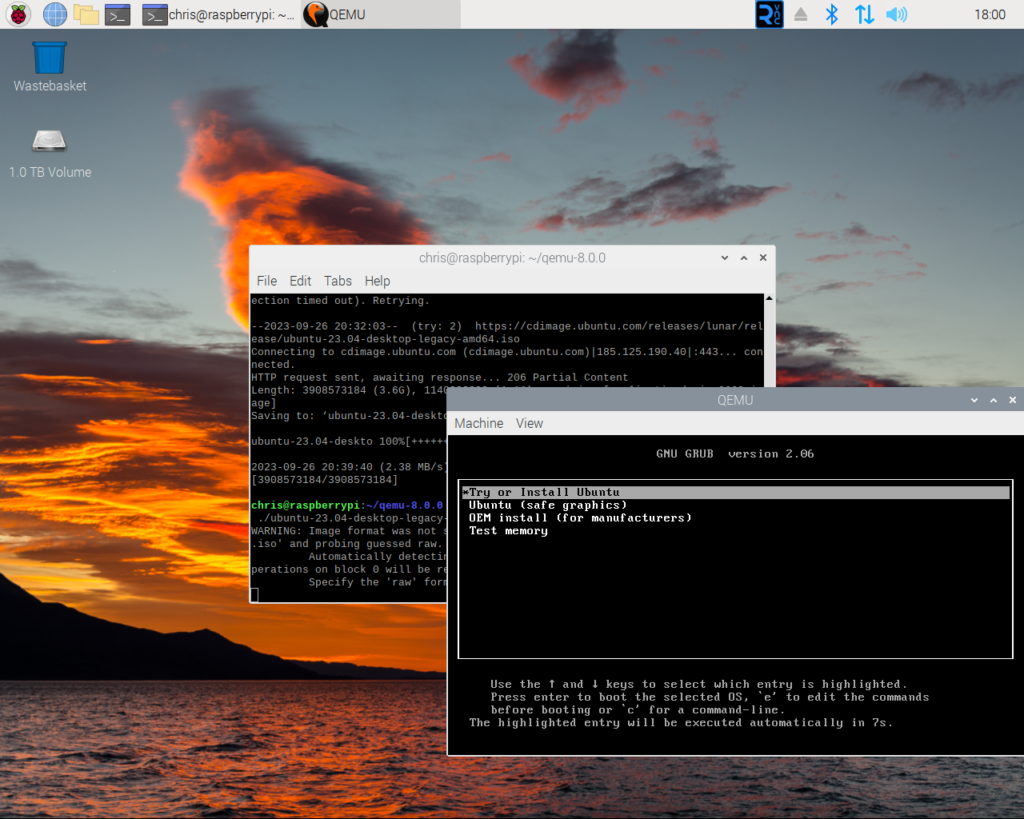
The boot menu of the Ubuntu ISO. As this virtual machine does not have a hard drive file attached you will be unable to install Ubuntu.
Find out more about using QEMU here.